9 Repair Thermo 90
910
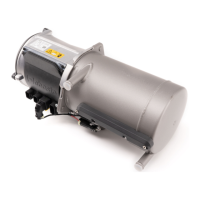
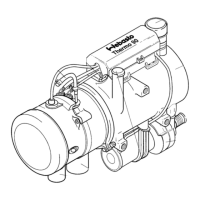
9.2.8 Replacement of Heat Exchanger
9.2.8.1 Removal
1. Remove heater (see 8.7.1.1).
2. Remove circulation pump (see 9.2.2.1).
3. Remove temperature limiter (see 9.2.3.1).
4. Remove temperature sensor (see 9.2.4.1).
5. Remove combustion air fan (see 9.2.5.1).
6. Remove burner, flame sensor, and glow plug
(see 9.2.6.1).
7. Remove burner head (see 9.2.7.1).
8. Remove connector and connector housing.
9. Perform procedures on components after
dis
assembly (see 9.1.1).
9.2.8.2 Installation
1. Clip connector housing onto heat exc
hanger and
engage connector in connector housing.
2. Install burner head (see 9.2.7.2).
3. Install burner, flame sensor, and glow plug
(see 9.2.6.2).
4. Install combustion air fan (see 9.2.5.2).
5. Install temperature sensor (see 9.2.4.2).
6. Install temperature limiter (see 9.2.3.2).
7. Install circulation pump (see 9.2.2.2).
8. Install heater (see 8.7.1.2).
 Loading...
