20
Owner’s Manual EN
C. Clean the contact pins and the charging strips
Clean the contact pins located on the charging base and the charging strips located on Landroid
®
using a cloth. Remove
any built up grass clippings or debris around the contact pins and charge strips periodically to ensure Landroid
®
successfully charges each time.
9.3
Battery life
The heart of the Landroid
®
is its 20V Li-Ion Battery. For proper storage of the battery, make sure it is fully charged and kept
in a cool dry place.
NOTE: The recommended Landroid
®
operation temperature is between 0-55
0
C.
The life-span of Landroid
®
’s battery depends on various factors, such as:
• The length of the mowing season in your region
• Amount of hours Landroid
®
mows per day
• Battery maintenance during storage
Landroid
®
can be charged manually without the
boundary wire.
1. Connect the charging base to a suitable power
supply. The green light on the charging base will turn
on.
2. Manually dock Landroid
®
into the charging base while
Landroid
®
is powered off. (See Fig. P)
3. The green light on the charging base will turn to red.
Landroid
®
will begin to charge.
9.4 Winter hibernation
Your Landroid
®
will live longer and healthier if it is allowed to hibernate. So even though it is troublesome, we recommend
storing your Landroid
®
in your shed or garage during the winter.
Before you prepare your Landroid
®
for winter hibernation, we recommend you:
• Thoroughly clean your Landroid
®
• Fully charge the battery and remove it from Landroid
®
• Turn the power off
To maximize the battery life, fully charge the battery and remove it from Landroid
®
before storage during winter.
WARNING: Protect the underside of Landroid
®
from water. NEVER store Landroid
®
upside down
outdoors.
The boundary wire can be left in the ground but its ends should be protected, such as placed in a tin can with grease. If the
charging base is left outside for the winter, leave the boundary wire connected.
NOTE: When bringing Landroid
®
back to work after winter hibernation, make sure the charging strips and contact pins are
clean. We recommend using a fine grade emery cloth to clean the
contacts. Using the app, make sure the date and time are correct
and send Landroid
®
back to what it loves doing: mowing.
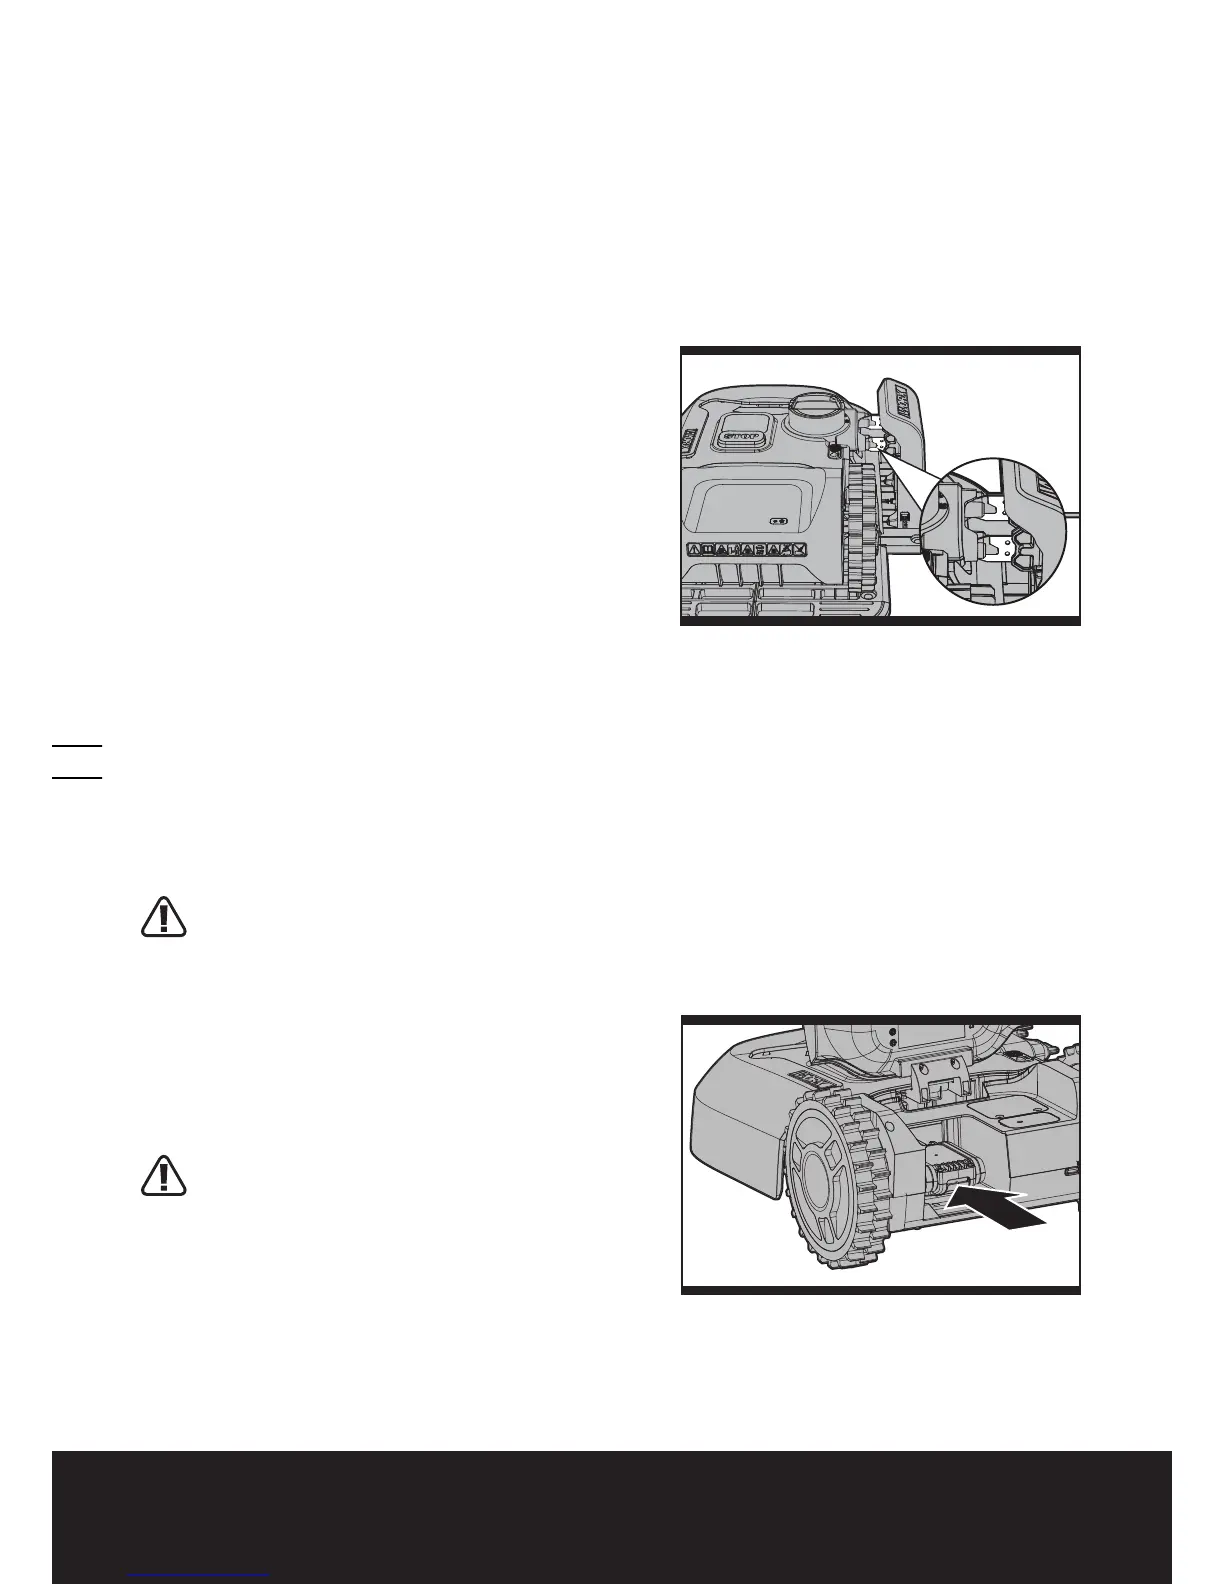
9.5 Replacing the battery
WARNING: Power off before attempting any
adjustment, replacement or repair.
Open the battery pack protection cover. Press down the battery
pack release button to remove the battery pack from Landroid
®
.
(See Fig. Q) Insert a new and fully charged battery pack into the
battery port. A simple push and slight pressure will be sufficient
until a click is heard. Check to see if the battery is fully secured.
 Loading...