13
Initial Settings Procedures Using
Control Panel
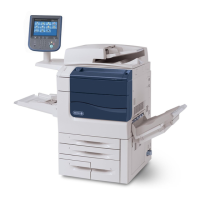
This section describes the initial settings related to Security Features, and how to set them on the machine’s
control panel.
Authentication for entering the System
Administration mode
1. Press the <Log In/Out> button on the control panel.
2. Enter "admin" with the keyboard displayed. This is the factory default "ID".
3. Select [Next] on the touch screen.
4. Enter "1111" for passcode from the keyboard.
5. Select [Enter] on the touch screen.
6. Press the <Machine Status> button on the control panel.
7. Select [Tools].
Use Passcode Entry from Control Panel
1. Select [Authentication/Security Settings] on the [Tools] screen.
2. Select [Authentication].
3. Select [Passcode Policy].
4. On the [Passcode Policy] screen, select [Passcode Entry from Control Panel].
5. Select [Change Settings].
6. On the [Passcode Entry from Control Panel] screen, select [On].
7. Select [Save].
8. To exit the [Passcode Policy] screen, select [Close].
Change the System Administrator’s Passcode
1. Select [Authentication/Security Settings] on the [Tools] screen.
2. Select [System Administrator Settings].
3. Select [System Administrator’s Passcode].
4. Select [New Passcode].
5. Enter a new passcode of 9 or more characters using the keyboard displayed, and then select [Save].
6. Select [Retype Passcode].
 Loading...


