SShhaarriinngg aa FFoollddeerr oonn aa WWiinnddoowwss CCoommppuutteerr
Before you begin:
• Verify that your computer security software allows for file sharing.
• Verify that File and Printer Sharing For Microsoft Networks is enabled for each of your
connections.
Note: For assistance, contact your system administrator.
To activate sharing:
1. Open Windows Explorer.
2. Right-click the folder that you want to share, then select Properties.
3. Click the Sharing tab, then click Advanced Sharing.
4. At the prompt, Do you want to allow this app to make changes to your device?, click Yes.
5. Select Share this folder.
6. Click Permissions.
7. Select the Everyone group, then verify that all permissions are enabled.
8. Click OK.
9. Click OK again.
10. Click Close.
Note the Share name for later use.
SShhaarriinngg aa FFoollddeerr UUssiinngg MMaacciinnttoosshh OOSS XX VVeerrssiioonn 1100..77 aanndd LLaatteerr
1. From the Apple menu, select System Preferences.
2. From the View menu, select Sharing.
3. From the Service list, select File Sharing.
4. For Shared Folders, click the Plus icon (+).
A folder list appears.
5. Select the folder that you want to share on the network, then click Add.
6. To modify access rights for your folder, select it. The groups activate.
7. From the Users list, click Everyone, then use the arrows to select Read & Write.
8. Click Options.
9. Share the folder:
• To share the folder with Windows computers, select Share files and folders using SMB.
• To share the folder with specific users, for each user name, select On.
10. Click Done.
11. Close the System Preferences window.
Note: When you open a shared folder, a Shared Folder banner appears in the Finder for the
folder and subfolders.
Xerox
®
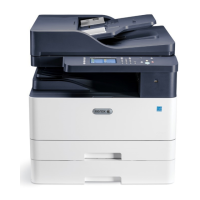
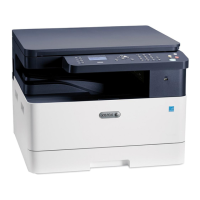
B1022 Multifunction Printer
User Guide
59
Using the Services

 Loading...


