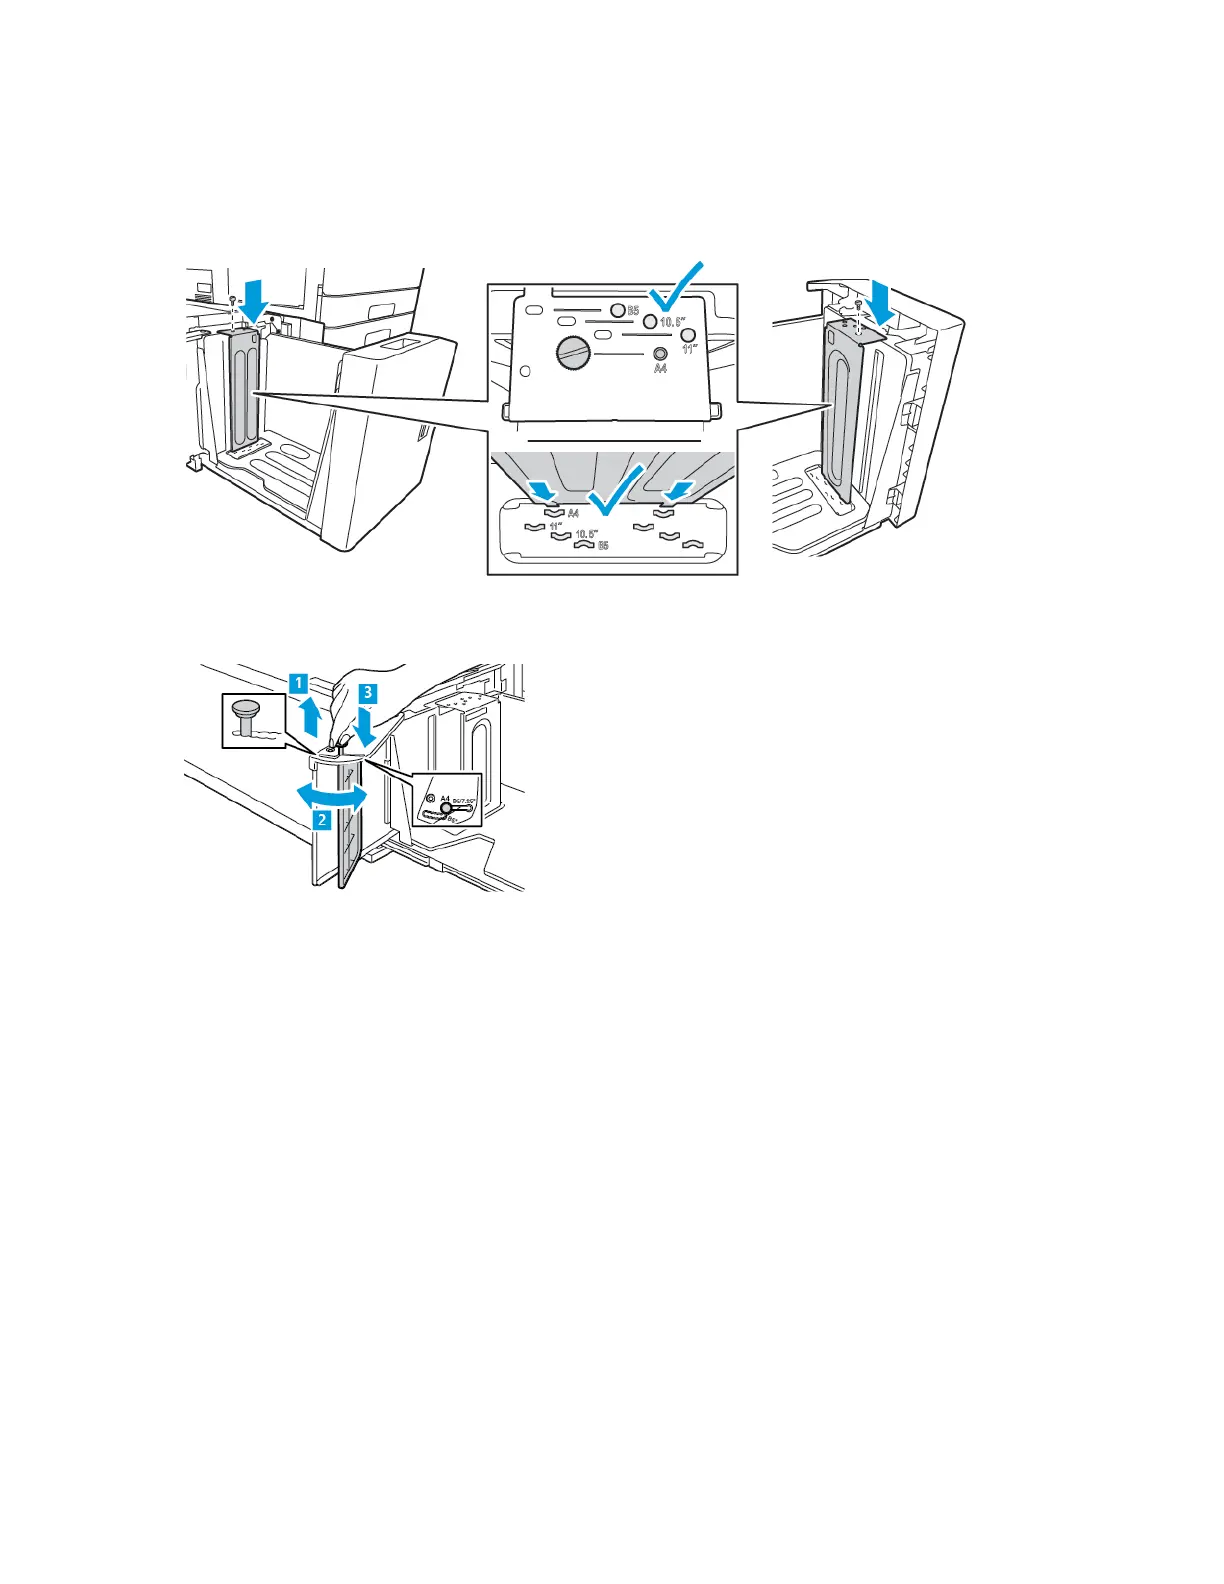
3. For the rear spacer plate, place the tabs at the bottom of the plate into the slots that correspond
with the correct paper size. Slide down the spacer plate, then engage the peg on the top of the
tray with the matching hole in the spacer plate. To secure the spacer plate, install the screw.
Repeat the procedure for the spacer plate at the front of the tray.
4. On the top of the side gate, lift the pin, then guide it into the required paper size in the slot. To
lock the side gate into place, release the pin.
5. Load paper, close the side gate, then close the tray.
6. At the control panel, select the correct type and color.
7. To confirm the settings, touch Confirm.
For information about loading paper in Tray 6, refer to Loading Paper in Tray 6.
194
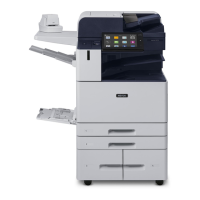
Xerox
®
AltaLink
®
C81XX Series Color Multifunction Printer
User Guide
Paper and Media
 Loading...