Scanning and Configuring One Touch
Xerox
®
DocuMate
®
4799
User’s Guide
6-83
6. Put the document(s) in the scanner and start scanning with the button you set to use the Send to Application
destination.
7. The scanner starts scanning and, when finished, sends the scanned file to the application you selected.
Technical note
• After configuring this link, you may need to click Refresh in the One Touch Properties window to show the
correct application icon in the Select destination list.
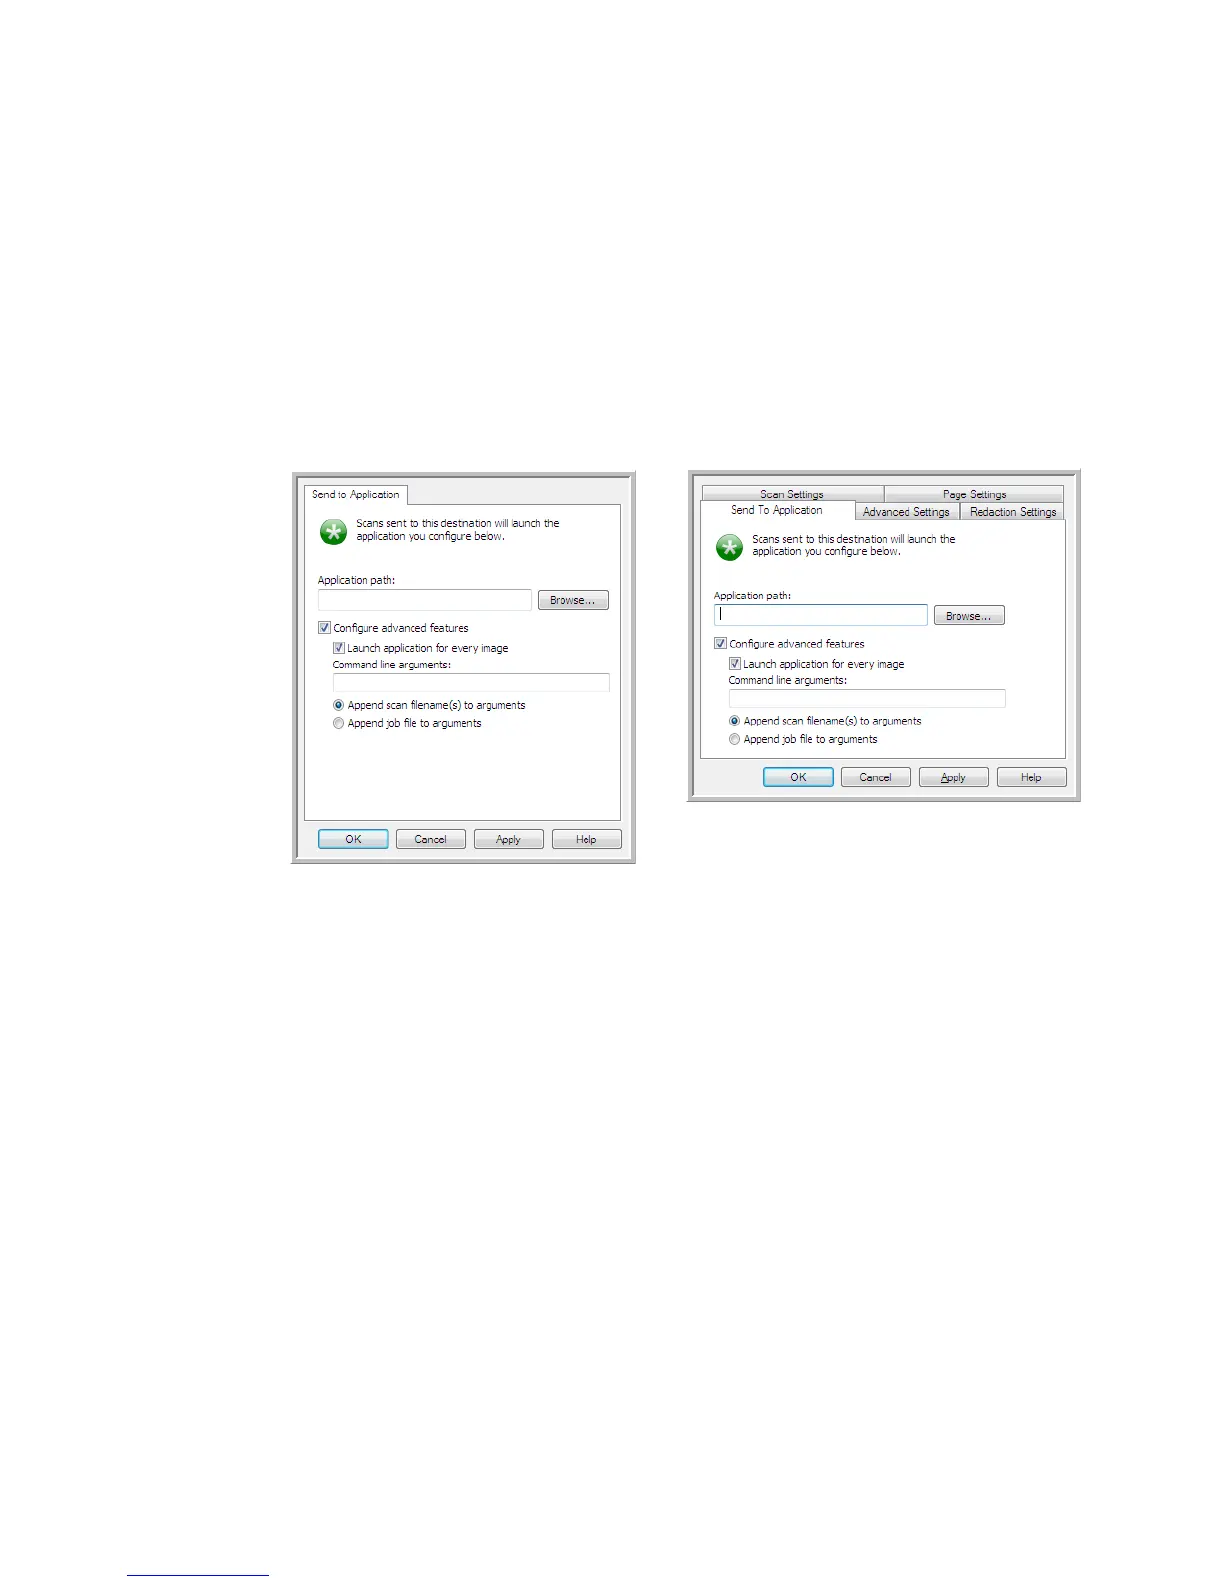
Configure advanced features—select this option to change the default settings for this link. Only advanced
users and application developers should modify these settings.
• Launch application for every image—when this option is selected, the application will open one time for
each image scanned. You should deselect this option only if the application you are scanning to will accept
multiple page files.
For example, Microsoft’s Paint application can only accept 1 image at a time, so when scanning multiple
images, Paint would open each time an image is transferred when this option is selected. On the other hand,
Microsoft’s WordPad will open a multiple page file, so when scanning multiple images WordPad would need
to launch only one time when this option is not selected. If you scan to WordPad and this option is still
selected, then WordPad will open 1 time for each image transferred.
• Command line arguments—input the options that are to be used when the application is launched. These
values are application specific and you should only input values that were provided to you by the application
developer. Command line arguments are not required for you to use this link, the field can be left blank and
you can change the other settings in this section as needed.
• Append scan filename(s) to arguments—this option adds the name of every image file to the end of the
list of arguments specified above. This is the default selection as most applications do not require, and may
not work with, a job file containing the image names.
• Append job file to arguments—this option adds the name of a job file to the end of the list of arguments
specified above. This unique file is created at scan time and contains a list of every image in the scan job.
Only select this option if you are sure that the application you are scanning to can use the job file to accept
image transfer.
Send to Application One Touch Link
Properties window
Send to Application Scan Configuration
Properties window
 Loading...