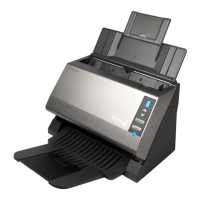
Installation DocuMate 700
2 User’s Guide
Step 1: Install the Software
The installation disc contains the necessary driver, and scanning software, to use your
DocuMate 700.
To install the software:
1. Start Microsoft Windows and make sure that no other applications are running.
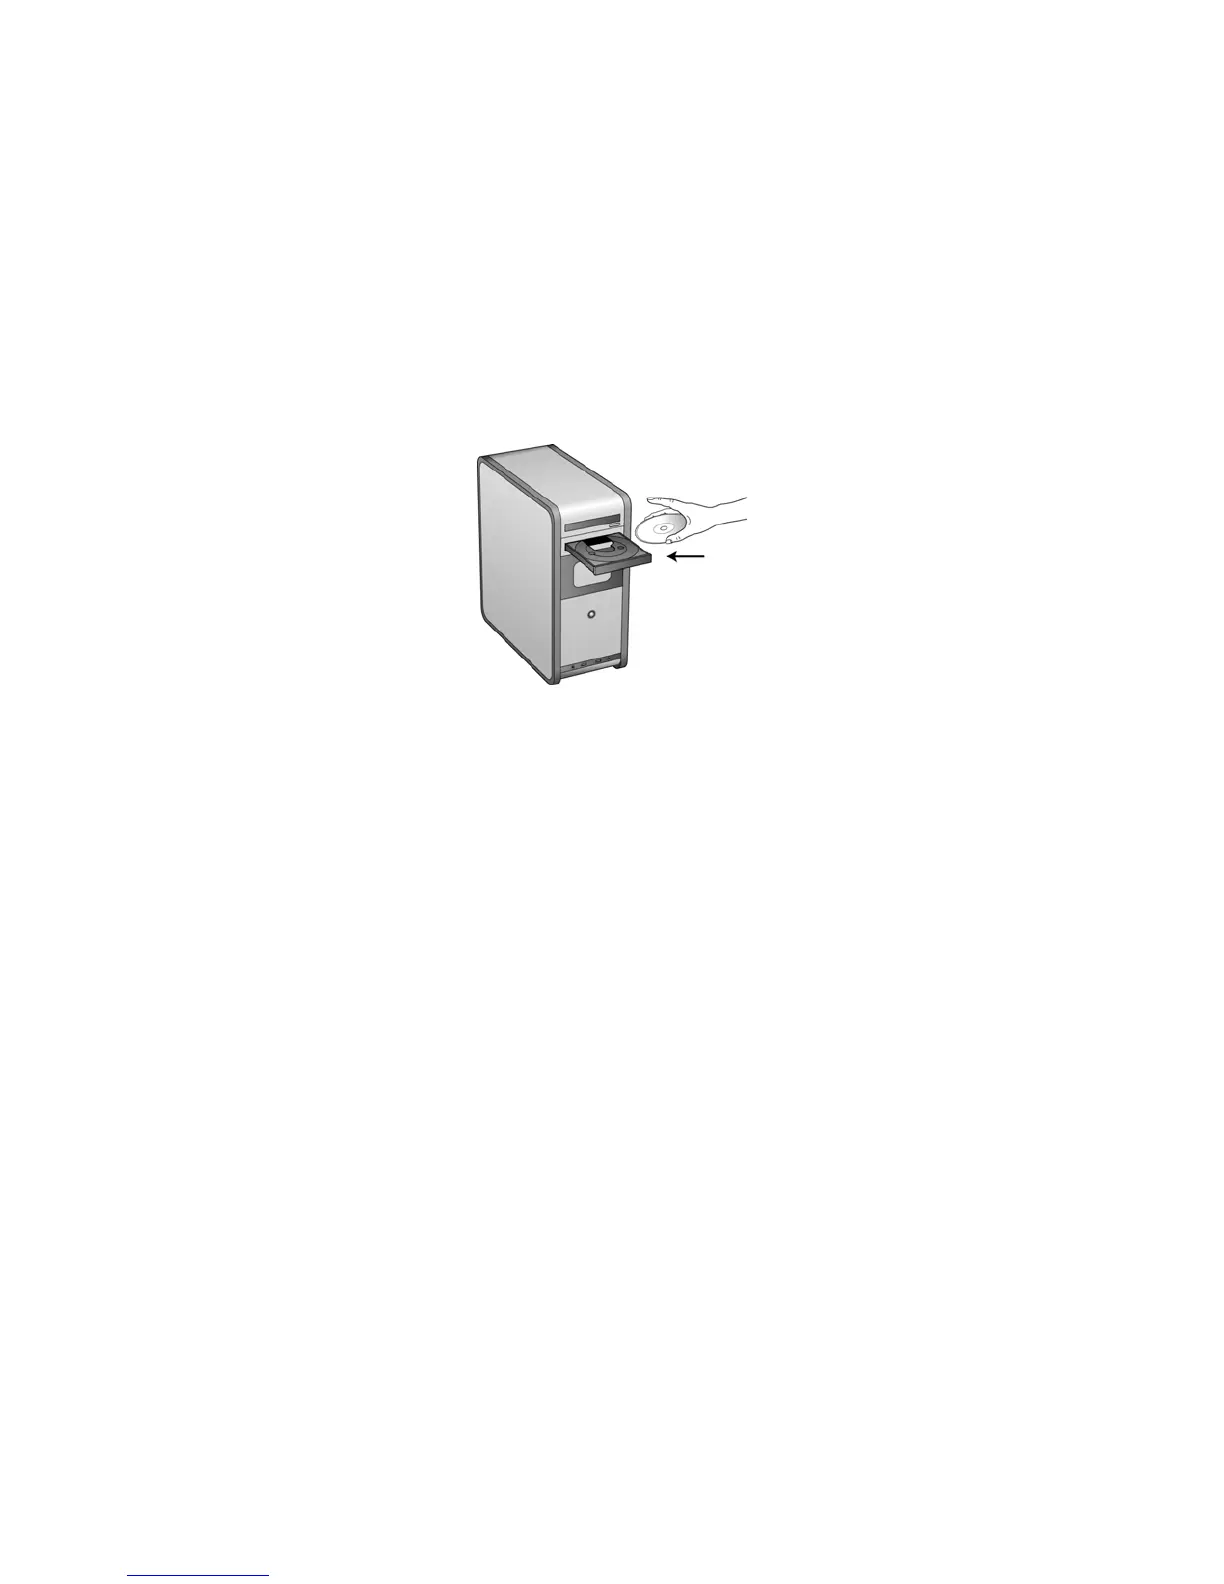
2. Insert the installation disc into your computer’s DVD-ROM drive.
The disc automatically starts.
3. The Select Language window opens. Click the drop-down menu arrow and select the
language to use. Click OK.
4. The disc’s Main Menu window opens.
NOTE: If the disc does not start, check the following:
• Make sure the disc drive’s door is completely shut.
• Make sure the disc was inserted in the drive in the proper direction (label side up).
To launch the disc manually:
• Open the Windows options for your computer’s disc drives.
• Double-click the icon for your DVD-ROM drive.
• The Installation menu for the disc should now open.
If the menu does not open:
• From the list of files on the disc, double-click the file named START32.EXE.
NOTE: The Scanner Readme file has late-breaking news about your scanner. The readme
file is in HTML format and will open in any standard browser.
 Loading...