VC7222 IBERT Getting Started Guide www.xilinx.com 5
UG971 (v5.0) June 12, 2014
Chapter 1
VC7222 IBERT Getting Started Guide
Overview
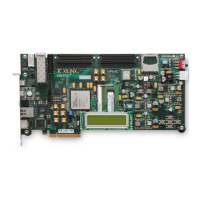
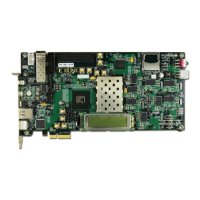
This document provides a procedure for setting up the Virtex®-7 FPGA VC7222 GTH and
GTZ Transceiver Characterization Board to run the Integrated Bit Error Ratio Test (IBERT)
demonstration using the Vivado® Design Suite. The designs required to run the IBERT
demonstration are stored in the Secure Digital (SD) memory card provided with the
VC7222 board. A copy of the designs can also be found at the Virtex-7 FPGA VC7222
Characterization Kit documentation website.
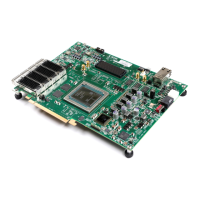
The VC7222 board is described in detail in Virtex-7 FPGA VC7222 GTH and GTZ Transceiver
Characterization Board User Guide (UG965) [Ref 1].
The IBERT GTH demonstration operates one GTH Quad at a time. The procedure
consists of:
• Setting Up the VC7222 Board for GTH and GTZ IBERT Testing, page 6
• Extracting the Project Files, page 7
• Connecting the GTH Transceivers and Reference Clocks, page 8
• Configuring the FPGA, page 13
• Setting Up the Vivado Design Suite Software, page 15
• Starting the SuperClock-2 Module, page 18
• Viewing GTH Transceiver Operation, page 24
• Closing the IBERT Demonstration, page 25
The IBERT GTZ demonstration operates 8 GTZ lanes using both Q300A and Q300B. The
procedure consists of:
• Connecting the GTZ Transceiver and Reference Clocks, page 25
• Configuring the FPGA, page 30
• Setting up the Vivado Design Suite Software, page 31
• Starting the SuperClock-2 Module, page 18
• Viewing the GTZ Transceiver Operation, page 38
• Closing the IBERT Demonstration, page 39

 Loading...