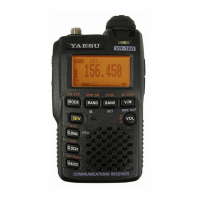
8 VR-120D OPERATING MANUAL
Installation of Accessories
BATTERY INSTALLATION
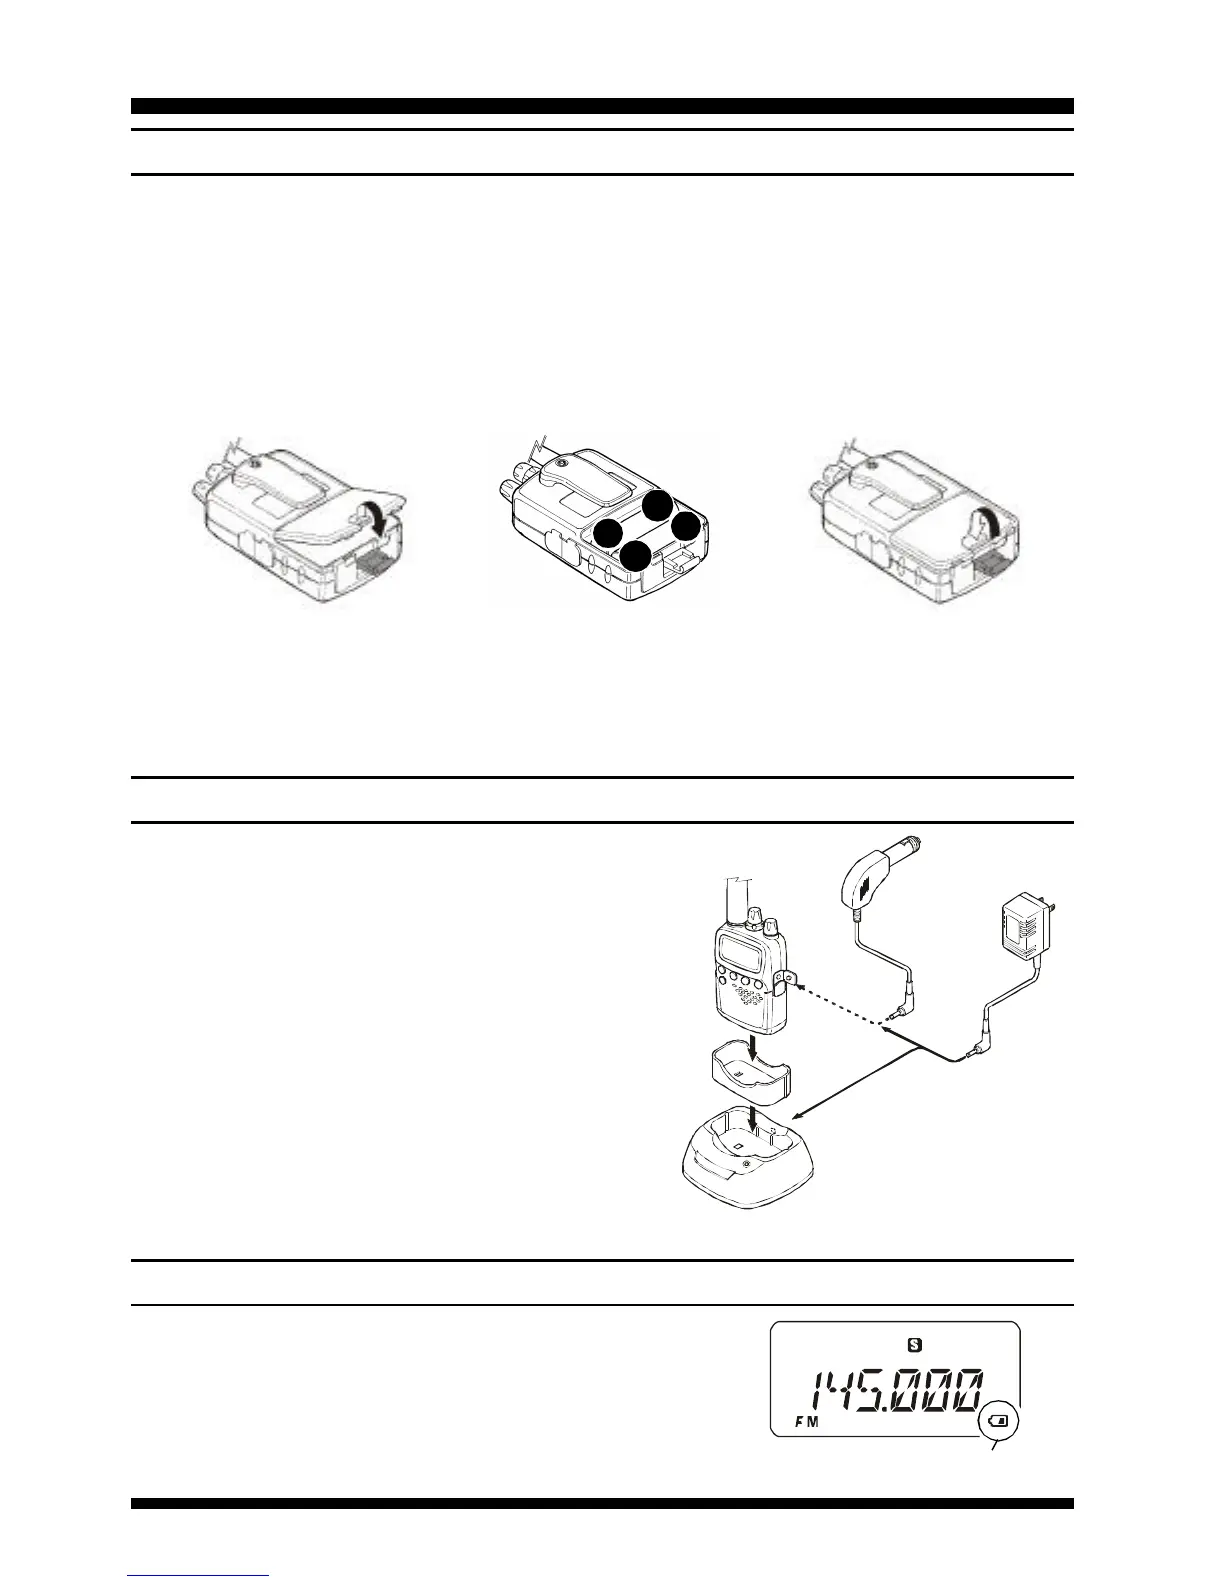
r Referring to Figure 1, unlock the plate by pushing the latch in the "Open" direction.
r Remove the Battery Cover from the receiver.
r Referring to Figure 2, insert 2 fresh AA batteries into the Battery Holder. When
installing batteries, insert the (-) end first, then press in the (+) end so the battery snaps
into place. Always replace two batteries at the same time.
r Referring to Figure 3, replace the Battery Cover, then re-lock the bottom plate by
carefully pressing the hinged latch cover back into its normal operating position.
Figure 1 Figure 2 Figure 3
Note: If you do not use the VR-120D for a long time, remove the batteries from the radio,
as battery leakage could cause damage to the VR-120D.
LOW BATTERY INDICATION
When the battery voltage becomes too low, the "Battery"
icon will appear in the display; indicating the batteries
should be replaced. As battery voltage drops further, the
VR-120D will shut off.
"Battery" icon
FNB-79 BATTERY PACK (OPTION) CHARGING
Please see the Instruction Sheet accompanying the
FNB-79 for installation information.
r If the FNB-79 battery pack never been used,
or its charge is depleted, it may be charged by
connecting the PA-30 AC Adapter and NC-
82 Charger stand (requires CA-34 Charger
sleeve), as shown in the illustration, to the EXT
DC jack.
r Allow a minimum of 15 hours (with NC-82,
otherwise; 20 hours) for the FNB-79 to reach
full charge.
−
+
+
−
AC ine
PA-30
(Option)
E-DC-15
(Option)
NC-82
(Option)
CA-34
(Option)
 Loading...