21
FTM-100DR/DE
1. Press and hold the [D X] key and the POWER switch to turn the transceiver ON.
“PDN” is displayed on the LCD screen.
2. Press the [A/B](DW) key to select “Access Point” or “Direct Operation”.
Depending on the operation mode chosen, the sub frequency display will show as follows:
Access Point: “
(
Frequency display
)
”
Direct Operation: “DIRECT”
• To return the transceiver to the normal mode, repeat procedure 1 above.
• To switch between “Portable Digital Node Mode” and “Portable HRI Mode”, start with the normal mode first and then
perform the above operation.
• The portable station transceiver cannot use the News Station feature or the GM feature.
Setting the transceiver (Access Point only)
When using the “Access Point", it is necessary to set the node station transceiver parameters, such as operating fre-
quency and DG-ID number on the portable node station transceiver.
When using the “Direct Operation”, it is not necessary to set the frequency and parameters on the transceiver, just
proceed to “Start operation of Portable Node” (page 27).
1. To set the operating frequency:
Use the transceiver DIAL knob, the Numeric keypad input screen, or the memory channel to set the operating frequency.
In the “Transceiver Setting Screen”, the portable Access Point function is not working. You may communicate
normally with C4FM digital mode (DN mode only) with the transceiver.
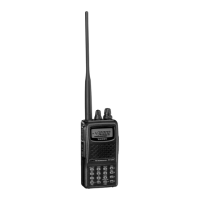
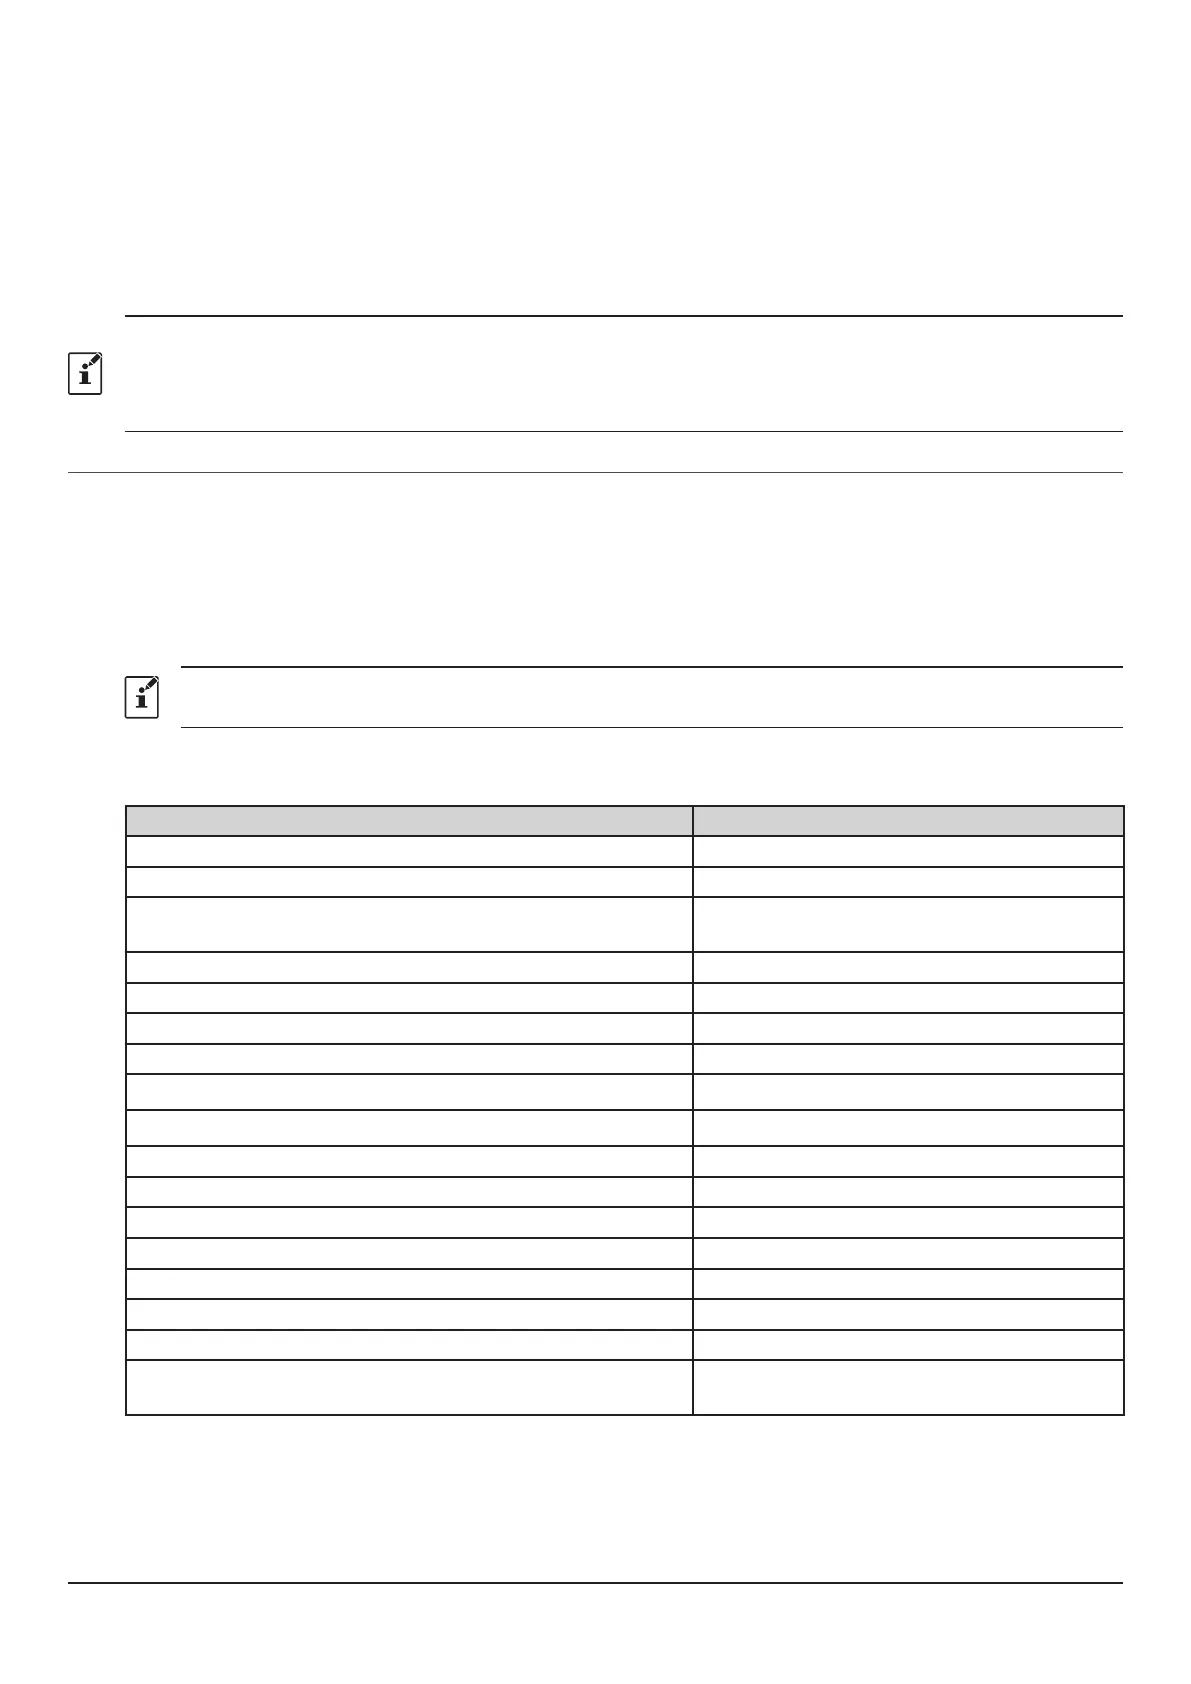
FT5D
On the frequency setting screen, you can set and operate the following with the transceivers key and DIAL knob settings.
Function Key or Dial
Switches between the Access Point and the Direct Operation
Press the A/B key
Starts operation for the Portable Digital Node Press and hold the GM/X key
Sets the operation frequency
Rotate the DIAL knob or press the Numeric
keypad input screen
Displays the Function Menu Screen Press the F
menu key
Switches between the VFO mode and the Memory Channel mode
Press the V/M
●
key
Moves operation to the next-highest frequency band Press the BAND key
Sets the transmit and receive DG-ID number Touch [DG-ID] on the Function Menu Screen
Selects the Transmission Power Level Touch [TXPWR] on the Function Menu Screen
TX/BUSY LED turn OFF/ON Press and hold the PMG
●
key
Enters the Set mode* Press and hold the F
menu key
Enters the BACKTRACK screen Touch [DISP] on the Function Menu Screen
Registering to Memory Channel Press and hold the V/M
●
key
Recalls the “HOME” channel Touch [HOME] on the Function Menu Screen
Squelch OFF While MONI key is pressed
Adjusts the squelch level Press the SQL key, then rotate the DIAL knob
Reverses the transmit and receive frequencies Touch [REV] on the Function Menu Screen
Switches Busy detection between “Noise squelch” and “DG-ID
number match”.
Press and hold the A/B key
*
Some setting items in the set mode are automatically set for the Portable Digital Node function, so these settings cannot be used.

 Loading...