Maintenance
65
sion from cavitation or ventilation, or other
damage.
●
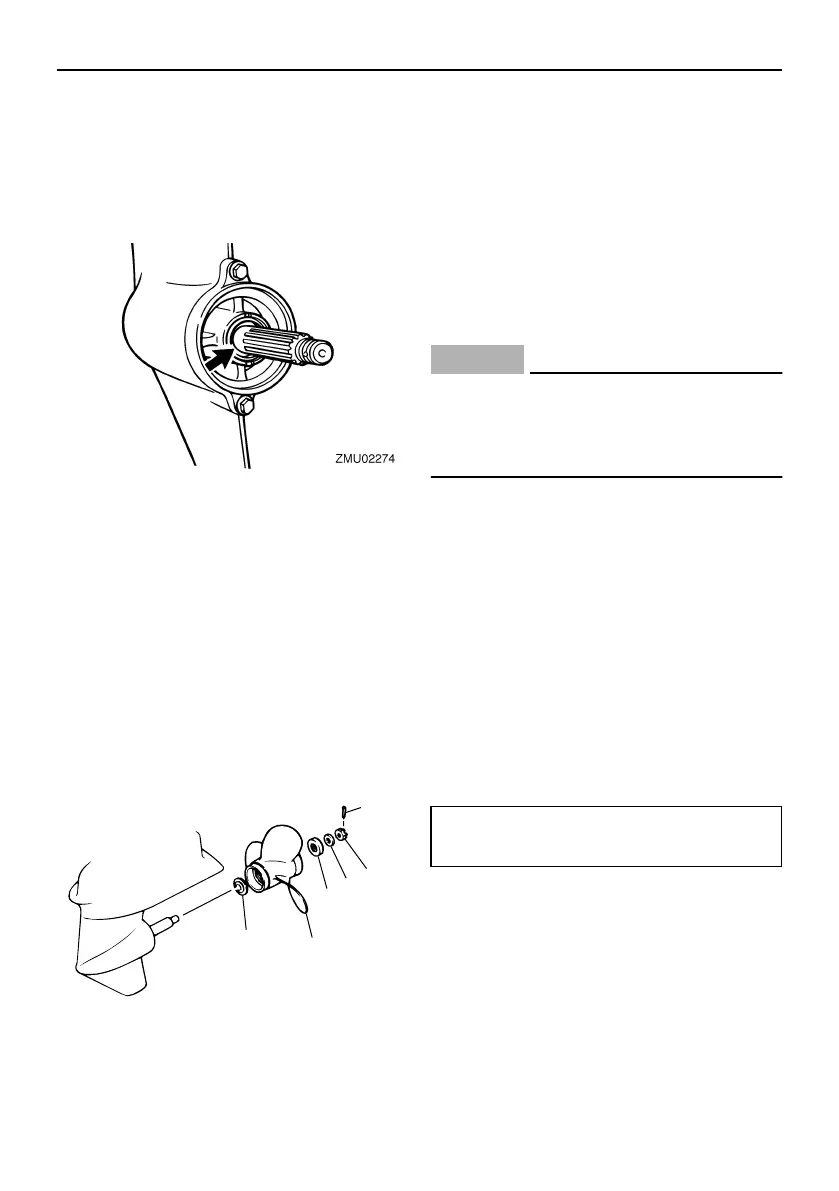
Check the propeller shaft for damage.
●
Check the splines for wear or damage.
●
Check for fish line tangled around the pro-
peller shaft.
●
Check the propeller shaft oil seal for dam-
age.
EMU30662
Removing propeller
EMU29197
Spline models
1. Straighten the cotter pin and pull it out
using a pair of pliers.
2. Remove the propeller nut, washer, and
spacer (if equipped).
WARNING! Do
not use your hand to hold the propel-
ler when loosening the propeller nut.
[EWM01890]
3. Remove the propeller, washer (if
equipped), and thrust washer.
EMU30672
Installing propeller
EMU29233
Spline models
NOTICE
ECM00500
Be sure to use a new cotter pin and bend
the ends over securely. Otherwise the
propeller could come off during opera-
tion and be lost.
1. Apply Yamaha marine grease or a cor-
rosion resistant grease to the propeller
shaft.
2. Install the spacer (if equipped), thrust
washer, washer (if equipped), and pro-
peller on the propeller shaft.
NOTICE:
Be sure to install the thrust washer
before installing the propeller, other-
wise the lower case and propeller
boss could be damaged.
[ECM01880]
3. Install the spacer (if equipped) and the
washer. Tighten the propeller nut to the
specified torque.
4. Align the propeller nut with the propeller
shaft hole. Insert a new cotter pin in the
hole and bend the cotter pin ends.
NOTICE:
Do not reuse the cotter pin
installed. Otherwise the propeller can
come off during operation.
[ECM01890]
1. Cotter pin
2. Propeller nut
ZMU03131
1
2
3
5
6
4
3. Washer
4. Spacer
5. Propeller
6. Thrust washer
Propeller nut tightening torque:
35.0 Nm (3.57 kgf-m, 25.8 ft-lb)
 Loading...