12
DXS12/DXS15
B. Disassembly of Amp Assembly
* Before disassembly, remove the amp assembly in
advance. (See procedure A-5.)
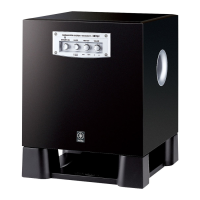
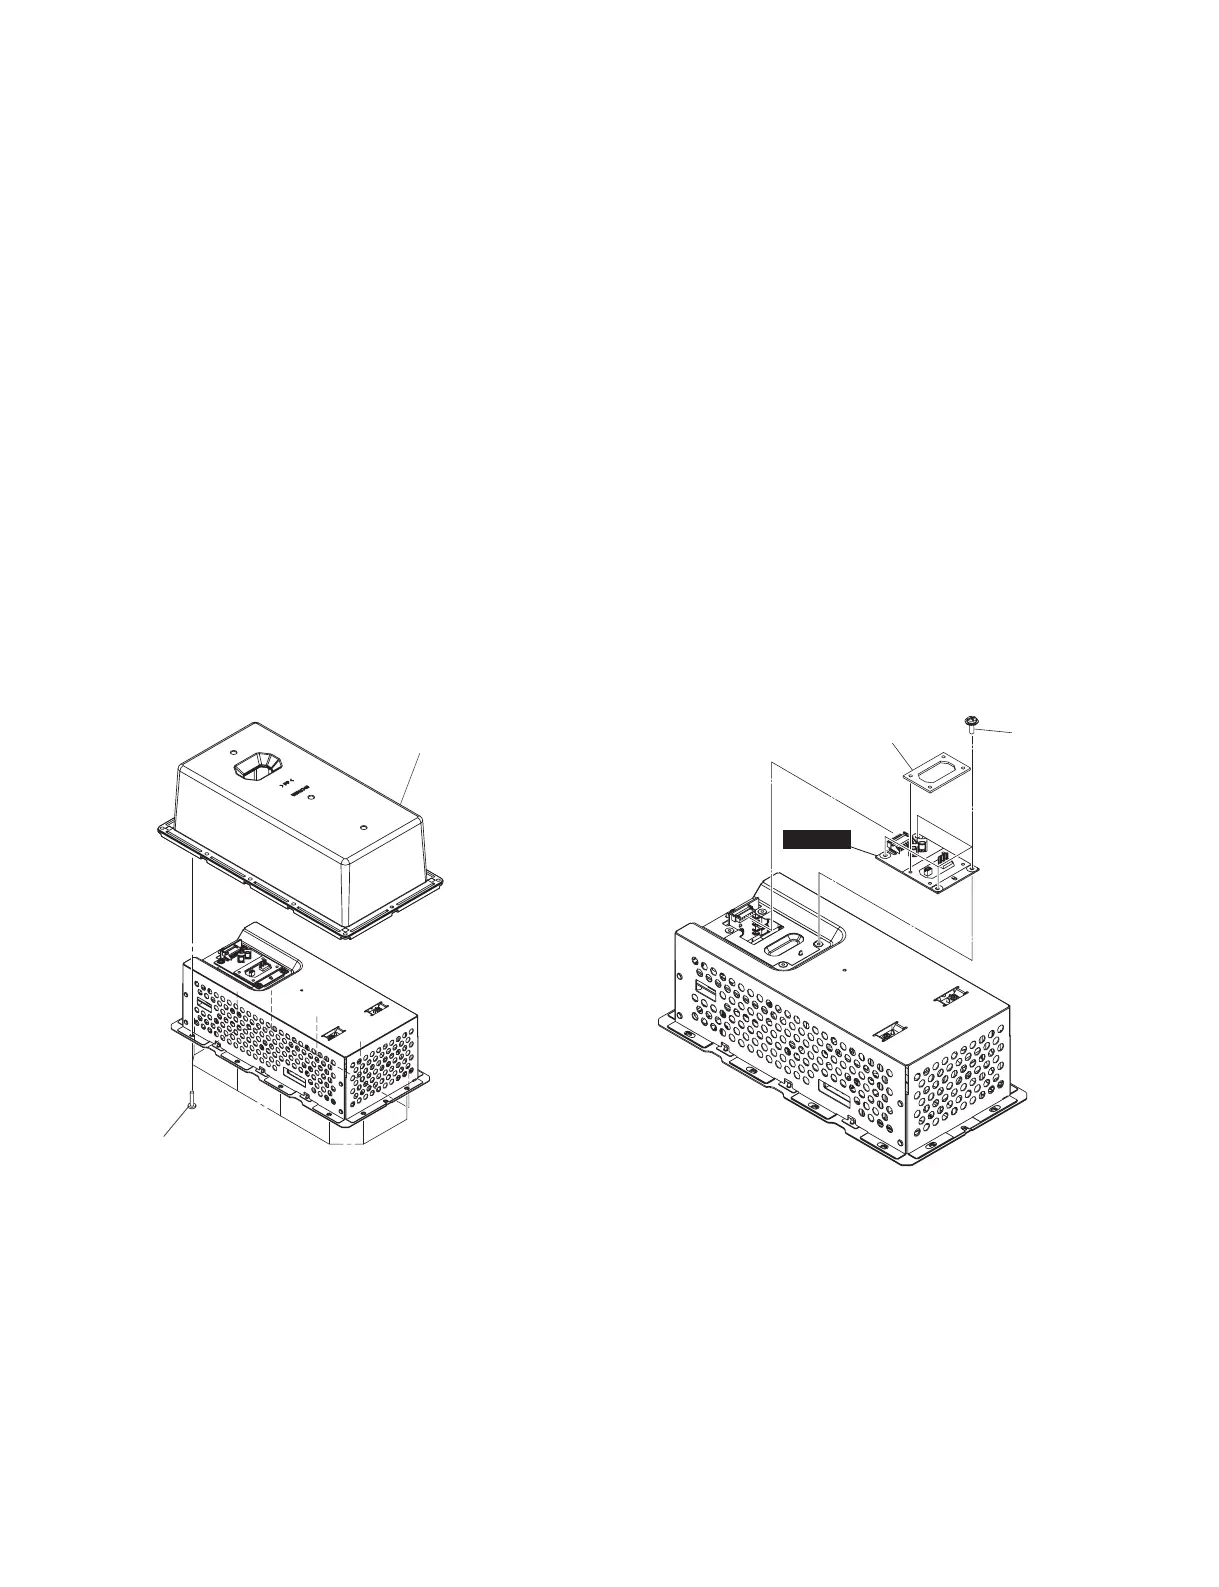
B-1. Amp Cover Assembly
(Time required: About 2 minutes)
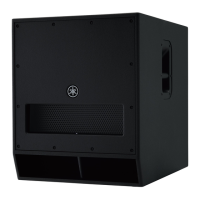
B-1-1 Remove the twelve (12) screws marked [540]. The amp
cover assembly can then be removed. (Fig. B-1)
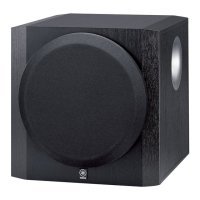
B-2. SUBW3 Circuit Board
(Time required: About 3 minutes)
B-2-1 Remove the amp cover assembly. (See procedure B-1.)
B-2-2 Remove the four (4) screws marked [500]. The SUBW3
circuit board can then be removed. (Fig. B-2)
* The cushion OUT is not part of the SUBW3 circuit
board. When replacing the SUBW3 circuit board,
remove the cushion OUT from the SUBW3 circuit
board and install it to the new circuit board.
(Fig. B-2)
B. アンプ Ass'y の分解
※ 分解の前に、あらかじめアンプ Ass
'
y を外しておきます。
(A-5 項参照)
B-1. アンプカバー Ass'y
(所要時間:約 2 分)
B-1-1 [540] のネジ 12 本を外して、アンプカバー Ass'y
を外します。(図 B-1)
B-2. SUBW3 シート
(所要時間:約 3 分)
B-2-1 アンプカバー Ass'y を外します。(B-1 項参照)
B-2-2 [500] のネジ 4 本を外して、SUBW3 シートを外し
ます。(図 B-2)
※ クッション OUT は、SUBW3 シートの構成部品ではあ
りません。SUBW3 シートを交換する際には、SUBW3
シートからクッション OUT を取り外して、新しいシー
トに取り付けてください。(図 B-2)
Fig. B-1
(図B-1)
Fig. B-2
(図B-2)
$03&29(5$66(0%/<
( アンプカバー Assy)
>@
&86+,21287
(クッション OUT)
>@
68%:
 Loading...