EasyManuals Logo
Home>3xLogic>Security Camera>VX-2A-B-IWD

3xLogic VX-2A-B-IWD User Manual

3xLogic VX-2A-B-IWD
80 pages
To Next Page IconTo Next Page
To Previous Page IconTo Previous Page
Page #32 background imageLoading...
Page #32 background image
Hardware and Installation Manual| VISIX V-Series All-in-One Cameras Gen I
12000 Pecos Street, Suite 290, Westminster, CO 80234 | www.3xlogic.com | (877) 3XLOGIC
32
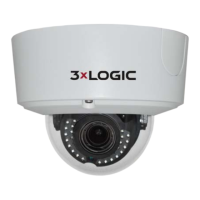
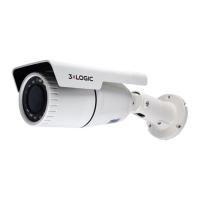
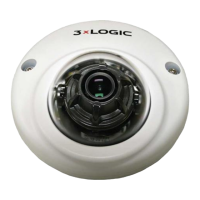
3.7.2 CEILING MOUNT- VX-2AD-CM
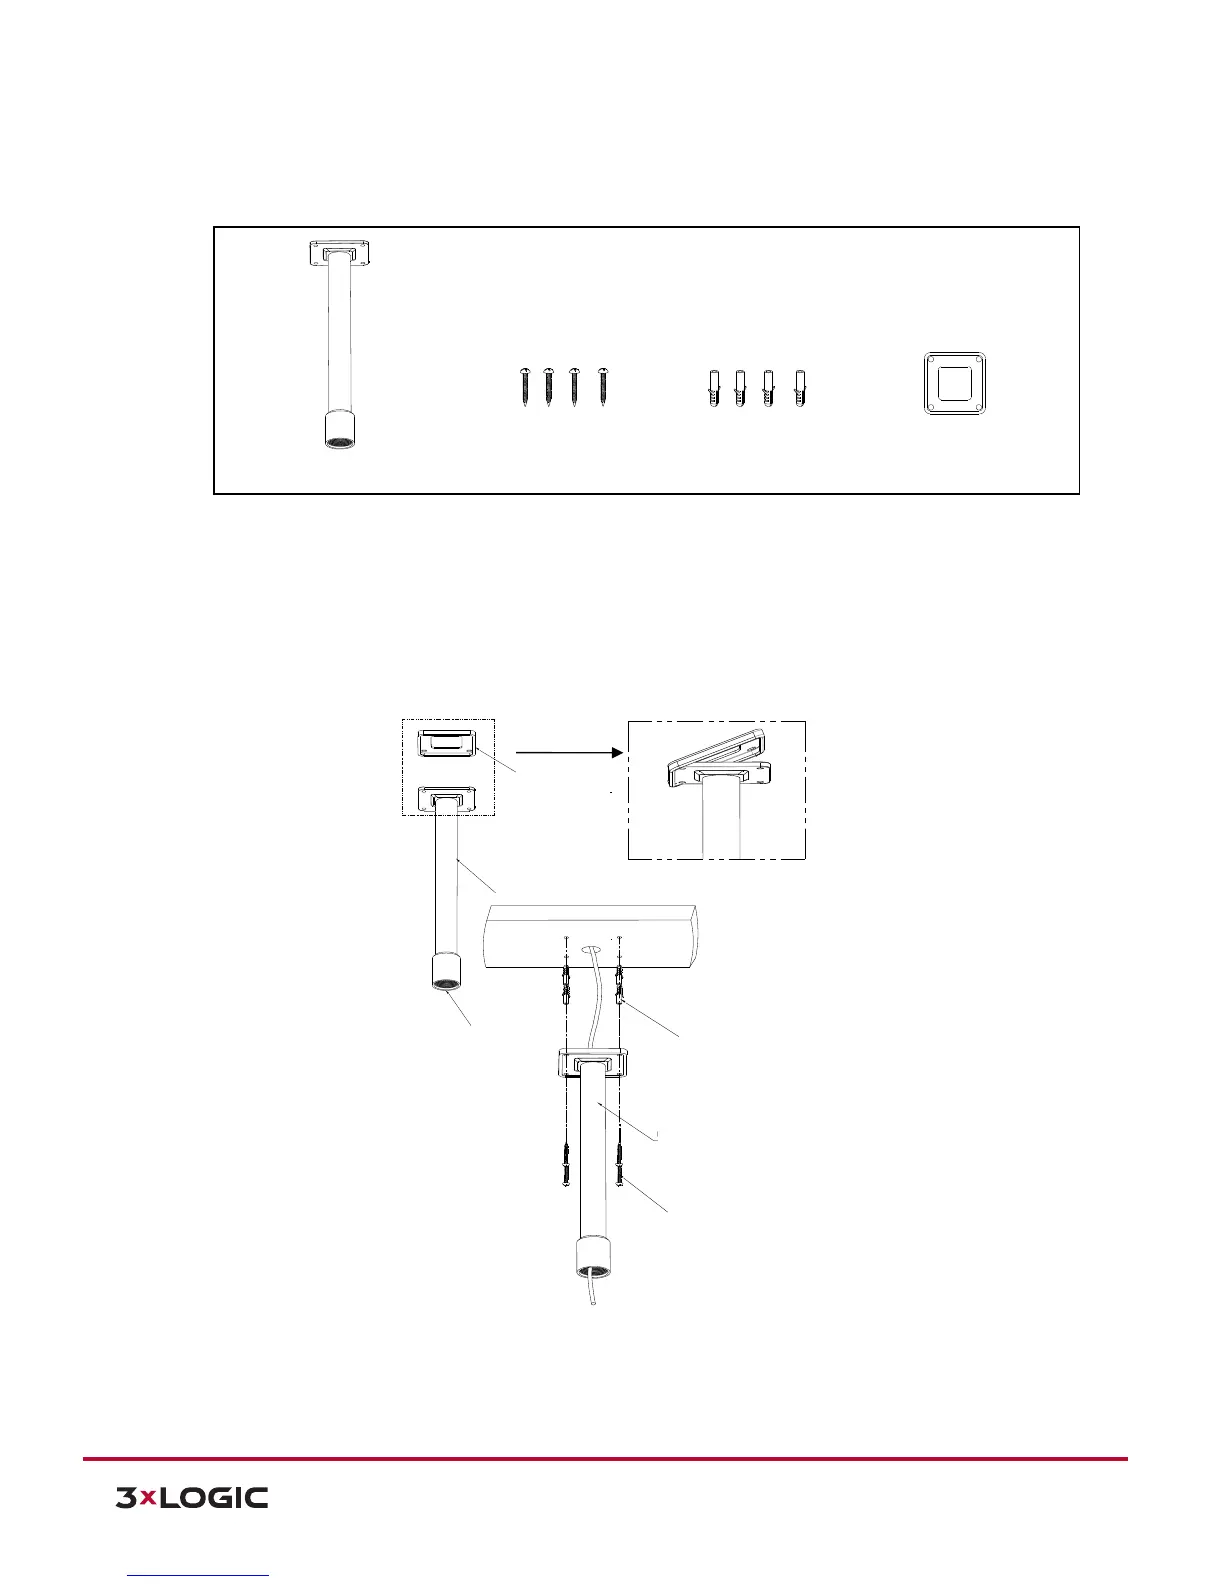
Contents
Installation
Steps:
1). Cover the ceiling mount bracket with the waterproof gasket like the squared image on the left.
2). Drill the four holes on the installation surface based on the screw holes on the ceiling mount
bracket, and insert the plastic anchors into the holes. Then, insert the tapping screws through
the screw holes on the ceiling mount bracket into the anchor blocks to tighten the bracket into
the ceiling.
M5 Tapping Screw x 4
Plastic Anchor x 4
Ceiling Mount Bracket x 1
Waterproof Gasket x 1
Wall Mount
Bracket
Waterproof
Gasket
NPT 1-1/4
Plastic Anchor
Ceiling Mount
Bracket
Tapping Screw

Table of Contents

Questions and Answers:

Question and Answer IconNeed help?

Do you have a question about the 3xLogic VX-2A-B-IWD and is the answer not in the manual?

3xLogic VX-2A-B-IWD Specifications

General IconGeneral
Brand3xLogic
ModelVX-2A-B-IWD
CategorySecurity Camera
LanguageEnglish

Related product manuals