 Loading...
Do you have a question about the Allen-Bradley CompactLogix Series and is the answer not in the manual?
| Communication Ports | EtherNet/IP |
|---|---|
| Programming Software | Studio 5000 Logix Designer |
| Power Supply | 24V DC |
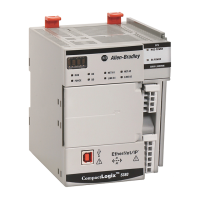
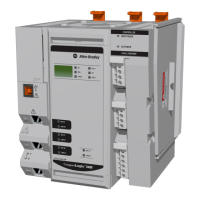
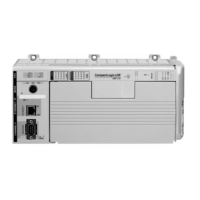
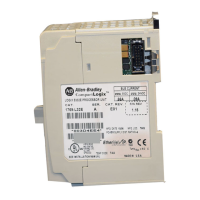
| Series | CompactLogix |
| Programming Languages | Ladder Diagram (LD), Structured Text (ST), Function Block Diagram (FBD), Sequential Function Chart (SFC) |
| Operating Temperature | 0°C to 60°C (32°F to 140°F) |
| Mounting | DIN rail |
| Processor Type | Various (depends on model) |
Provides an overview of the quick start guide, its purpose, and content.
Details the RSLogix 5000 editions needed for different network types.
Lists essential software packages like RSLinx, ControlFlash, etc.
Lists general hardware components required for the system setup.
Lists hardware specific to EtherNet/IP, ControlNet, and DeviceNet configurations.
Explains formatting conventions used in the manual for clarity.
Lists relevant Rockwell Automation publications for further technical details.
Guides the user to determine the correct network and hardware for the system.
Lists all required hardware components for preparing the CompactLogix hardware.
Instructions for assembling the controller, power supply, and I/O modules.
Guides on connecting Ethernet, ControlNet, or serial cables to the controller.
Instructions for wiring the power supply to the CompactLogix system.
Ensures the computer meets software requirements and has necessary hardware installed.
Lists required software, hardware, and network information for computer setup.
Step-by-step guide for installing the RSLogix 5000 programming software.
Guides on configuring the computer's IP address for network connectivity.
Steps to set up the EtherNet/IP driver within the RSLinx software.
Instructions for loading firmware onto the controller using ControlFlash software.
Guides selection of appropriate POINT I/O network adapters and mounting bases.
Lists the necessary POINT I/O adapters, mounting bases, modules, and power supplies.
Instructions for mounting and connecting Ethernet, ControlNet, or DeviceNet adapters.
Detailed steps for mounting POINT I/O modules onto wiring bases and the DIN rail.
Instructions for mounting and wiring the POINT I/O power supply unit.
Guides selection of the correct communication adapter for the PowerFlex 70 drive.
Lists the required PowerFlex 70 drive and communication adapter modules.
Instructions for wiring AC power and ground to the PowerFlex 70 drive.
Steps to configure communication adapters (EtherNet/IP, ControlNet, DeviceNet) for the drive.
Guides on physically connecting the communication adapter to the drive.
Guides selection of the correct communication adapter for the PowerFlex 40 drive.
Lists the required PowerFlex 40 drive, communication adapters, and covers.
Instructions for wiring AC power and ground to the PowerFlex 40 drive.
Steps to configure communication adapters (EtherNet/IP, ControlNet, DeviceNet) for the drive.
Guides on physically connecting the communication adapter to the drive.
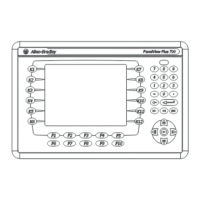
Guides network connection choice (EtherNet/IP, ControlNet, serial) for the PanelView Plus.
Lists the PanelView Plus terminal, interface modules, power supply, and cables.
Instructions for installing a ControlNet interface module onto the PanelView Plus logic module.
Instructions for connecting DC power and common wires from the power supply to the terminal.
Guides on connecting Ethernet, ControlNet, or serial cables to the PanelView Plus.
Steps to assign an IP address to the PanelView Plus terminal via its configuration screen.
Ensures the computer and hardware are prepared and power is applied to devices.
Lists required software, network addresses, and IP address planning for EtherNet/IP.
Guides on using BOOTP/DHCP server to assign IP addresses to network devices.
Instructions for viewing the EtherNet/IP network and connected devices using RSLinx.
Ensures computer and hardware are prepared and connected to the ControlNet network.
Lists required software (RSNetWorx) and hardware (ControlNet card) for configuration.
Step-by-step guide to setting up the ControlNet driver within RSLinx software.
Ensures computer and hardware are prepared and connected to the DeviceNet network.
Lists required software (RSNetWorx) and hardware (power supply, tap) for DeviceNet.
Instructions for powering the DeviceNet network using the specified power supply.
Guides on setting the DeviceNet node address for the 1769-SDN scanner module.
Steps to create a DeviceNet configuration file using RSNetWorx software.
Advises configuring the network before creating the RSLogix 5000 project.
Lists required CompactLogix I/O modules for creating the project.
Step-by-step guide to initiating a new project within RSLogix 5000 software.
Instructions for configuring controller properties like IP address or node address.
Guides on adding local CompactLogix I/O modules to the project's I/O configuration.
Details on creating ladder logic to test local I/O modules using Examine On and Output Energize.
Instructions for setting communication paths and downloading the project to the controller.
Guides on adding the 1769-SDN DeviceNet scanner module to the RSLogix project.
Links to prior chapters for preparing hardware and creating the RSLogix project.
Lists required POINT I/O modules and necessary network software.
Instructions for adding POINT I/O network adapters (EtherNet/IP, ControlNet) to the project.
Guides on configuring DeviceNet adapter parameters using RSNetWorx software.
Steps to configure the DeviceNet subnet and associate configuration files in RSNetWorx.
Instructions for creating a DeviceNet scanlist and editing I/O parameters.
Steps to generate DeviceNet tags and incorporate them into ladder logic.
Instructions for saving and downloading the configured project to the controller.
Guides on setting the chassis size for POINT I/O modules in the project configuration.
Steps for scheduling the ControlNet network using RSNetWorx software.
Verifies the functionality of distributed I/O by testing lights and push buttons.
Links to previous chapters for preparing the drive and creating the RSLogix project.
Lists required network software for configuring the PowerFlex 70 application.
Guides on adding the PowerFlex 70 drive to the RSLogix project and establishing connection.
Instructions for editing PowerFlex 70 drive parameters for network control.
Steps to create a DeviceNet scanlist for the PowerFlex 70 drive using RSNetWorx.
Guides on generating DeviceNet tags for the PowerFlex 70 drive using the tag generator.
Instructions for downloading the project to the controller after configuring the drive.
Steps for scheduling the ControlNet network to include the PowerFlex 70 drive.
Verifies the drive's functionality by testing various tags and commands in RSLogix.
Links to previous chapters for preparing the drive and creating the RSLogix project.
Lists required network software for configuring the PowerFlex 40 application.
Guides on adding the PowerFlex 40 drive to the RSLogix project.
Steps to create a DeviceNet scanlist for the PowerFlex 40 drive using RSNetWorx.
Guides on generating DeviceNet tags for the PowerFlex 40 drive using the tag generator.
Instructions for downloading the project to the controller after configuring the drive.
Steps for scheduling the ControlNet network to include the PowerFlex 40 drive.
Instructions for editing PowerFlex 40 drive parameters using the drive keypad.
Verifies the drive's functionality by testing tags and commands in RSLogix.
Links to previous chapters for preparing the PanelView Plus and creating the RSLogix project.
Lists the required FactoryTalkView Machine Edition software for application creation.
Step-by-step guide to creating a new application in FactoryTalkView Studio software.
Guides on setting up the RSLinx Enterprise communication configuration within FactoryTalkView ME.
Instructions for creating device shortcuts to link the PanelView Plus to the controller.
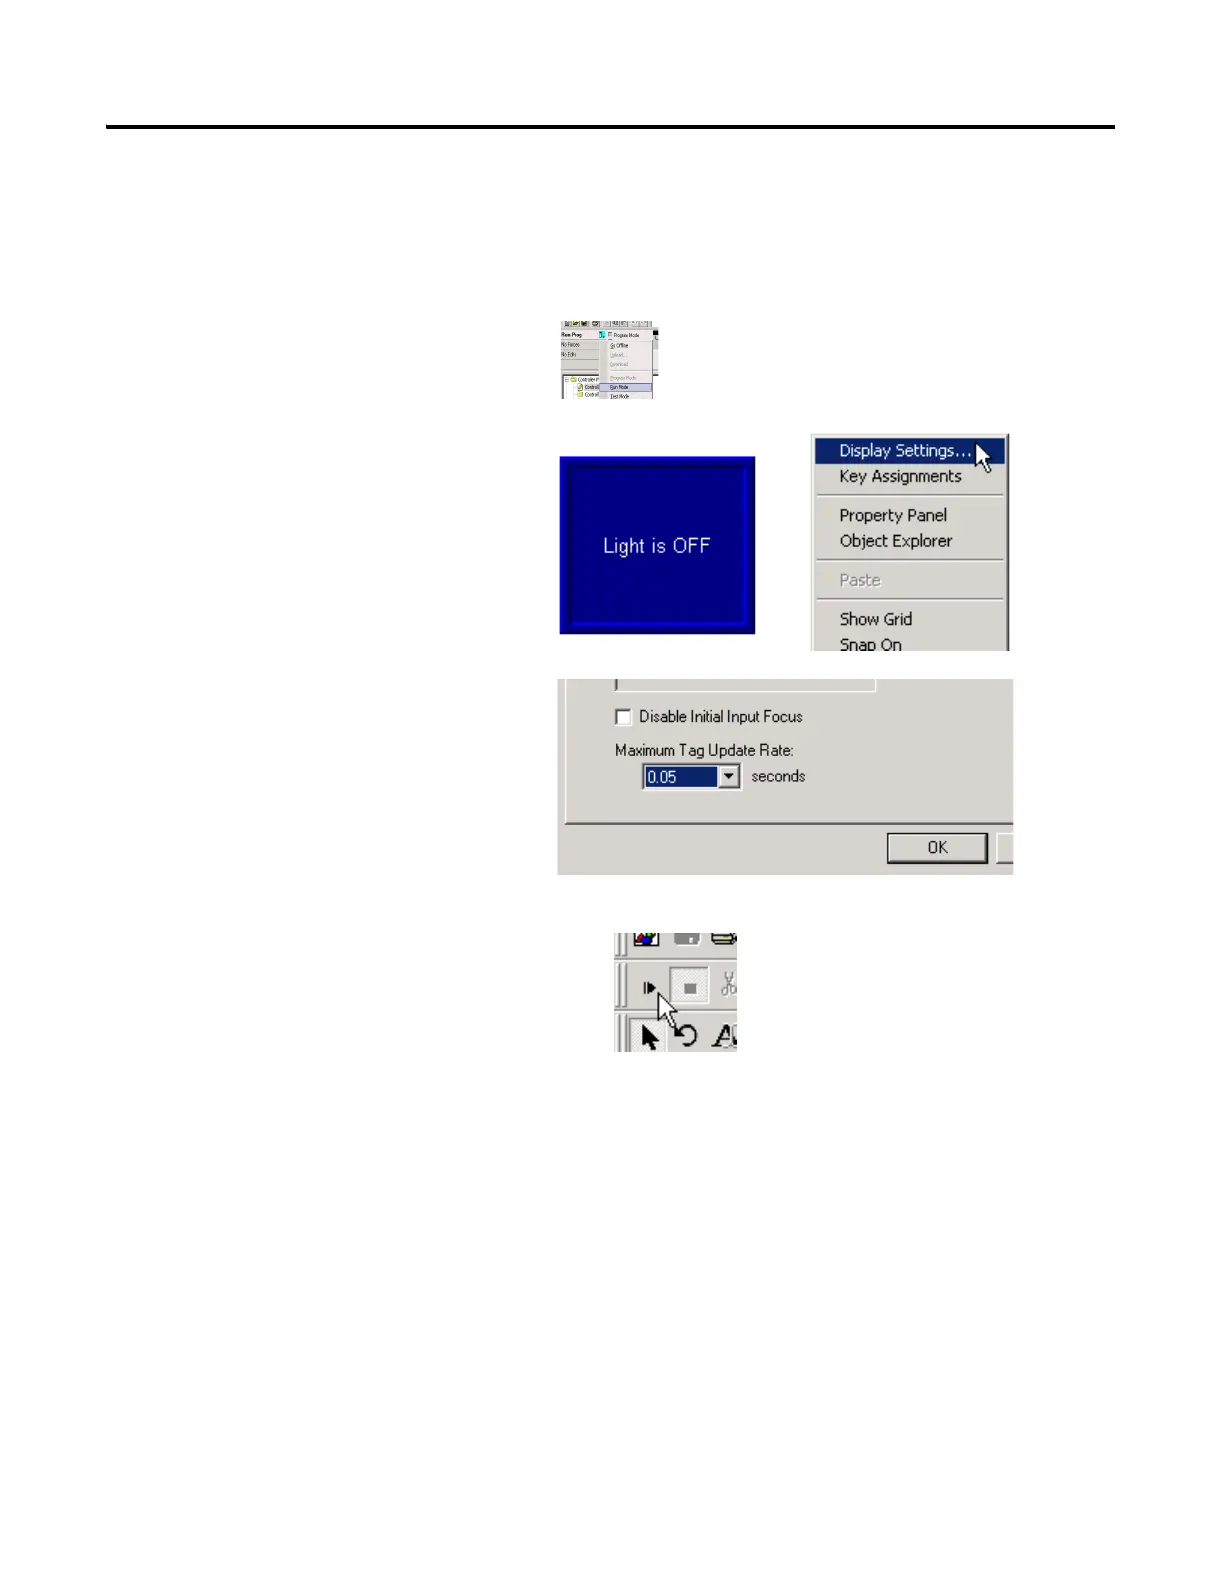
Steps to create a multistate indicator object and configure its states and connections.
Guides on creating a maintained push button object and configuring its states and captions.
Verifies the functionality of the indicator and push button by interacting with them.
Instructions for adding a button to navigate to the configuration mode.
Guides on assigning function keys to display buttons for non-touchscreen terminals.
Steps to set a specific screen as the initial graphic displayed on startup.
Instructions for creating a runtime application and transferring it to the PanelView Plus.
Guides on loading and running the application on the PanelView Plus to test functionality.