Upgrading the Firmware
68
AXB-TPI/3 Touch Panel Interface 3
5. Click OK twice to exit from the Master Communication Settings dialog box and to establish
the communication.
6. Select Edit > Preferences, from the General - Communications section
7. Select the Enable Online Tree option to view the Connected devices from within the Project
Navigator window. The next step is to set the System value.
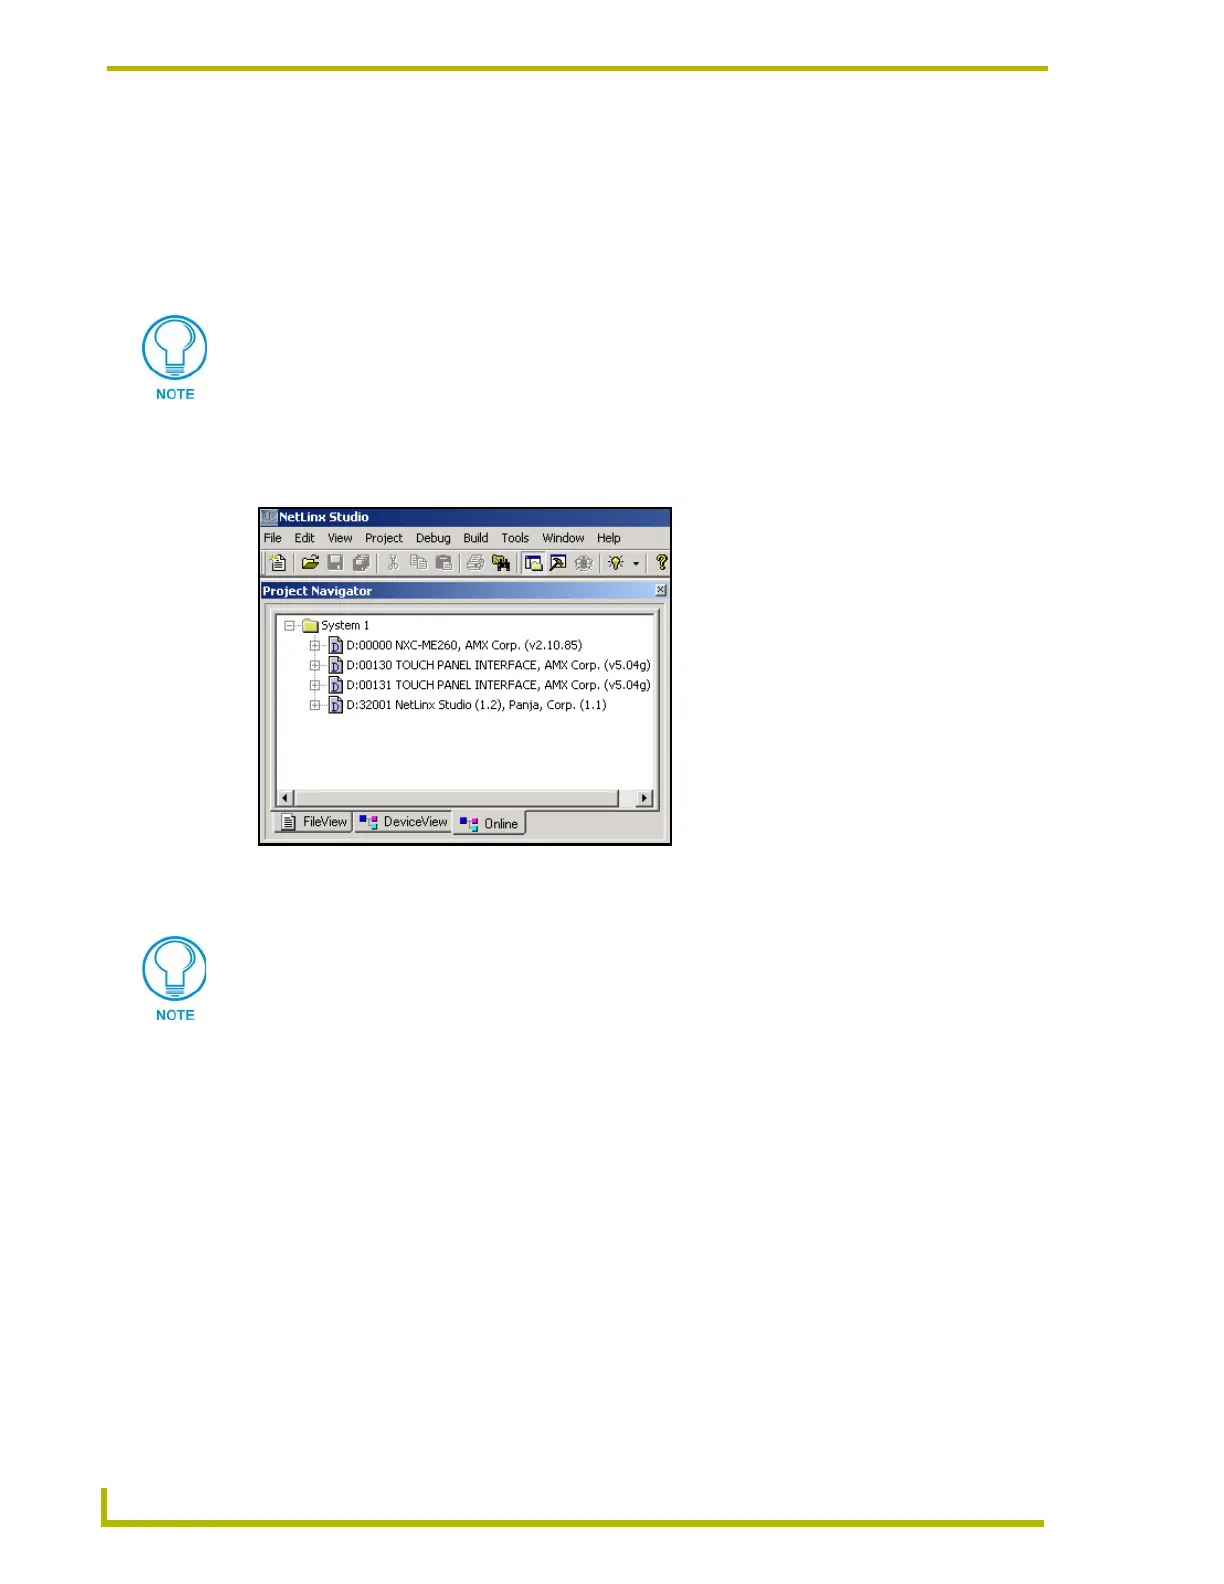
8. After the Communication Verification dialog window verifies active communication between
the PC, the Master and the TPI/3, verify the Touch Panel Interface appears in the Online tab of
the Project Navigator window (FIG. 15).
9. Right-click on the TPI and select Properties to confirm the on-board firmware.
10. Select Tools > Firmware > Download to Axcess Device, from the Main menu, to open the
Communication Settings dialog box. Verify that the values with those listed in both the
Communication Settings dialog match those in the Download Device Via section of the
Axcess Firmware Download section.
11. Click Browse to navigate to the directory containing the firmware files. Once a directory
containing one or more TSK files is specified, a list of available TSK files is displayed in the
upper table in this dialog (FIG. 16 on page 69).
12. Click on the desired TSK file from the list of available files (975d511j.TSK).
13. Setup the Download device via section to match the parameters of the Master Comm Settings
dialog box for the method of communicating to the panel interface. Refer to FIG. 16 on
page 69 for more information.
14. Click OK when done setting the parameters.
15. Click Query Online Devices to populate the on-line device list.
If the connection fails to establish, try selecting a different COM port.
FIG. 15 Sample NetLinx Project Navigator window
If the TPI firmware version is not version build 5.11 or higher; Download the latest
firmware file from www.amx.com > Tech Center > Downloadable Files > Firmware
Files > AXB-TPI. Then Download the KIT file to your computer.

 Loading...


