Settings Pages
25
Modero S Series Touch Panels - Configuration & Programming Manual
Breakout Box
To use the MXA-MP Multi Preview or MXA-MPL Multi Preview Live devices for video stream display, the Modero S Series touch panel
to which it is connected needs to be configured to receive its signals. If a Breakout Box is not connected to the panel’s network, all
fields but the Breakout Box button will be empty.
NOTE: For more information on operation and configuration of an MXA-MP or MXA-MPL, please refer to the MXA-MP/MPL Operation
Reference Guide, available at www.amx.com.
To configure the touch panel:
1. From the Breakout Box page, press the Breakout Box button to enable the panel to receive information from the device.
2. If the device is connected, the remaining information on the Breakout Box page will self-populate as the touch panel receives
that information from the device.
NOTE: If the device is not connected to the touch panel at this time, any attempts at enabling the device will fail, and the Breakout
Box page will be blank other than the Breakout Box button. If an MXA-MP or MPL is not connected to the touch panel, the Breakout
Box button MUST be disabled to prevent network conflicts.
Conf iguration
The Configuration page (FIG. 35) allows confirmation of and changes to panel configuration information.
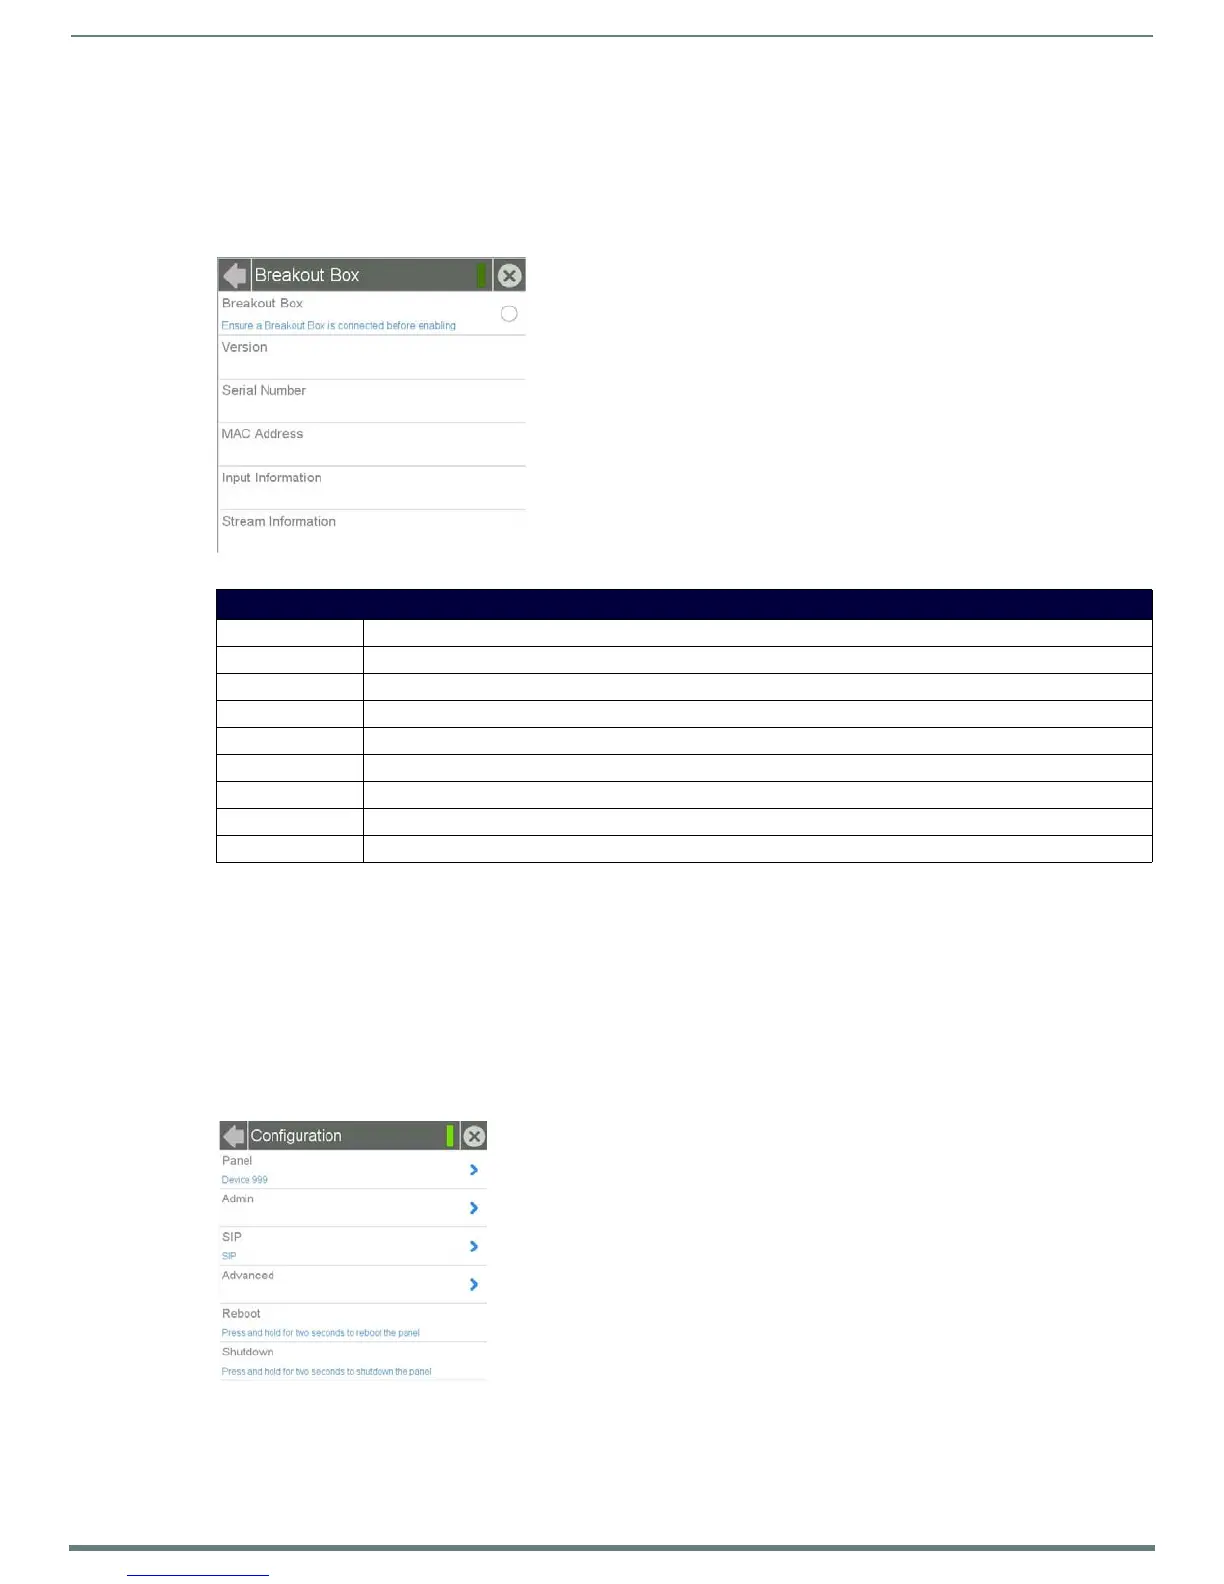
FIG. 34
Breakout Box page
Breakout Box Page
Back: Click the left-facing arrow to return to the previous page.
Connection Status: A green bar signifies that the panel has an active connection to the Master.
Close: Click the “X” button to shut the Settings page and return to the main display.
Breakout Box: Click this button to enable the touch panel to receive information from the device.
Version: Displays the current firmware version on the Breakout Box.
Serial Number: Displays the serial number of the Breakout Box.
MAC Address: Displays the MAC address of the Breakout Box.
Input Information: Displays the video format and resolution coming from the video input port.
Stream Information: This feature is currently disabled.
FIG. 35 Configuration page

 Loading...