EasyManua.ls Logo

Brother GT-341 User Manual

Brother GT-341
178 pages
To Next Page IconTo Next Page
To Previous Page IconTo Previous Page
Page #103 background imageLoading...
Page #103 background image
GT-3 Series
4. Printing Directly from Applications
93
4-5. Placing the T-shirt on the Platen
CAUTION
Ensure there is adequate space left for safe working. The Platen moves forward while operating.
Do not handle the platen while printing. If your hand gets caught between the platen or the T-shirt
tray and the covers, it may be injured.
Do not move the Platen by hand.
The Printer may be mechanically and electrically damaged.
To get the optimum quality print result, you need to adjust the Platen height depending on the thickness of the
T-shirt.
<Note>
The clearance between the Clearance Sensor and the surface of the Print Heads should be app. 2 mm. If the
clearance is wider, the ink mist will spread inside the printer and the printing material, and may damage the
sensors inside. If you print with wider clearance (more than 2 mm) then check the inside of the printer and
keep it clean. Replace the Maintenance Parts by referring to "6-1. Replacing Consumables" and clean by
"6-1-6. Cleaning the inside of the printer and restart" and "6-1-7. Cleaning the Encoder Strip".
If Platen height is too low, the result may be poor quality (e.g. a straight line becomes double). Adjust it
properly by test moving the platen in with Platen Button on the Control Panel. When you have to lower the
Platen to avoid any material which is thicker i.e. hems the hems, use Uni-Directional print (see "7-2-4.
Changing the Print Direction"). You can set a print data as Uni-Directional by the Printer Driver. See "4-3-14.
Setting Print Direction as Uni-Directional".
The Platen height can be lower by 13 mm by replacing the Bush Platen Shaft with Platen Height Adjustment
Lever assembled and the Platen Positioning Plate to "Platen Lowering Set" (option). See "4-4-3. Lowering the
Platen height".
(1) If the Platen is not ejected, press the Platen Button to eject it.
(2) Loose the Platen Fix Lever and adjust the Platen Height to "A" position (leftmost) for T-shirt. Set it to the "C"
position when you print on a sweater or a towel. If the Platen height is too low, the print quality turns worse.
Keep the clearance between the Clearance Sensor and the surface of the Print Heads should be app. 2 mm.
<Note> Do not use force when you adjust the levers.
(3) Tighten the Platen Fixing Lever securely.
Platen height adjustment lever
Platen fixing lever

Table of Contents

Other manuals for Brother GT-341

Question and Answer IconNeed help?

Do you have a question about the Brother GT-341 and is the answer not in the manual?

Brother GT-341 Specifications

General IconGeneral
BrandBrother
ModelGT-341
CategoryPrinter
LanguageEnglish

Summary

Safety Instructions

Safety Indications and Meanings

Explains DANGER, WARNING, CAUTION indicators and symbols for safe operation.

Essential Safety Notes

Provides critical safety precautions for printer operation and handling.

Read This First

1-1. Precautions

Lists general precautions to observe before using the printer.

1-2. Unpacking Your Printer

Details the parts included after unpacking the printer.

1-3. Required Conditions

Specifies environmental, electrical, software, and consumable requirements.

Identifying Printer Components

2-1. Front, 2-2. Right, 2-3. Rear Identification

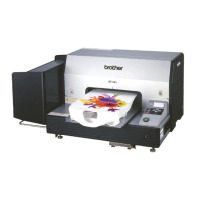
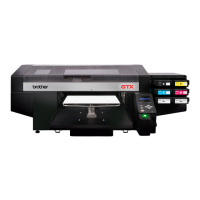
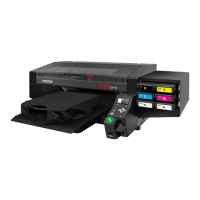
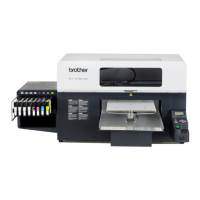
Identifies key components on the front, right, and rear of the printer.

2-4. Inside Front Cover, 2-5. Maintenance Unit, 2-6. Under Platen

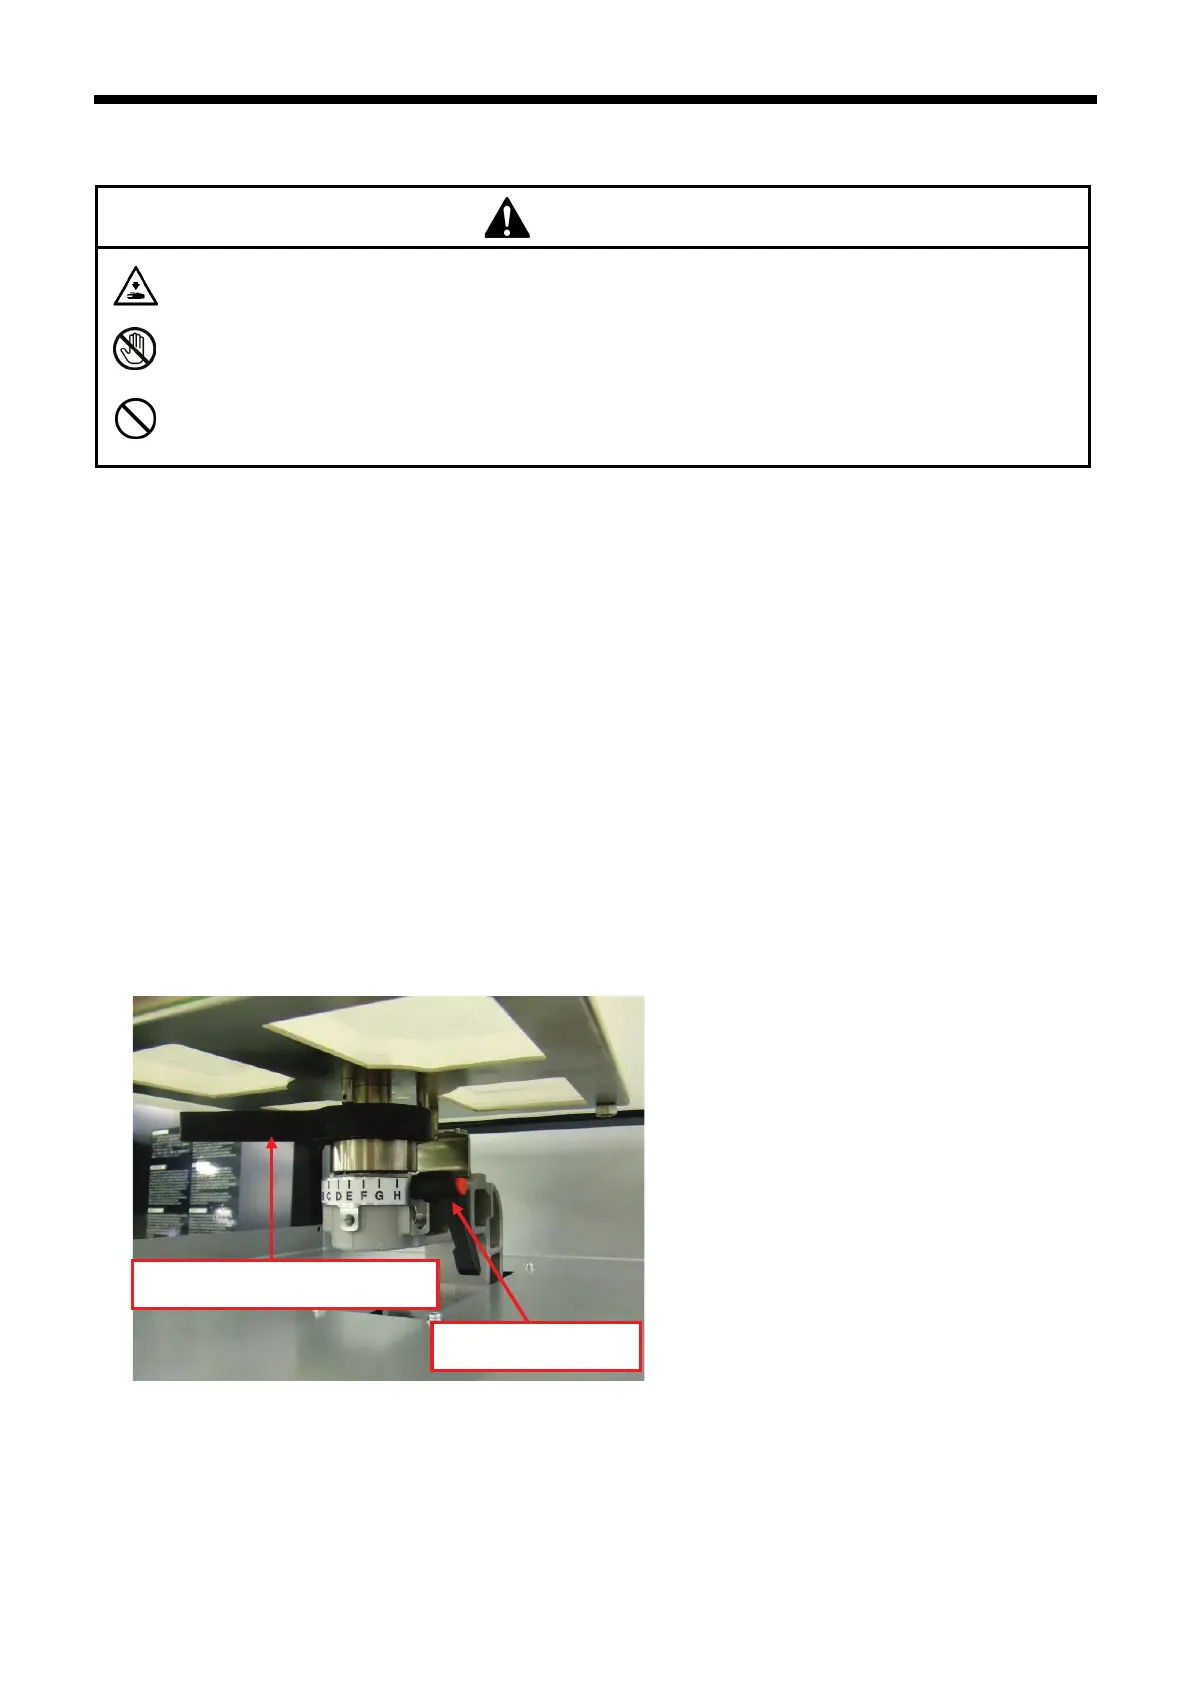
Identifies internal components in the front cover, maintenance unit, and under the platen.

2-7. Control Panel Overview

Details the functions of the printer's control panel, display, and buttons.

Getting Started

3-1. Placing Your Printer

Guides on printer placement, environmental conditions, and initial setup.

3-2. Turning On/Off Your Printer

Step-by-step instructions for powering on and off the printer.

3-3. Preparing Your PC

Covers driver installation, USB, and network setup for PC preparation.

3-4. Setting Up Your Printer

Guides on adjusting display contrast, speaker volume, temperature, and language.

Printing from Applications

4-1. Basic Printing Procedure

Outlines the fundamental steps for printing from graphic applications.

4-2. Application-Specific Print Settings

Details print condition settings for CorelDRAW, Photoshop, and Illustrator.

4-3. Printer Driver Configuration

Explains settings within the printer driver for machine mode, ink, and resolution.

4-4. Platen and T-shirt Handling

Procedures for installing platens and positioning T-shirts for printing.

4-5. Placing T-shirt and 4-6. Printing

Guides on placing T-shirts and initiating the printing process.

4-7. Removing T-shirt and 4-8. Curing Ink

Steps for removing printed T-shirts and curing the ink.

Printer Maintenance

6-1. Replacing Consumables

Steps for replacing ink cartridges, wiper cleaners, and other maintenance parts.

6-2. Regular Maintenance Routines

Daily and weekly maintenance procedures for white ink, tubes, and waste ink.

Troubleshooting

7-1. Solving Printer Problems

A table listing common printer issues and their solutions.

7-2. Solving Print Quality Problems

Detailed troubleshooting steps for print quality problems like fading or banding.

7-3. Solving Application Problems

Troubleshoots issues specific to printing from applications like Illustrator or Photoshop.

7-4. Error Messages and Codes

Lists error codes, their meanings, and recommended solutions.

Specifications

8-1. Mechanical Specifications

Details the printer's physical dimensions, weight, and print area.

8-2. Software Specifications

Lists supported operating systems, interfaces, and recommended applications.

Related product manuals