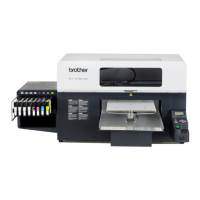
GT-3 Series
2. Identifying Your Printer’s Parts
2-6. Under the Platen
0049Y
No. Name Description
1 Platen Fixing Lever Fixes the Platen.
Tighten/Loosen this lever to install/uninstall the Platen and to adjust the Platen height.
<In case [B] that you cannot rotate Platen Fix Lever (1) by hitting the Platen (3)>
Move the Platen Height Adjustment Lever (2) to the A position in the right image
and loose the Platen Fixing Lever (1). When you pull out the Lever (1), you can turn
it with no load so that move the Lever (1) to easy-to-operate position. Then tighten
the Lever (1) to fix the Platen.
2 Platen Height
Adjustment Lever
Adjusts the Platen height.
Left most position "A" is the normal T-shirt position.
Check the exact height with Platen Button on Control Panel when you print on thicker
material. The adequate clearance between the Flap Sensor and the printed material is
app. 2 mm. See "4-5. Placing the T-shirt on the Platen".
Ink mist may spreads inside the printer If you print with wider clearance, the ink mist will
spread inside the printer and the printing material, and may damage the sensors.
3 Bush Platen Shaft Fixes and holds the Platen.
4 Platen Positioning Plate
<Note>
You can use Lower-the-Platen Assy (option) when you regularly print thicker material, which can lower the platen
by 13 mm than the standard height. See "4-4-3. Lowering the Platen height"

 Loading...