43
Installation and preparation
4-2-3. When there is no prospect of electric power recovery for a while due to power outage
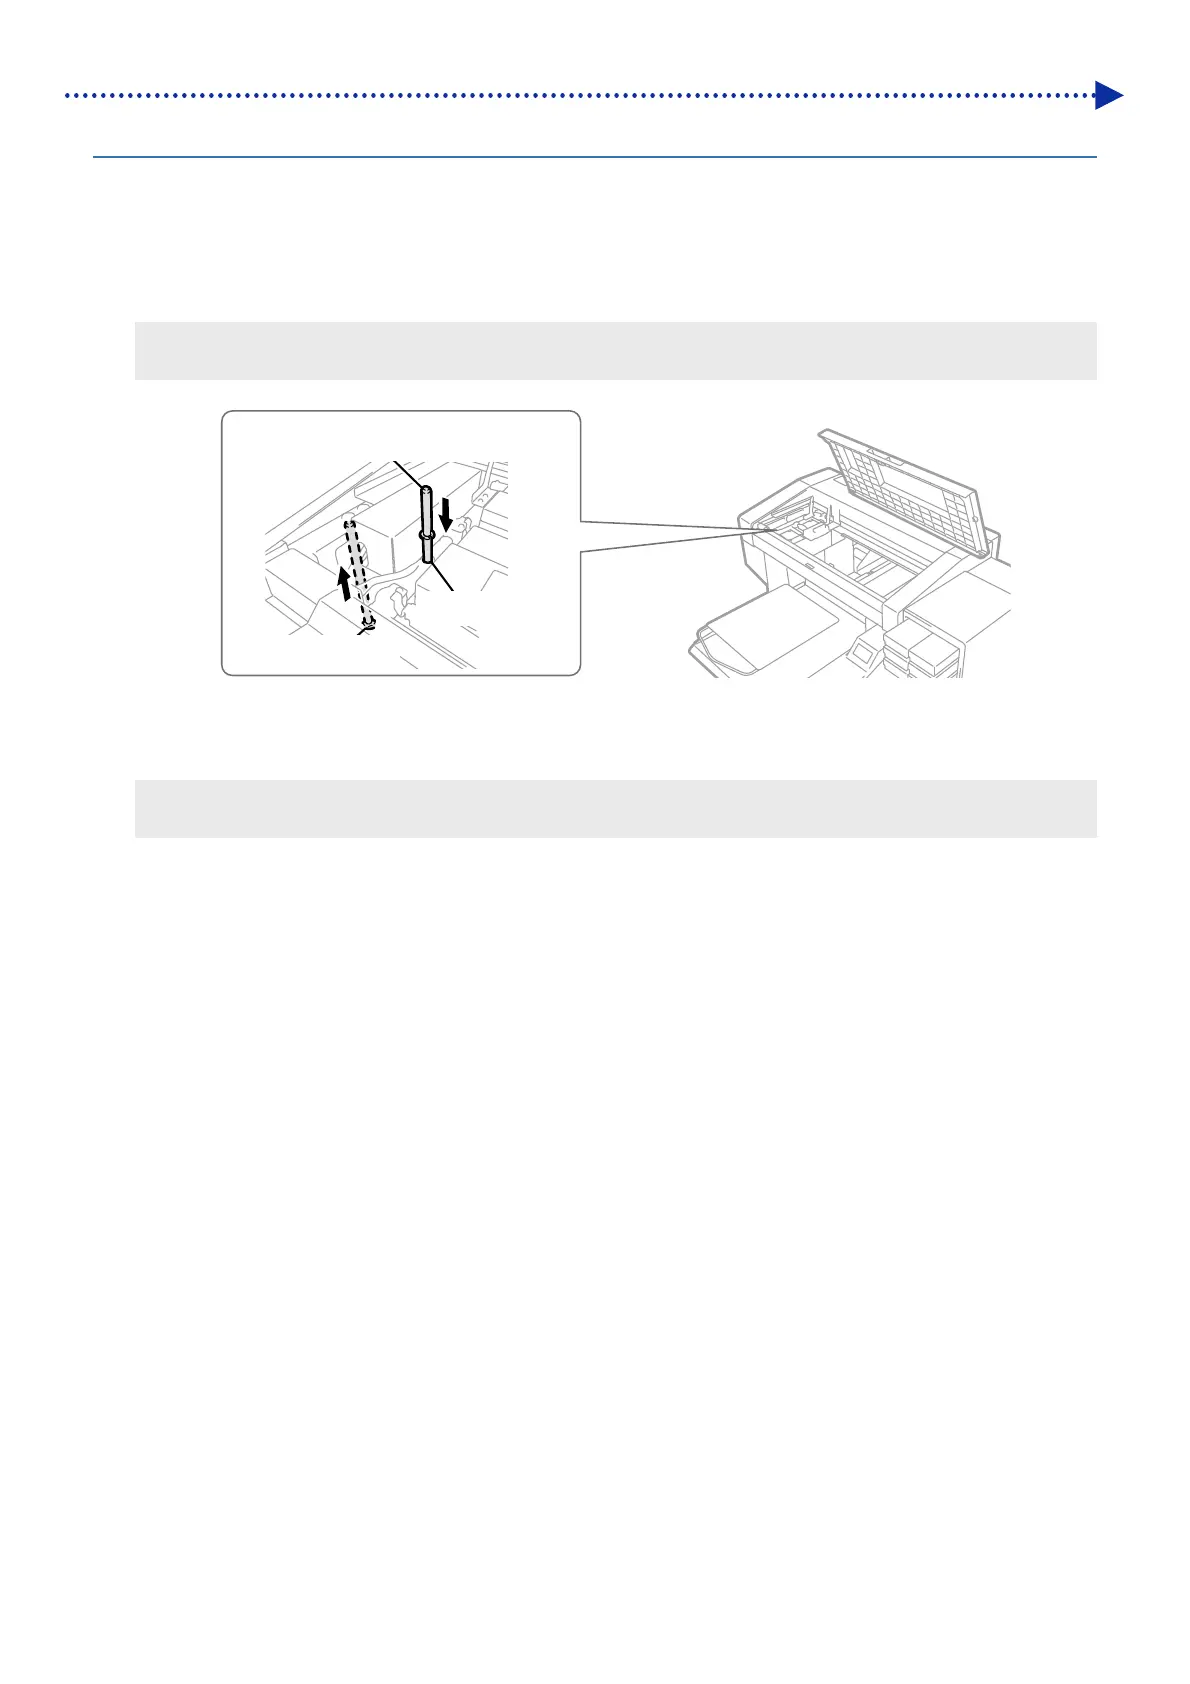
(1) Open the front cover and move the carriage to the left, and stop it at the position where the left side of the carriage
reaches the end. The position of the print head and the cap should match.
Returning the print heads to the cap position prevents them from drying up.
(2) Insert the carriage fixing pin into its specified hole, and fix the carriage to the cap position.
<TIPS>
Note that the carriage fixing pin is housed in the area on the left side of maintenance unit.
X0118
(3) When the current state is brought to an available condition to turn on the power, pull out the carriage fixing pin,
return it to its stowed position and reactivate the printer.
<IMPORTANT>
For this reason, be sure to activate the printer once again and perform the head cleaning after activation.
Fixed location
Carriage fixing pin
Stowed position

 Loading...