Troubleshooting
127
7
LCD messages 7
If any problems occur, the printer automatically stops printing, diagnoses the problem, and displays the
resulting message on the LCD to alert you. Take the appropriate action, referring to the following tables. If
you cannot clear the problem, call the dealer you bought the printer from or Brother Customer Service.
The LCD names for the paper trays are as follows.
• Standard paper tray: TRAY1
• Multi-purpose tray: MP
• Optional Lower tray: TRAY2, TRAY3
Error messages 7
Error message Action
BUFFER ERROR Check the Interface settings.
CARTRIDGE ERROR Take out the drum unit assembly and put it back into the printer again.
DIMM ERROR Turn off the printer. Re-install the SO-DIMM correctly. Wait a few seconds, and then turn it
on again. If this error message appears again, replace the SO-DIMM with a new one. See
Installing extra memory on page 102.
DOWNLOAD FULL Add more memory. See Installing extra memory on page 102.
DRUM ERROR Clean the corona wires. (See Cleaning the corona wire on page 124.) If your LCD still shows
the same error indication after you have cleaned the corona wire, replace the drum unit with
a new one See Replacing the drum unit on page 113 .
DUPLEX DISABLED Close the back cover of the printer and put the duplex tray back in.
FONT FULL Add more memory. See Installing extra memory on page 102.
FRONT COVER OPEN Close the front cover of the printer.
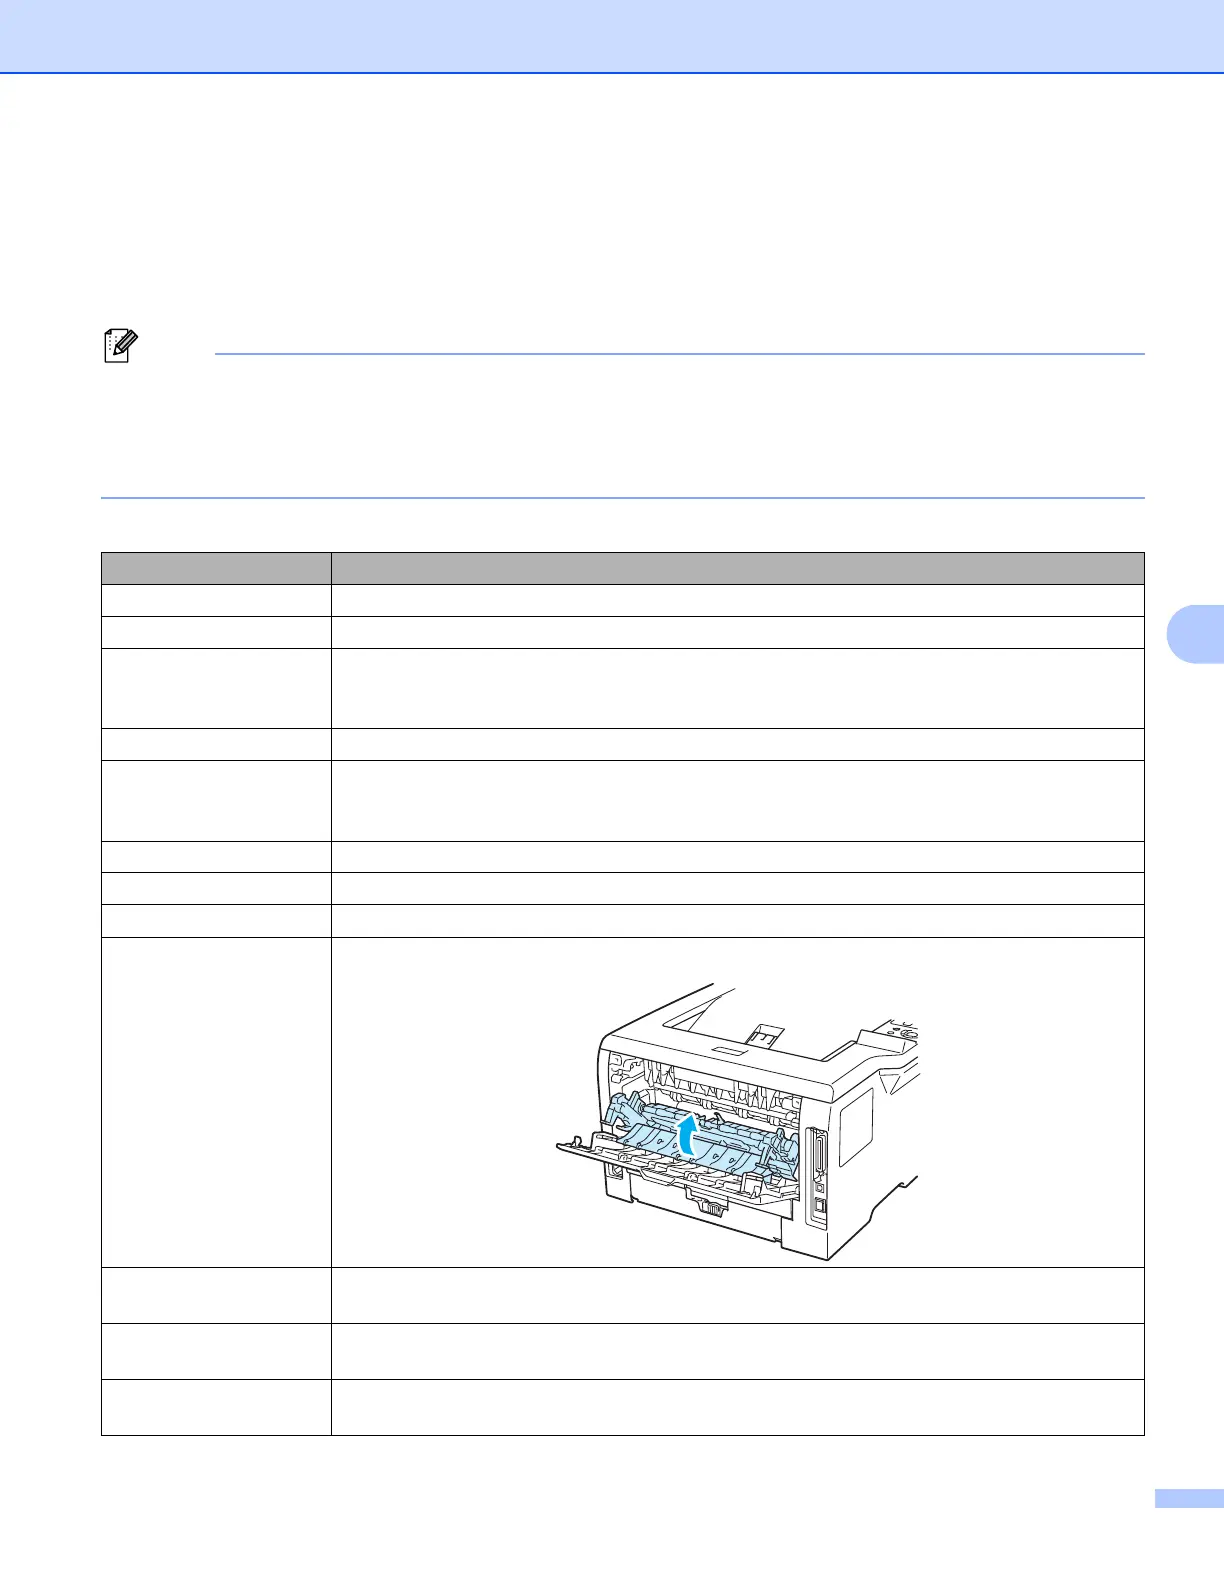
FUSER COVER OPEN Close the fuser cover located behind the back cover of the printer.
JAM XXX Carefully pull out the jammed paper from the area shown in Paper jams and how to clear
them on page 130.
MANUAL FEED Put the same size of paper in the MP tray as is shown on the LCD. If the printer is 'paused',
press Go.
MEMORY FULL Add more memory. See Installing extra memory on page 102 and Solving print problems on
page 148.
 Loading...