13
Chapter 1: Getting Ready
Connecting the Data Analyzer to a
Calculator
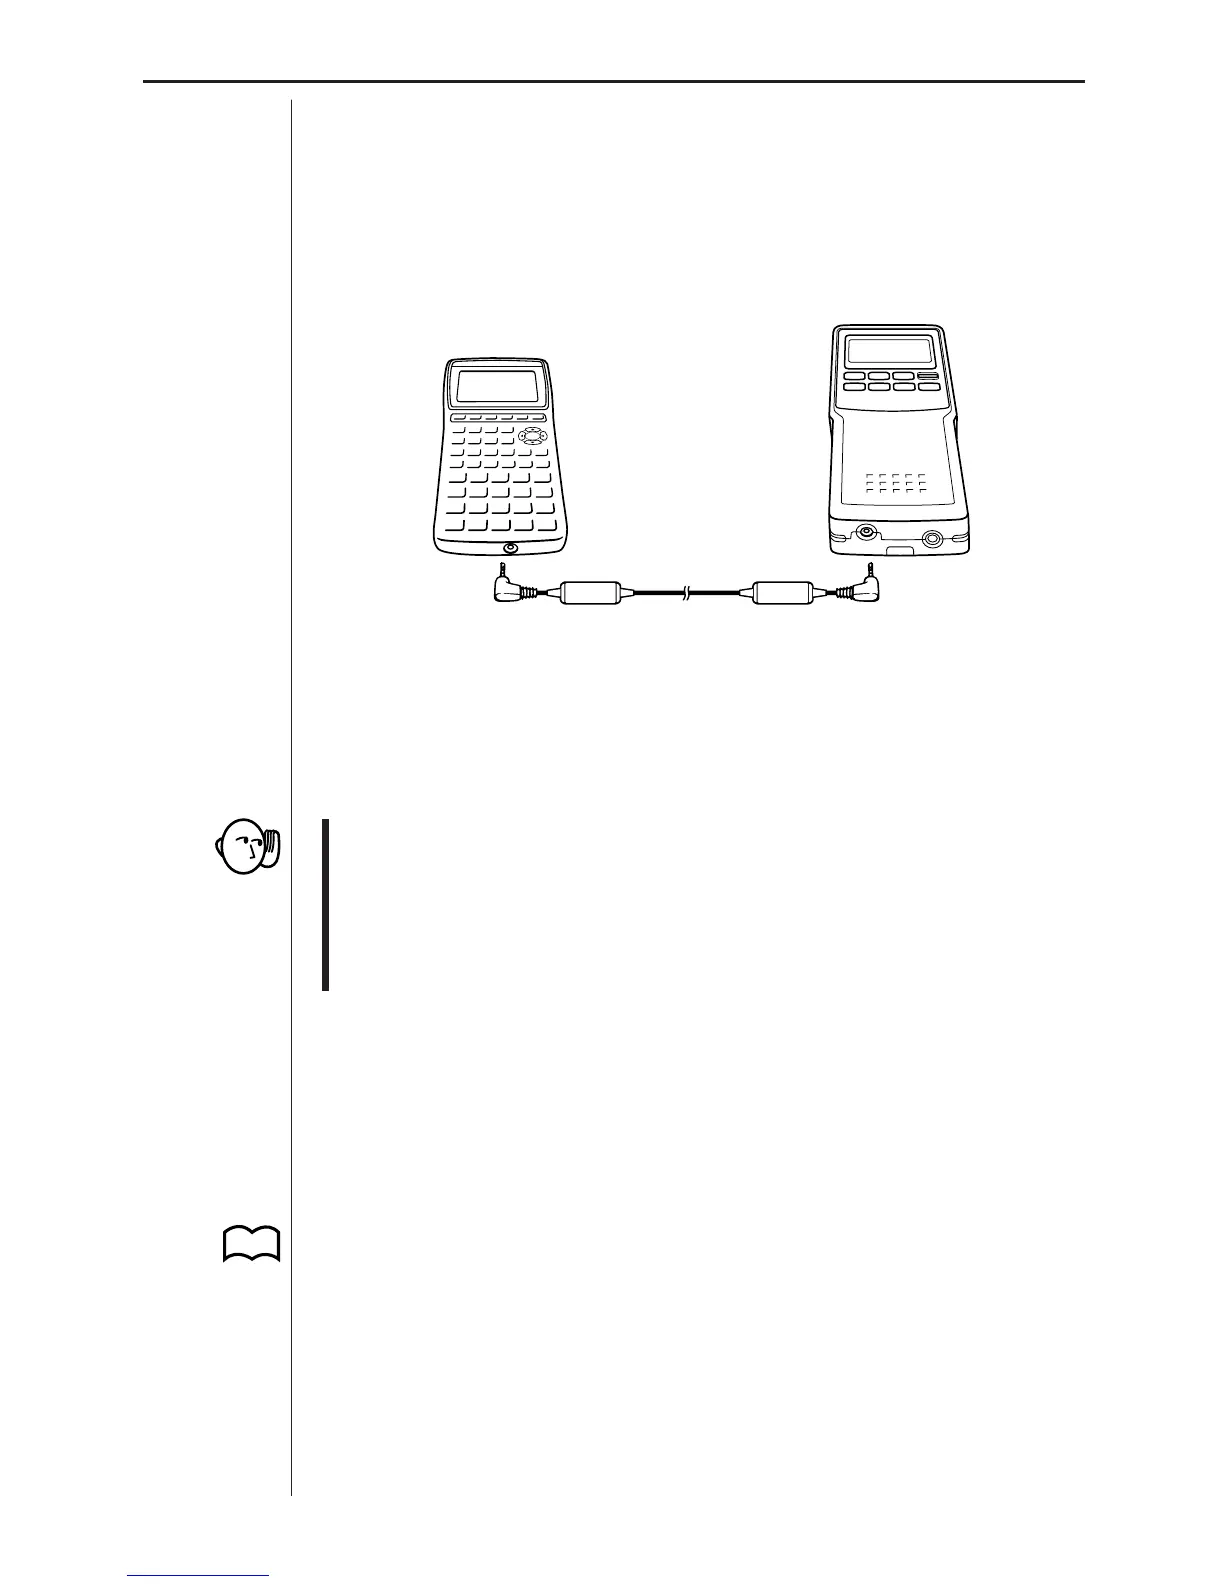
The following procedure describes how to use the data communication cable
that comes with the data analyzer to connect it to a CFX-9850G or CFX-
9800G graphic scientific calculator.
1. Turn both units off.
2. Plug one end of the data communication cable into the data communica-
tion terminal of the calculator you are connecting to.
3. Plug the other end of the cable into the data analyzer’s data communica-
tion terminal.
• When connecting the data communication cable, be sure to push it se-
curely into the terminal as far as it will go. Poor cable connection is the
first thing you should check whenever you experience data communica-
tion problems.
• Be sure to read the chapter describing data communication in the docu-
mentation that comes with the calculator you are connecting to.
Connecting a Probe
Connecting probes to the various input channels provides the means to sam-
ple various types of data, including temperature, light, distance, voltage, etc.
About Input Channels
You can connect more than one probe and sample different types of data
simultaneously. Indicators in Area 1 of the display tell you which channel is
currently active.
There are three channel types: analog, digital, and ultrasonic, and the con-
nector of each type is slightly different to protect against plugging in the wrong
type of probe.
P.8
Data communication
cable (SB-62)
 Loading...