124
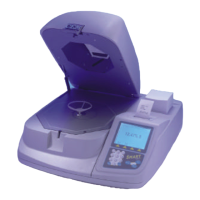
26. Press “4” to activate the Communication
Port screen.
27. Press “1” to toggle and select the
applicable baud rate for the communication
port – “1200,” “2400,” “4800,” or “9600.”
28. Press “2” to toggle and select the
applicable data bits – “7” or “8.”
29. Press “3” to toggle and select the
applicable stop bit(s) – “1” or “2.”
30. Press “4” to toggle and select the
applicable parity – “None,” “Even,” or
“Odd.”
31. Press the operation key below PREV
PAGE to return to the Setup screen.
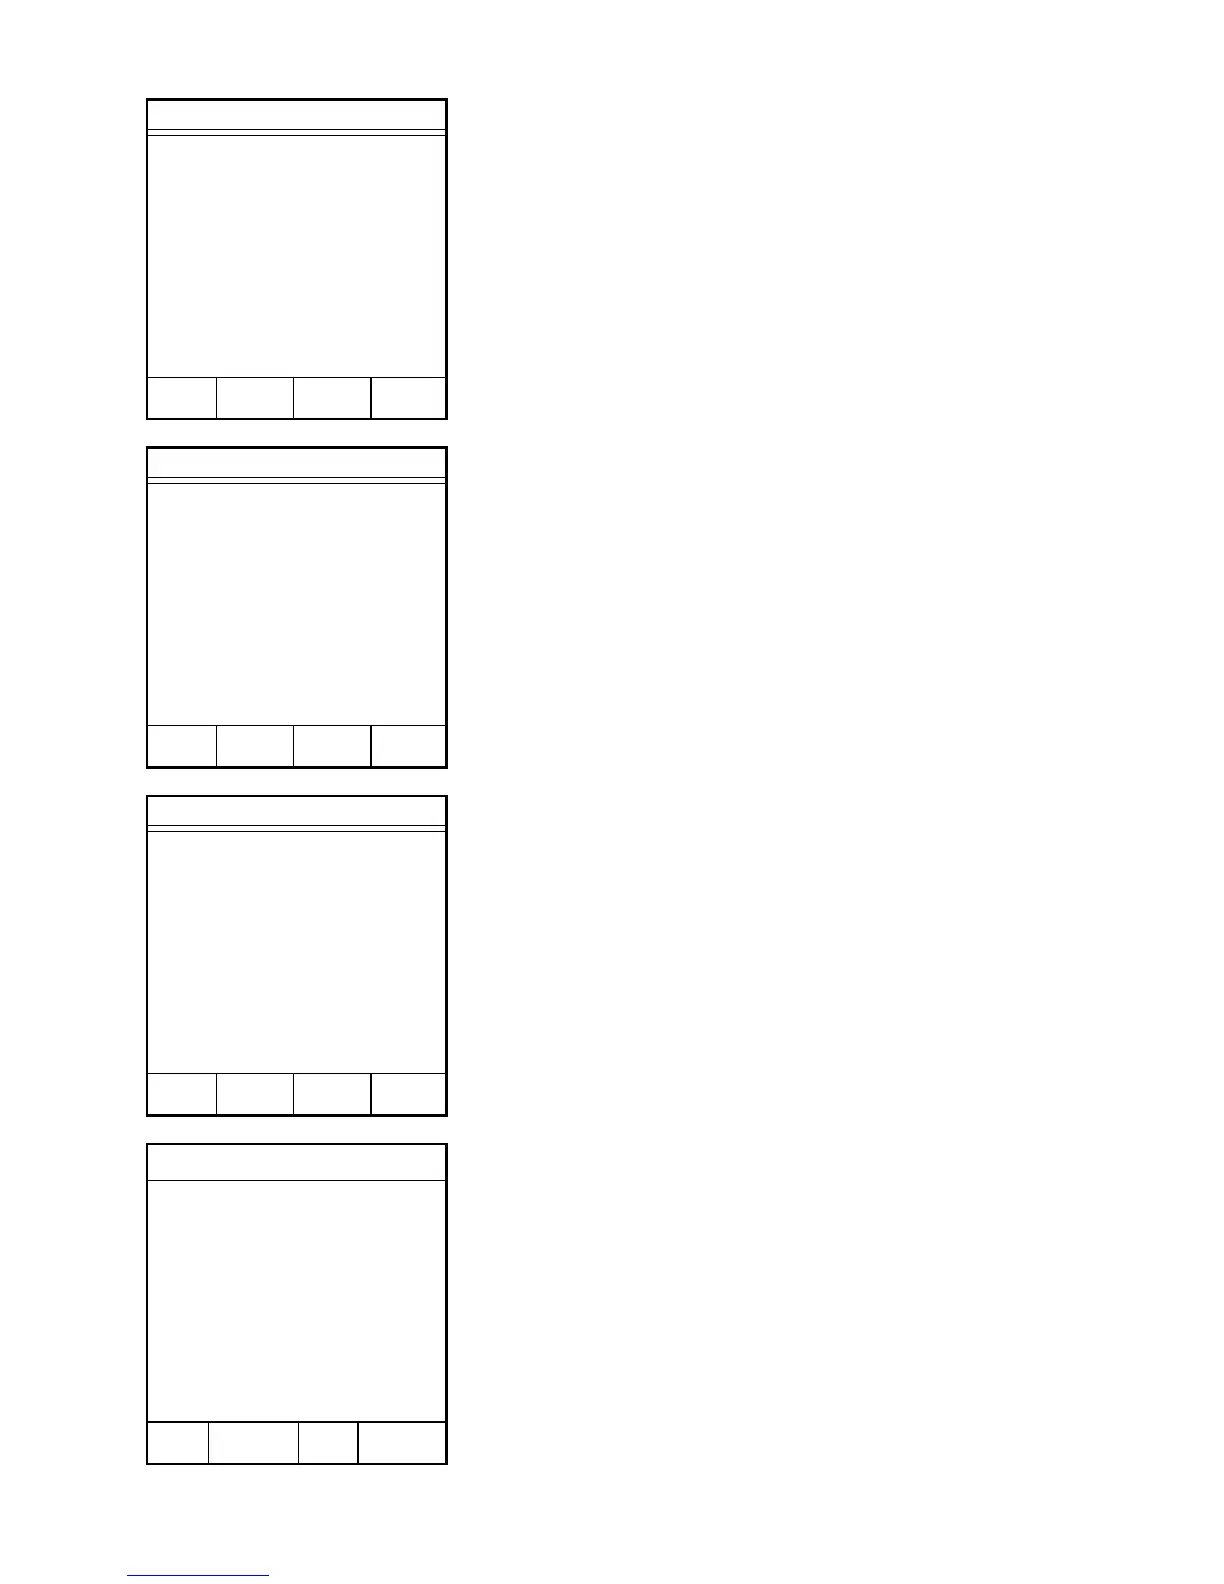
32. Press “5” to activate the Contrast screen.
33. Press the operation key(s) below the “up”
and “down” arrows to adjust the instrument
screen to the desired level.
34. Press the operation key below PREV
PAGE to return to the Setup screen.
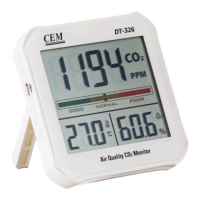
Setup
1. SYSTEM OPTIONS
2. SYSTEM INFORMATION
3. PRINTER
4. COM PORT
5. CONTRAST
6. CLOCK
7. CALIBRATION
8. SECURITY
Press item number to select.
NEXT
PAGE
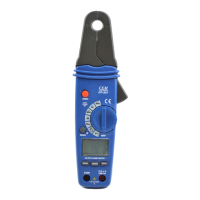
Setup
1. SYSTEM OPTIONS
2. SYSTEM INFORMATION
3. PRINTER
4. COM PORT
5. CONTRAST
6. CLOCK
7. CALIBRATION
8. SECURITY
Press item number to select.
PREV NEXT
PAGE PAGE
COM Port
1. BAUD: XXXX
2. DATA: X
3. STOP: X
4. PARITY: NONE
Press item number to select.
MAIN PREV
MENU PAGE
Contrast
**********************
* 1234567890123457890 *
* ABCDEFGHIJKLMNOPQRST *
* abcdefghijklmnopqrst *
**********************
Press arrow keys to adjust
contrast.
MAIN PREV
MENU PAGE
➞
➞
 Loading...