CHAPTER 3
Installing the Cisco NCS 560-4 Router
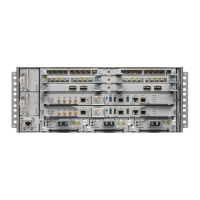
This chapter describes how to install the various components in the Cisco NCS 560-4 Router and includes
the following sections:
• Prerequisites, on page 39
• Installing the Router in a Rack, on page 39
• Assembling the Plenum (N560-4-F2B-AIR-U=), on page 42
• Installing the Cisco NCS 560 Router Vertically, on page 55
• Attaching the Cable Management Brackets, on page 62
• Installing the Chassis Ground Connection, on page 63
• Installing the Power Supply, on page 65
• Installing the Fan Trays, on page 77
• Removing and Replacing the Fan Trays, on page 80
• RSP Installation, on page 82
• Removing the IM Center Brackets, on page 85
• Interface Module Installation, on page 86
• Hot-Swapping an RSP or Interface Module, on page 88
• Installing Dust Caps, on page 89
• Securing the Cables Around the Cable Management Brackets, on page 89
• Connecting the Router to the Network, on page 92
Prerequisites
Before installing the Cisco NCS 560-4 Router, it is important to prepare for the installation by:
• Preparing the site (site planning) and reviewing the installation plans or method of procedures (MOP).
For more information, see the Preparing for Installation section.
• Unpacking and inspecting the Cisco NCS 560-4 Router
• Gathering the tools and test equipment required to properly install the Cisco NCS 560-4 Router
Installing the Router in a Rack
The following sections describe how to install the Cisco NCS 560-4 Router in a rack:
Cisco NCS 560-4 Router Hardware Installation Guide
39
 Loading...
