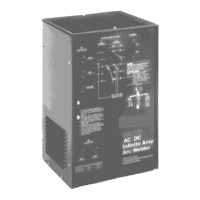
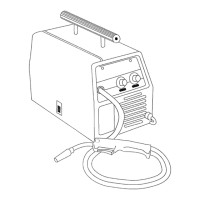
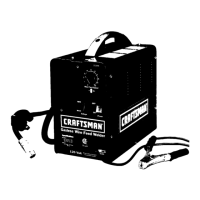
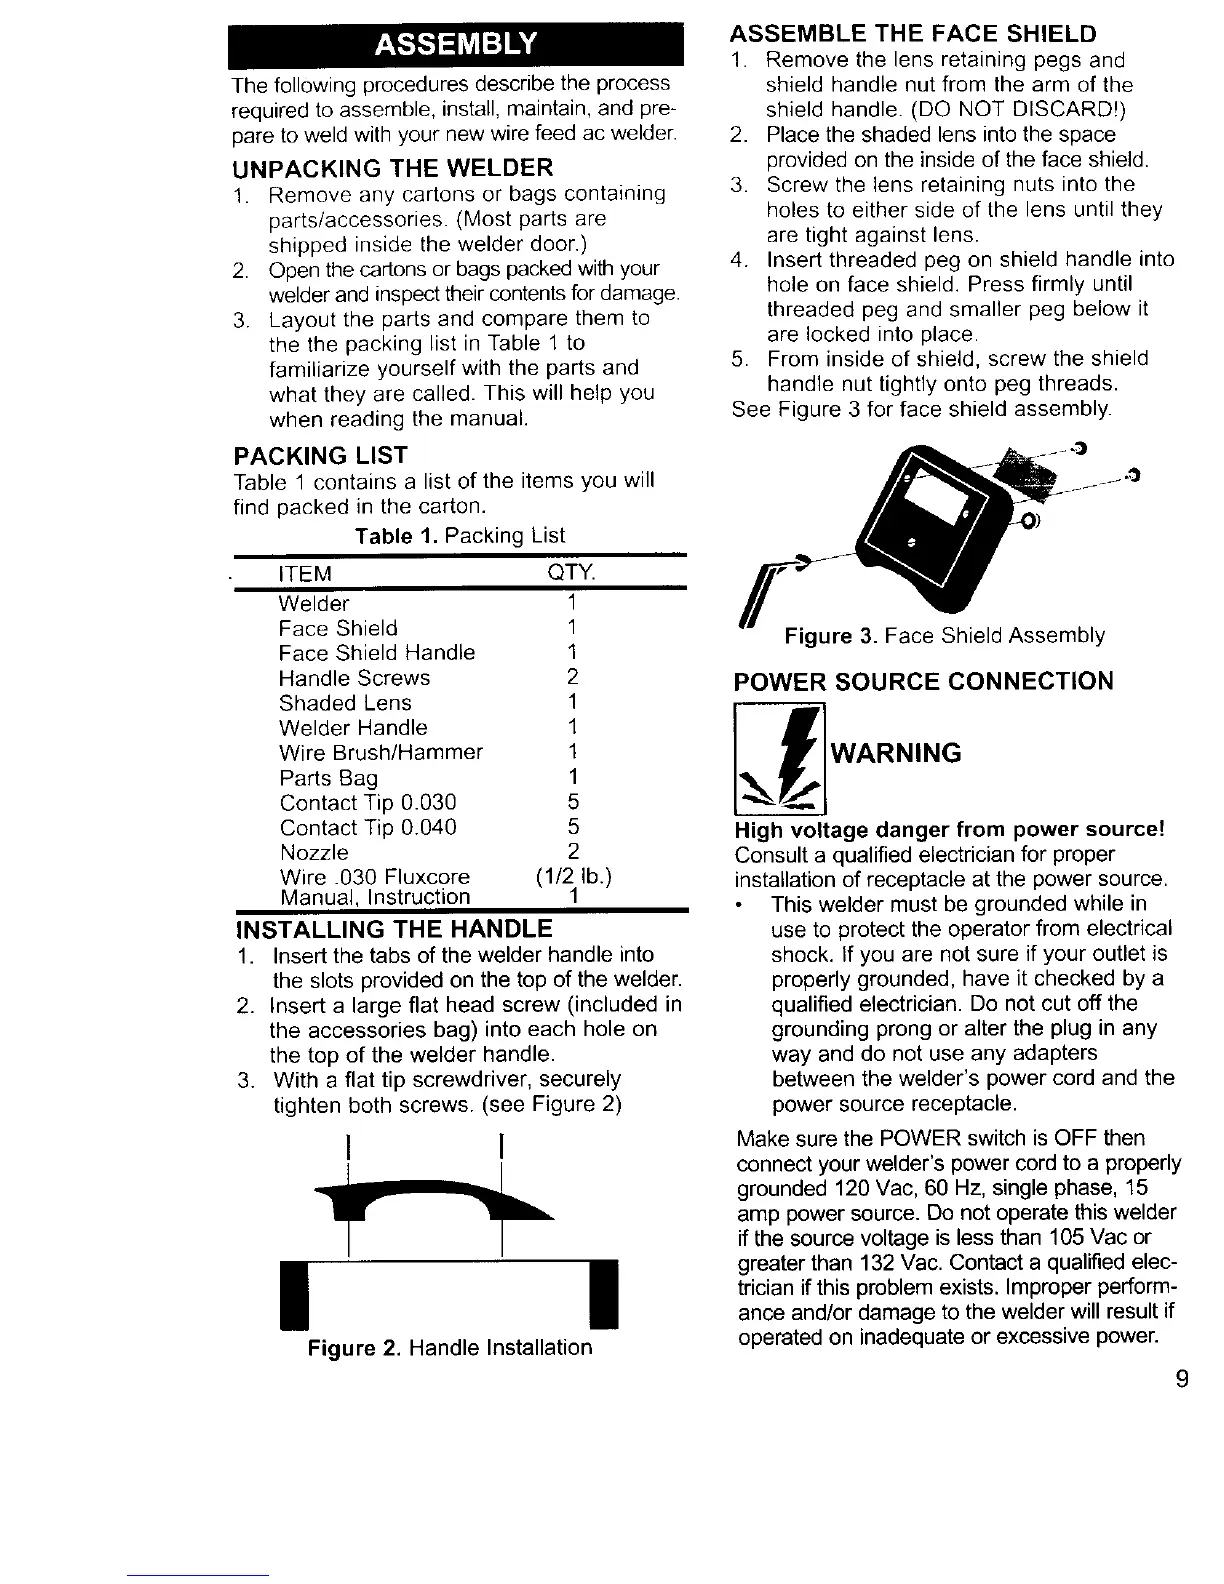
Thefollowingproceduresdescribetheprocess
requiredtoassemble,install,maintain,andpre-
pareto weldwithyournewwirefeedacwelder.
UNPACKING THE WELDER
1. Removeanycartonsor bagscontaining
parts/accessories.(Mostpartsare
shippedinsidethewelderdoor.)
2. Openthecartonsorbagspackedwithyour
welderandinspecttheircontentsfordamage.
3. Layoutthe partsand comparethemto
the the packinglistin Table1to
familiarizeyourselfwiththe partsand
whattheyare called.Thiswill helpyou
whenreadingthe manual.
PACKING LIST
Table 1 contains a list of the items you will
find packed in the carton.
Table 1. Packing List
ITEM QTY.
Welder 1
Face Shield 1
Face Shield Handle 1
Handle Screws 2
Shaded Lens 1
Welder Handle 1
Wire Brush/Hammer 1
Parts Bag 1
Contact Tip 0.030 5
Contact Tip 0.040 5
Nozzle 2
Wire .030 Fluxcore (1/2lb.)
Manual, Instruction
1
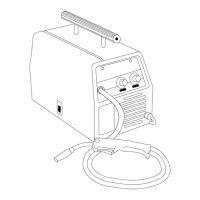
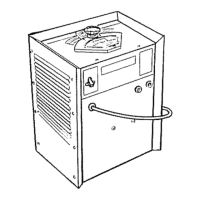
INSTALLING THE HANDLE
1. Insert the tabs of the welder handle into
the slots provided on the top of the welder.
2. Insert a large flat head screw (included in
the accessories bag) into each hole on
the top of the welder handle.
3. With a flat tip screwdriver, securely
tighten both screws. (see Figure 2)
I 1
! !
Figure 2. Handle Installation
ASSEMBLE THE FACE SHIELD
1. Remove the lens retaining pegs and
shield handle nut from the arm of the
shield handle. (DO NOT DISCARD!)
2. Place the shaded lens into the space
provided on the inside of the face shield.
3. Screw the lens retaining nuts into the
holes to either side of the lens until they
are tight against lens.
4. Insert threaded peg on shield handle into
hole on face shield. Press firmly until
threaded peg and smaller peg below it
are locked into place.
5. From inside of shield, screw the shield
handle nut tightly onto peg threads.
See Figure 3 for face shield assembly.
Figure 3. Face Shield Assembly
POWER SOURCE CONNECTION
High voltage danger from power source!
Consult a qualified electrician for proper
installation of receptacle at the power source.
This welder must be grounded while in
use to protect the operator from electrical
shock. If you are not sure if your outlet is
properly grounded, have it checked by a
qualified electrician. Do not cut off the
grounding prong or alter the plug in any
way and do not use any adapters
between the welder's power cord and the
power source receptacle.
Make sure the POWER switch is OFF then
connect your welder's power cord to a properly
grounded 120 Vac, 60 Hz, single phase, 15
amp power source. Do not operate this welder
if the source voltage is less than 105 Vac or
greater than 132 Vac. Contact a qualified elec-
trician if this problem exists. Improper perform-
ance and/or damage to the welder will result if
operated on inadequate or excessive power.
9
 Loading...