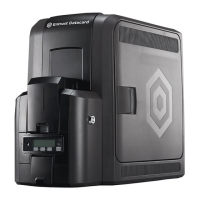
Datacard CR500 User Reference Guide Load Supplies
9
8
Load Supplies
The rst me you use the printer, it must be powered on and o once to cancel
Transport Mode and allow supplies to be loaded. Transport mode is used when
shipping or moving the printer.
Tips for Success
Follow these ps when handling the ink ribbon and retransfer lm:
• Do not touch the prinng surface of the ink ribbon or retransfer lm. Oils
on hands will reduce prinng quality.
• Place the cartridge on a smooth, level surface when loading or reloading.
• To prevent damage to the door, do not place the cartridge on the printer
door.
• Keep unused ink ribbon and retransfer lm in the original package unl
ready for use.
• Do not place ribbon or lm on a dusty or dirty surface; dirt can aect print
quality.
• Follow your organizaon’s guidelines for tracking the supplies used in the
printer.
Load the Ink Ribbon
When the ink ribbon runs out, “Ink Ribbon Out” displays on the print unit front
panel, and message 165, “Ink ribbon out,” displays on the touch screen. The right
column of the touch screen supplies gauge shows white, not orange.
Do the following to load the ink ribbon cartridge.
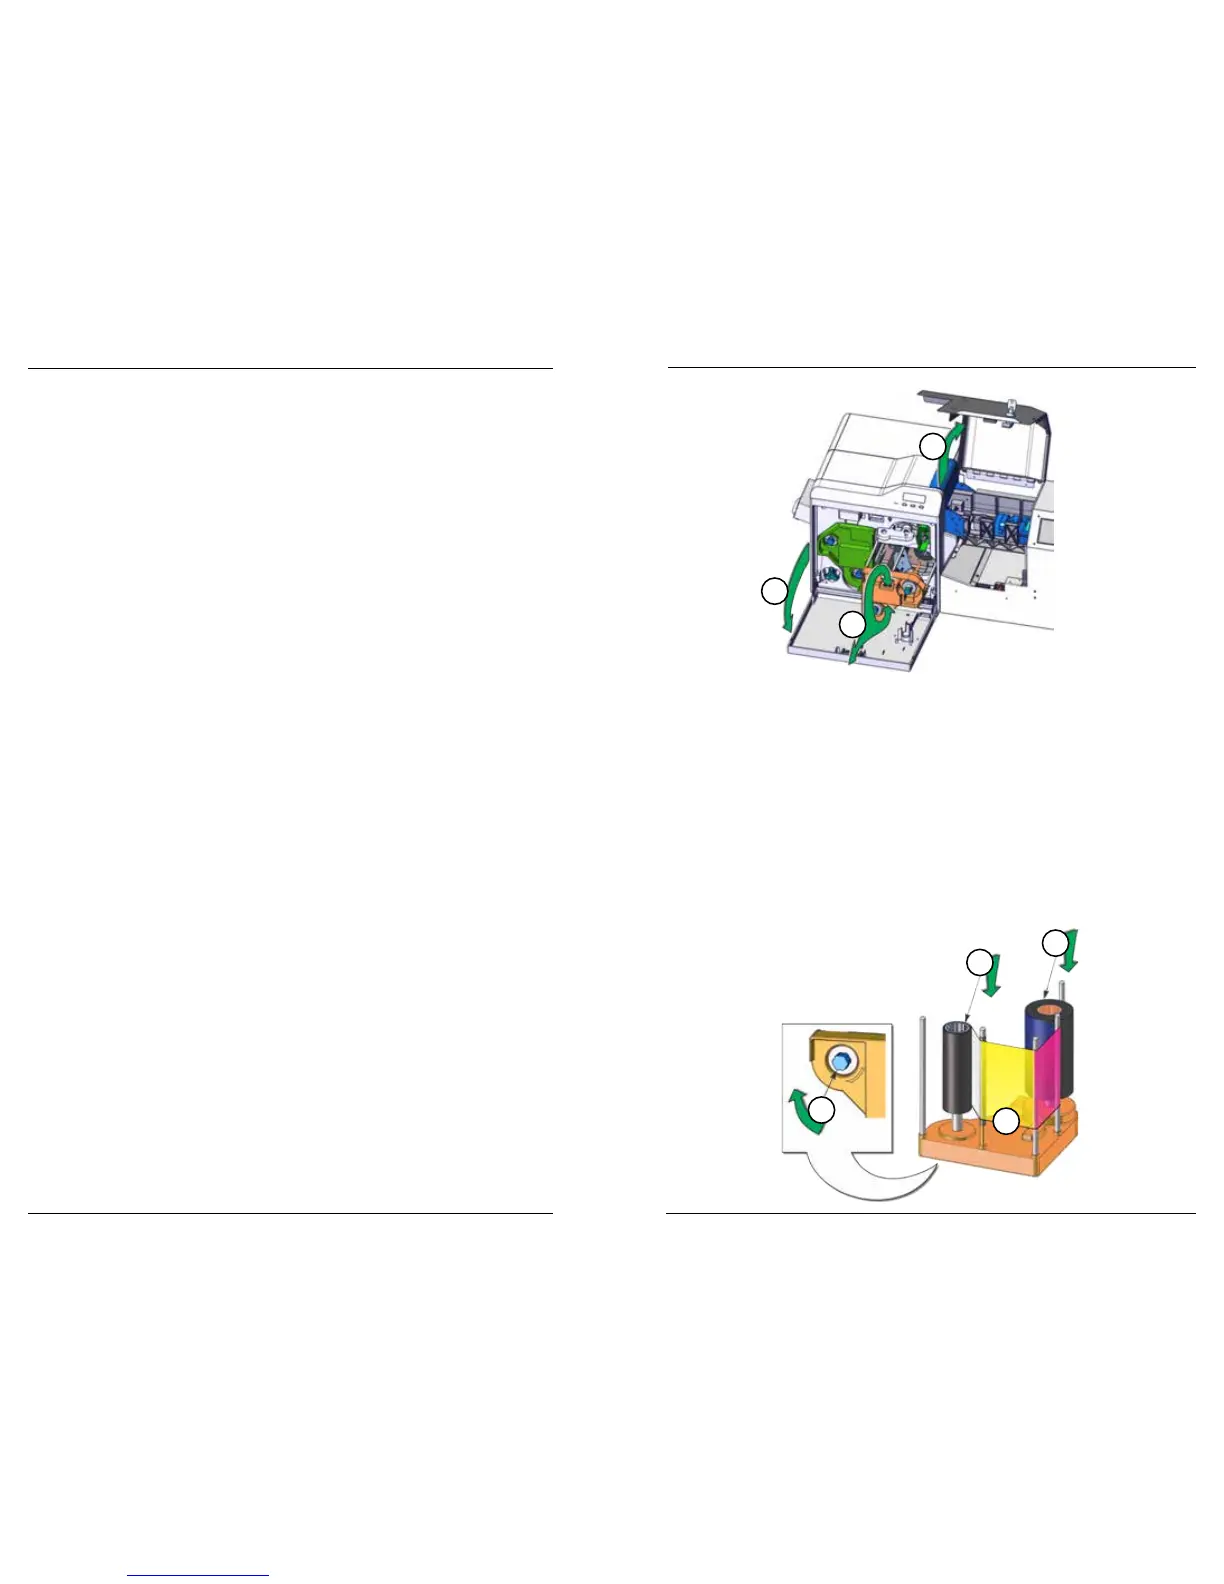
1. Unlock the printer and open the security enclosure.
2. On the print unit, slide the door latch up, and open the print unit door.
3. Press the ink ribbon cartridge eject buon, and remove the orange cartridge.
4. Remove both used ribbon spools from the cartridge (if present).
5. Load the new roll of ink ribbon on the cartridge:
a. Put the full spool of ribbon on the orange supply spindle.
b. Align the ribbon along the three ribbon guides, as shown on the
cartridge diagram.
c. Put the empty take-up spool on the black take-up spindle.
d. Turn the take-up knob on the underside of the cartridge to remove any
slack. Gently pull out the take-up knob so it turns smoothly.
If slack cannot be removed, check that the supply and take-up spools are
rmly seated on the spindles. To insert the cartridge into the printer, the
ribbon must be ght along the ribbon guides. Use the supply and take-up
knobs to maintain the proper tension.
1
2
3
5b
5c
5d
5a
 Loading...