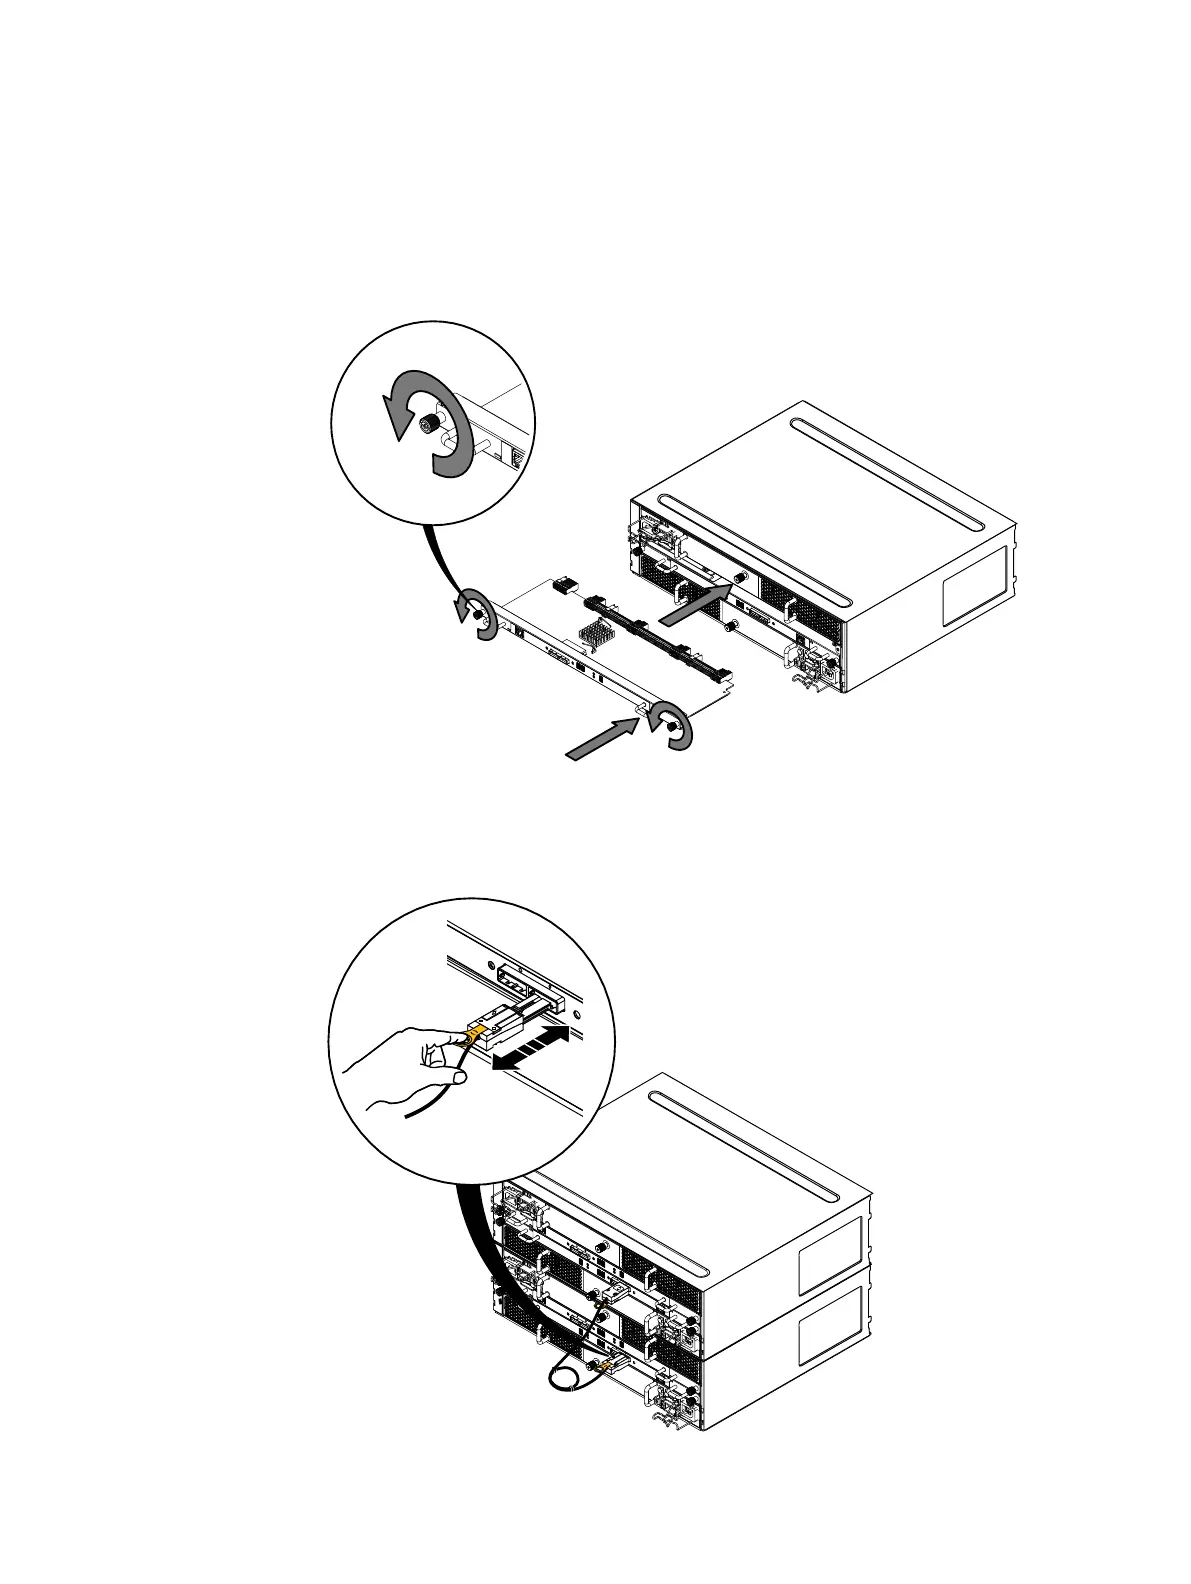
2. Gently insert the controller, being sure the controller is completely seated in the enclosure
(Figure 14 on page 27).
The controller power light turns on.
3. Secure the controller with the captive screws (Figure 14 on page 27).
Figure 14 Installing the controller
4. Reattach each controller cable to the same connector from which you removed it (Figure 15
on page 27).
Figure 15 Connecting the controller cable
5. Remove and store the ESD wristband.
Removing and replacing FRUs
Dell EMC ES40 Expansion Shelf Guide Field Replacement Unit Guide 27
 Loading...