72 Drives
6
If you are permanently removing this drive:
a
Remove the data cable from the computer.
b
Follow the procedure in "After Working on Your Computer" on
page 17.
c
Enter the system setup program and navigate to the
Drives
section.
Under
Drive 0 through 3
, set
Drive
to the correct configuration. For
more information on using the system setup program, see the
Dell
Tec hn ol og y G ui de
on your computer or at
support.dell.com
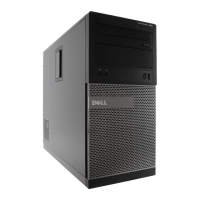
Replacing or Adding a Hard Drive in a Mini Tower Computer
NOTE: This procedure assumes that you have completed the removal procedure
first.
1
Check the documentation for the drive to verify that it is configured for
your computer.
2
If you are replacing a hard drive, you must first swap the old drive for the
new drive in the existing hard drive bracket (see "Hard Drive Bracket —
Mini Tower Computer" on page 74).
3
Slide the hard drive into the hard drive bay, gently push until it clicks in
place.
1 hard-drive bracket release tabs (2) 2 hard drive
3 hard drive bracket
 Loading...
