 Loading...


Do you have a question about the Dell PowerEdge R310 and is the answer not in the manual?
| Tcase | 72.7 °C |
|---|---|
| Bus type | DMI |
| Stepping | B1 |
| FSB Parity | No |
| Processor code | SLBJH |
| Processor cache | 8 MB |
| Processor cores | 4 |
| Processor model | X3470 |
| System bus rate | 2.5 GT/s |
| Processor series | Intel Xeon 3400 Series |
| Processor socket | LGA 1156 (Socket H) |
| Processor threads | 8 |
| Processor codename | Lynnfield |
| Motherboard chipset | Intel® 3420 |
| Processing Die size | 296 mm² |
| Processor frequency | 2.93 GHz |
| Processor cache type | Smart Cache |
| Processor lithography | 45 nm |
| Processor manufacturer | Intel |
| Processor package size | 37.5 x 37.5 mm |
| Processor front side bus | - MHz |
| Processor boost frequency | 3.6 GHz |
| Processor operating modes | 64-bit |
| ECC supported by processor | Yes |
| PCI Express configurations | 1x16, 2x8, 4x4 |
| Supported instruction sets | SSE4.2 |
| Thermal Design Power (TDP) | 95 W |
| Number of processors installed | 1 |
| CPU multiplier (bus/core ratio) | 22 |
| Maximum number of PCI Express lanes | 16 |
| Memory types supported by processor | DDR3-SDRAM |
| Number of Processing Die Transistors | 774 M |
| Memory channels supported by processor | Dual |
| Memory clock speeds supported by processor | 800, 1066, 1333 MHz |
| Memory bandwidth supported by processor (max) | 21 GB/s |
| Maximum internal memory supported by processor | 32 GB |
| HDD size | 3.5 \ |
| Optical drive type | DVD-RW |
| Total storage capacity | 500 GB |
| Maximum storage capacity | 8 TB |
| Number of HDDs installed | - |
| Memory slots | 6x DIMM |
| Internal memory | 2 GB |
| Graphics card | G200eW |
| LAN controller | Broadcom BCM5716 |
| Networking features | Gigabit Ethernet |
| PS/2 ports quantity | 0 |
| USB 2.0 ports quantity | USB 2.0 ports have a data transmission speed of 480 Mbps, and are backwards compatible with USB 1.1 ports. You can connect all kinds of peripheral devices to them. |
| PCI Express slots version | 2.0 |
| Power supply | 350 W |
| Compatible operating systems | Windows Server Novell Linux Solaris10 |
| Chassis type | Rack (1U) |
| Processor ARK ID | 42932 |
| Intel® Turbo Boost Technology | 1.0 |
| Depth | 610 mm |
|---|---|
| Width | 434 mm |
| Height | 42.4 mm |
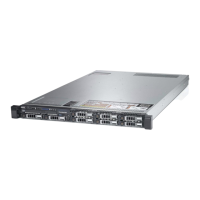
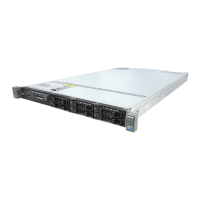
Details about front-panel components and their functions.
Selecting the boot mode (BIOS or UEFI) for operating system installation.
Steps for opening and closing the system chassis.
Steps to diagnose and resolve system startup issues.
Steps to diagnose issues with external device connections.
Procedure for running the embedded system diagnostics program.
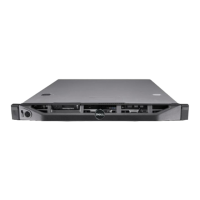
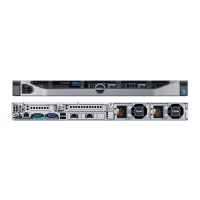
Description of controls, indicators, and connectors on the system's back panel.
Explanation of indicators for hard drive status, including RAID configurations.
Steps to access the system's BIOS setup utility.
Options for configuring system memory parameters.
Options for specifying system boot mode and devices.
Options for enabling/disabling integrated devices like NICs and USB ports.
Options for configuring system and setup passwords, and TPM.
Procedure to access the UEFI Boot Manager for boot options.
Overview of configurable options available in the System Setup program.
Options for configuring processor parameters.
Information and procedures related to hard drive installation and removal.
Procedure for opening the system chassis.
Procedure to remove a hard drive carrier from the system.
Procedure to install a hard drive carrier into the system.
Steps to diagnose and resolve power supply issues.
Steps to diagnose and resolve system memory issues.
Steps to diagnose and resolve hard drive issues.
Steps to diagnose and resolve processor issues.
Overview of available diagnostic testing options.
Procedure to reset system and setup passwords using a jumper.