Installing the keyboard bracket
Prerequisites
If you are replacing a component, remove the existing component before performing the installation procedure.
About this task
NOTE: The system board can be installed with the heat sink attached in order to simplify the procedure and preserve the
thermal bond between the system board and heat sink.
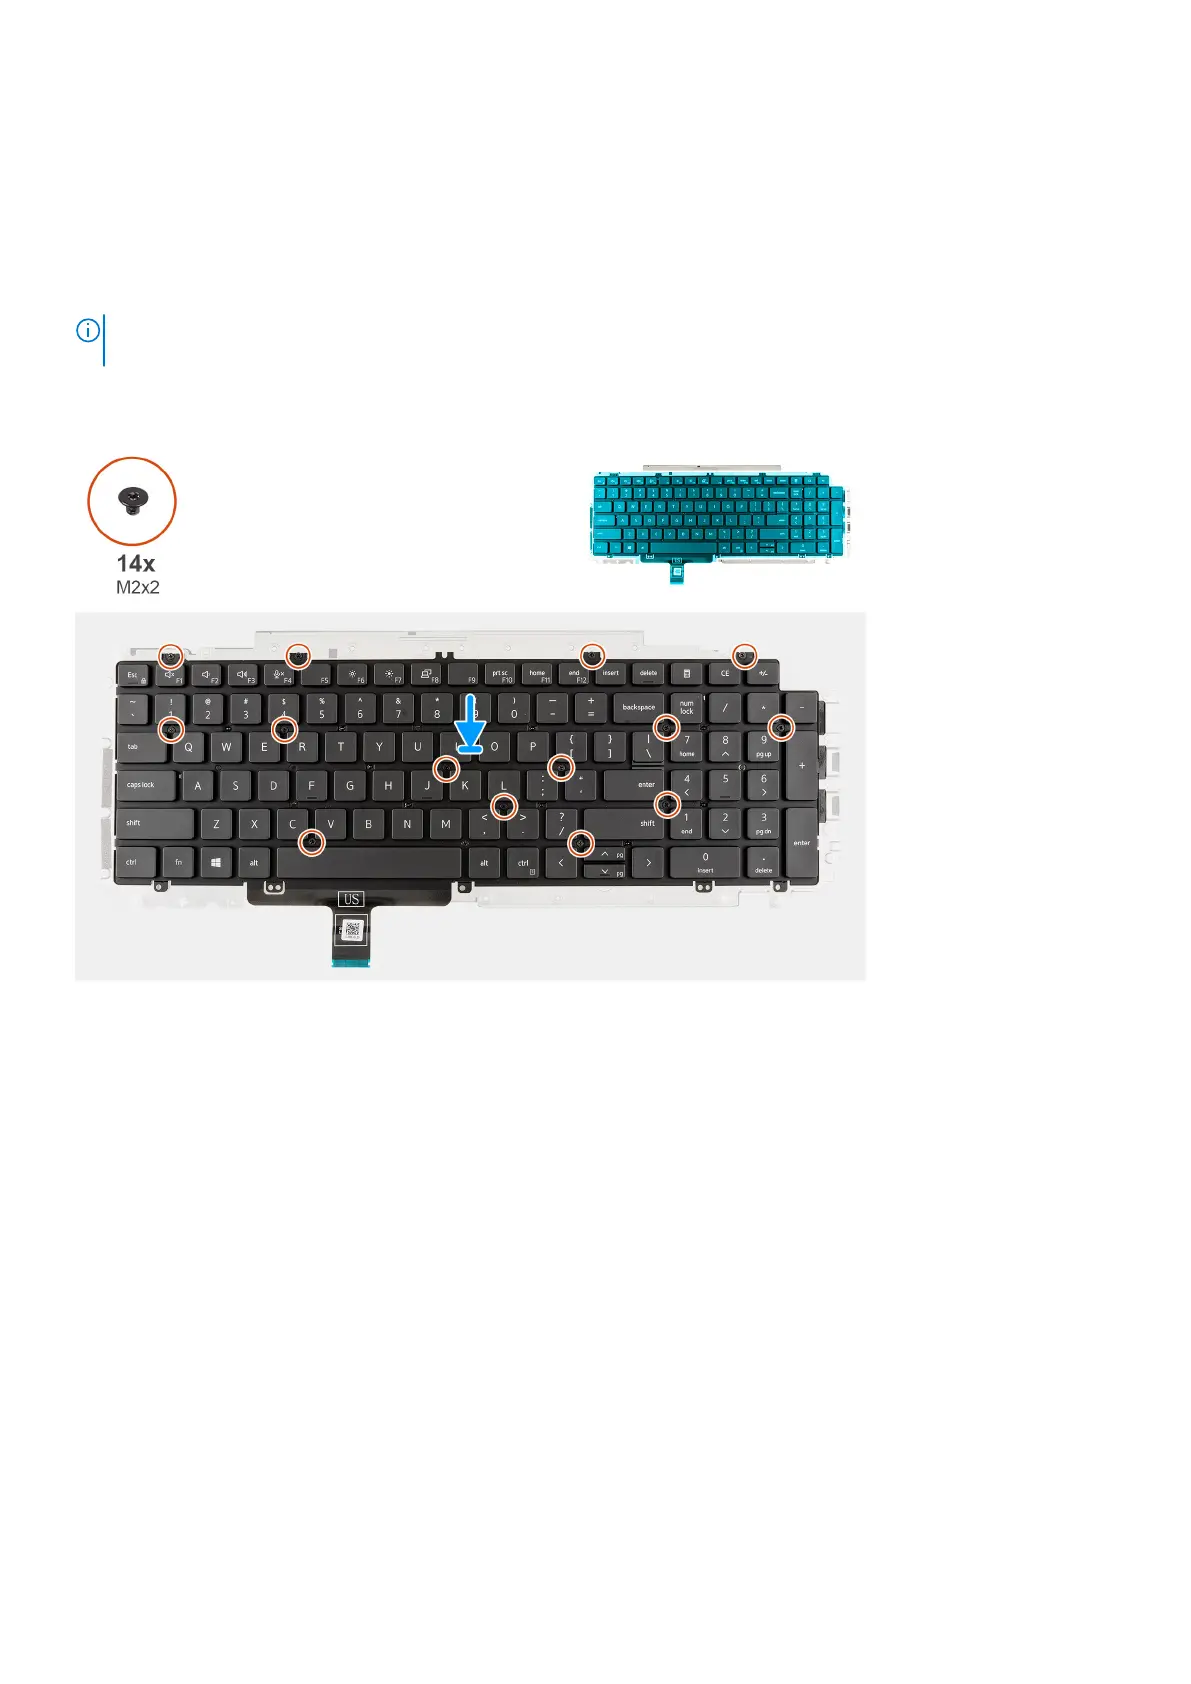
The following image indicates the location of the keyboard bracket and provides a visual representation of the installation
procedure.
Steps
1. Align and place the keyboard on the keyboard bracket.
2. Replace the fourteen (M2x2) screws to secure the keyboard to the keyboard bracket.
Next steps
1. Install the keyboard assembly.
2. Install the system board.
3. Install the assembly inner frame.
4. Install the speakers.
5. Install the heat sink - UMA or discrete based on the system configuration.
6. Install the battery.
7. Install the WWAN card.
8. Install the WLAN card.
9. Install the 2280 solid-state drive or 2230 solid-state drive.
10. Install the memory module.
11. Install the base cover.
12. Install the microSD card.
13. Install the SIM card.
14. Follow the procedure in After working inside your computer.
70
Removing and installing components
 Loading...