EasyManuals Logo

Dell XPS M1710 User Manual

Dell XPS M1710
64 pages
To Next Page IconTo Next Page
To Previous Page IconTo Previous Page
Page #13 background imageLoading...
Page #13 background image
Memory Module(s): Dell XPS M1710 Service Manual
file:///C|/Users/santhosh_v.ASIA-PACIFIC/Desktop/Hawke/New%20folder/memory.htm[2/21/2014 11:23:30 AM]
1 memory module 2 securing clips (2)
Replacing the Memory Module(s)
NOTE: To get maximum performance/dual-channel memory bandwidth capability, both memory module connectors
must contain memory modules and the modules must be of the same size and configuration.
NOTE: If a memory module is not installed properly, the computer does not boot.
1. Ground yourself and install the new memory module:
a. Align the notch in the module edge connector with the tab in the connector slot.
b. Slide the module firmly into the slot at a 45-degree angle, and rotate the module down until it clicks into place.
If you do not feel the click, remove the module and reinstall it.
2. Replace the memory module cover and tighten the captive screws.

Questions and Answers:

Question and Answer IconNeed help?

Do you have a question about the Dell XPS M1710 and is the answer not in the manual?
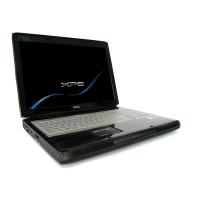
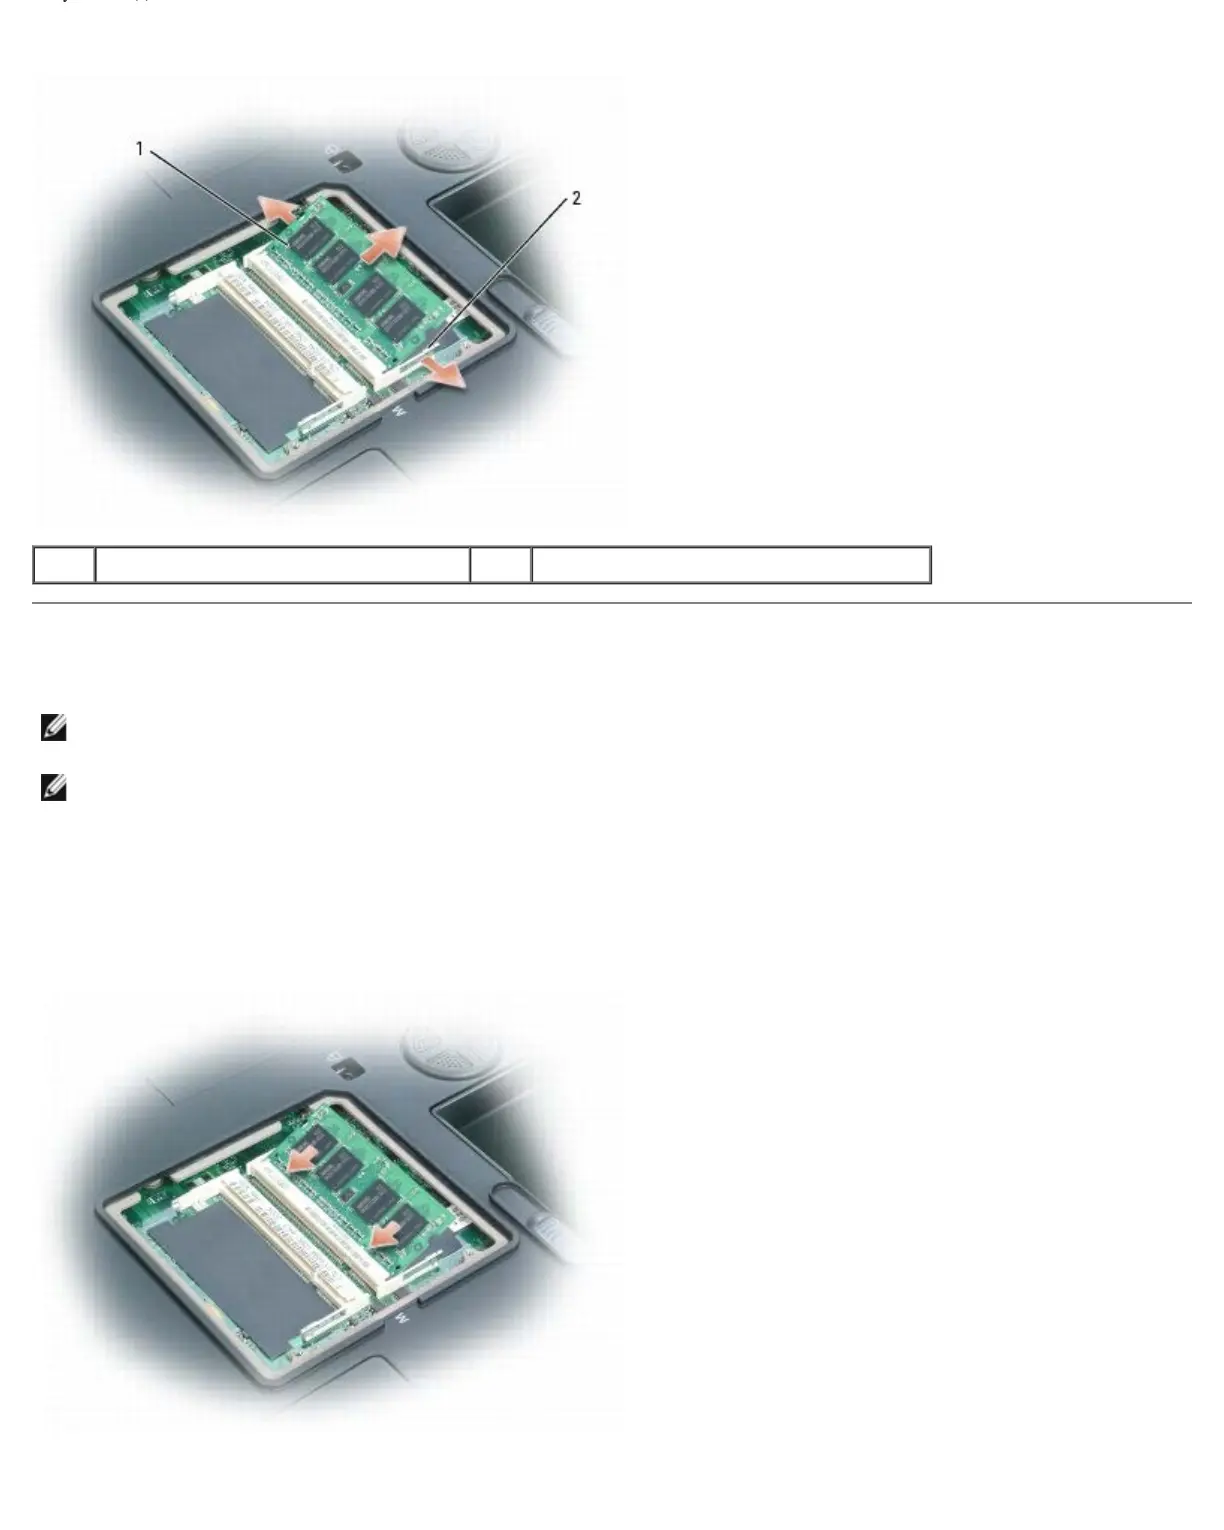
Dell XPS M1710 Specifications

General IconGeneral
RAMUp to 4GB DDR2
Battery9-cell Lithium-Ion
ChipsetIntel 945PM
Networking10/100/1000 Gigabit Ethernet
GraphicsNVIDIA GeForce Go 7900 GTX
Display17-inch WUXGA (1920x1200)
Optical Drive8x DVD+/-RW Drive
Operating SystemWindows XP Media Center Edition
Dimensions15.5 x 11.3 x 1.7 inches
WirelessIntel PRO/Wireless 3945ABG
Ports4 x USB 2.0, IEEE 1394 (FireWire), S-Video, VGA

Related product manuals