Hard Drive: Dell XPS M1710 Service Manual
file:///C|/Users/santhosh_v.ASIA-PACIFIC/Desktop/Hawke/New%20folder/hddrive.htm[2/21/2014 11:23:27 AM]
Replacing the Hard Drive
NOTICE: Use firm and even pressure to slide the drive into place. If you use excessive force, you may damage the
connector.
1. Slide the drive into the bay until it is fully seated.
2. Replace and tighten the screws.
3. If you have installed a replacement hard drive, reinstall the Microsoft® Windows® operating system. For instructions,
see "Restoring Your Operating System" in the Owner's Manual. Instructions for alternative solutions are available at
support.dell.com/pcrt.
4. Reinstall drivers on the new hard drive. For instructions, see "Reinstalling Drivers and Utilities" in the Owner's Manual.
Instructions for alternative solutions are available at support.dell.com/pcrt.
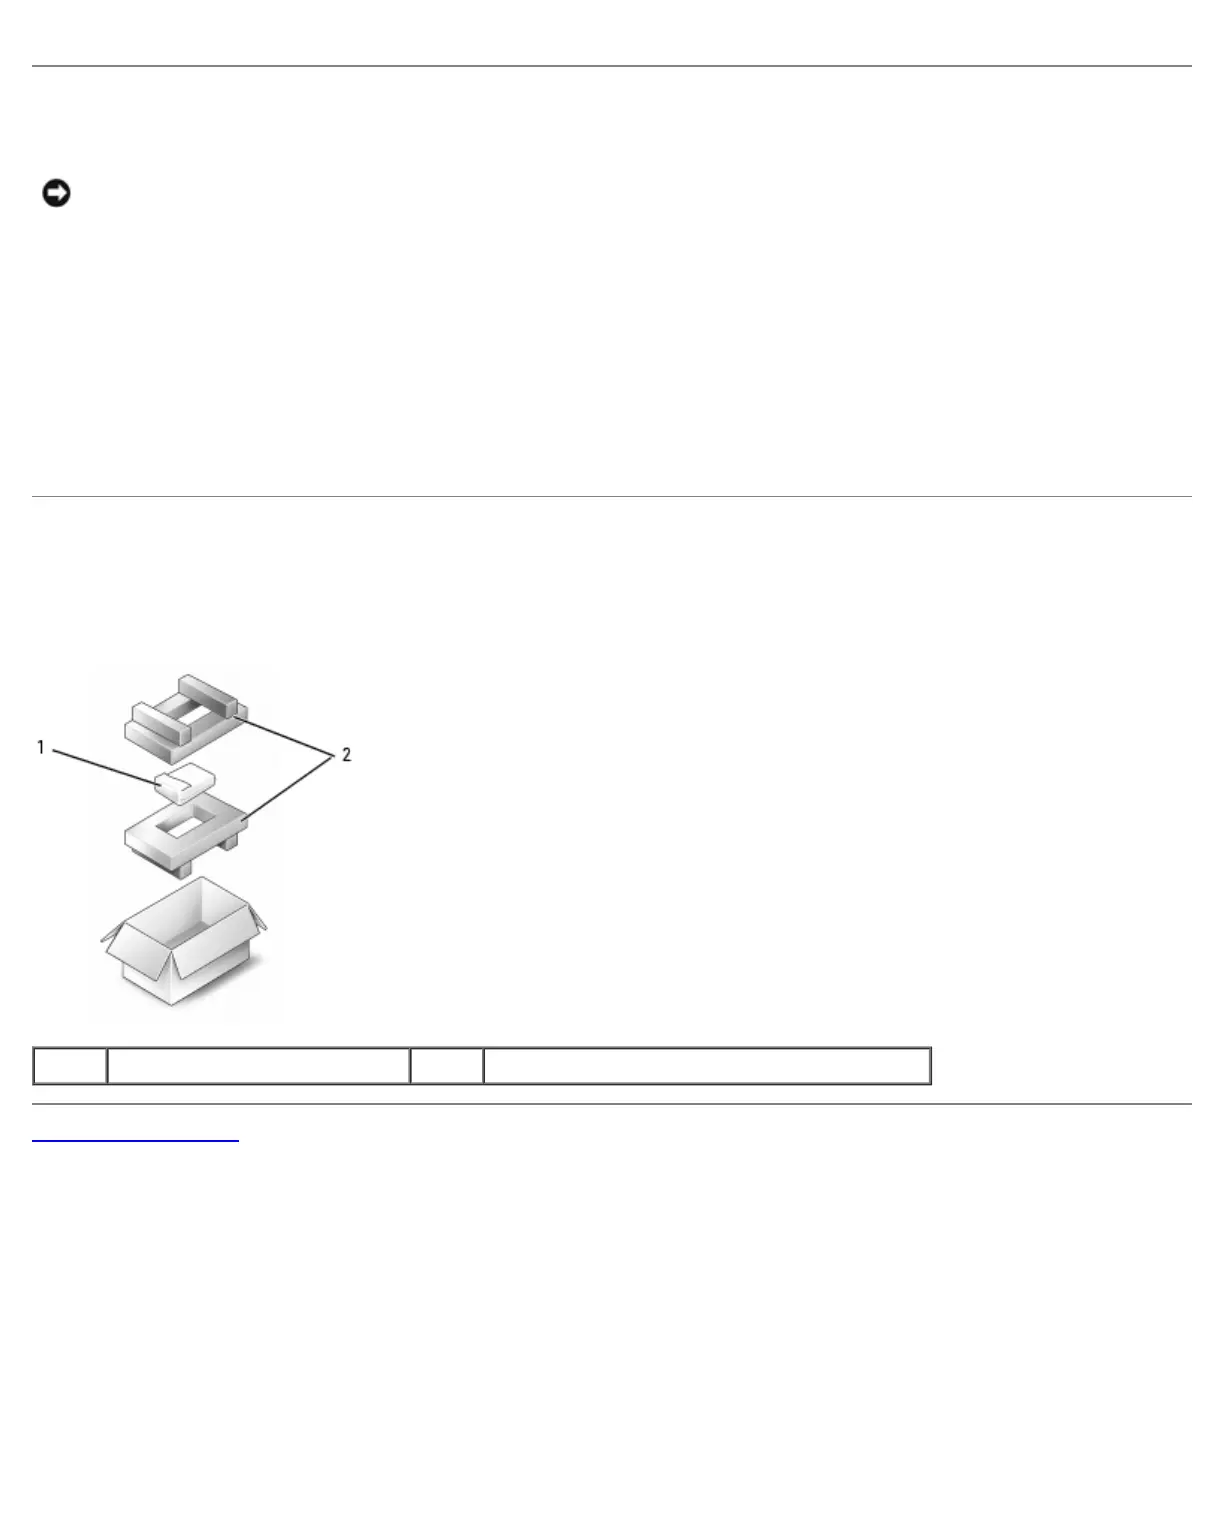
Returning a Hard Drive to Dell
Return your old hard drive to Dell in its original or comparable foam packaging. Otherwise, the hard drive may be damaged in
transit.
1 hard drive 2 foam packaging
Back to Contents Page