EtherNet/IP Operation Manual
5-8
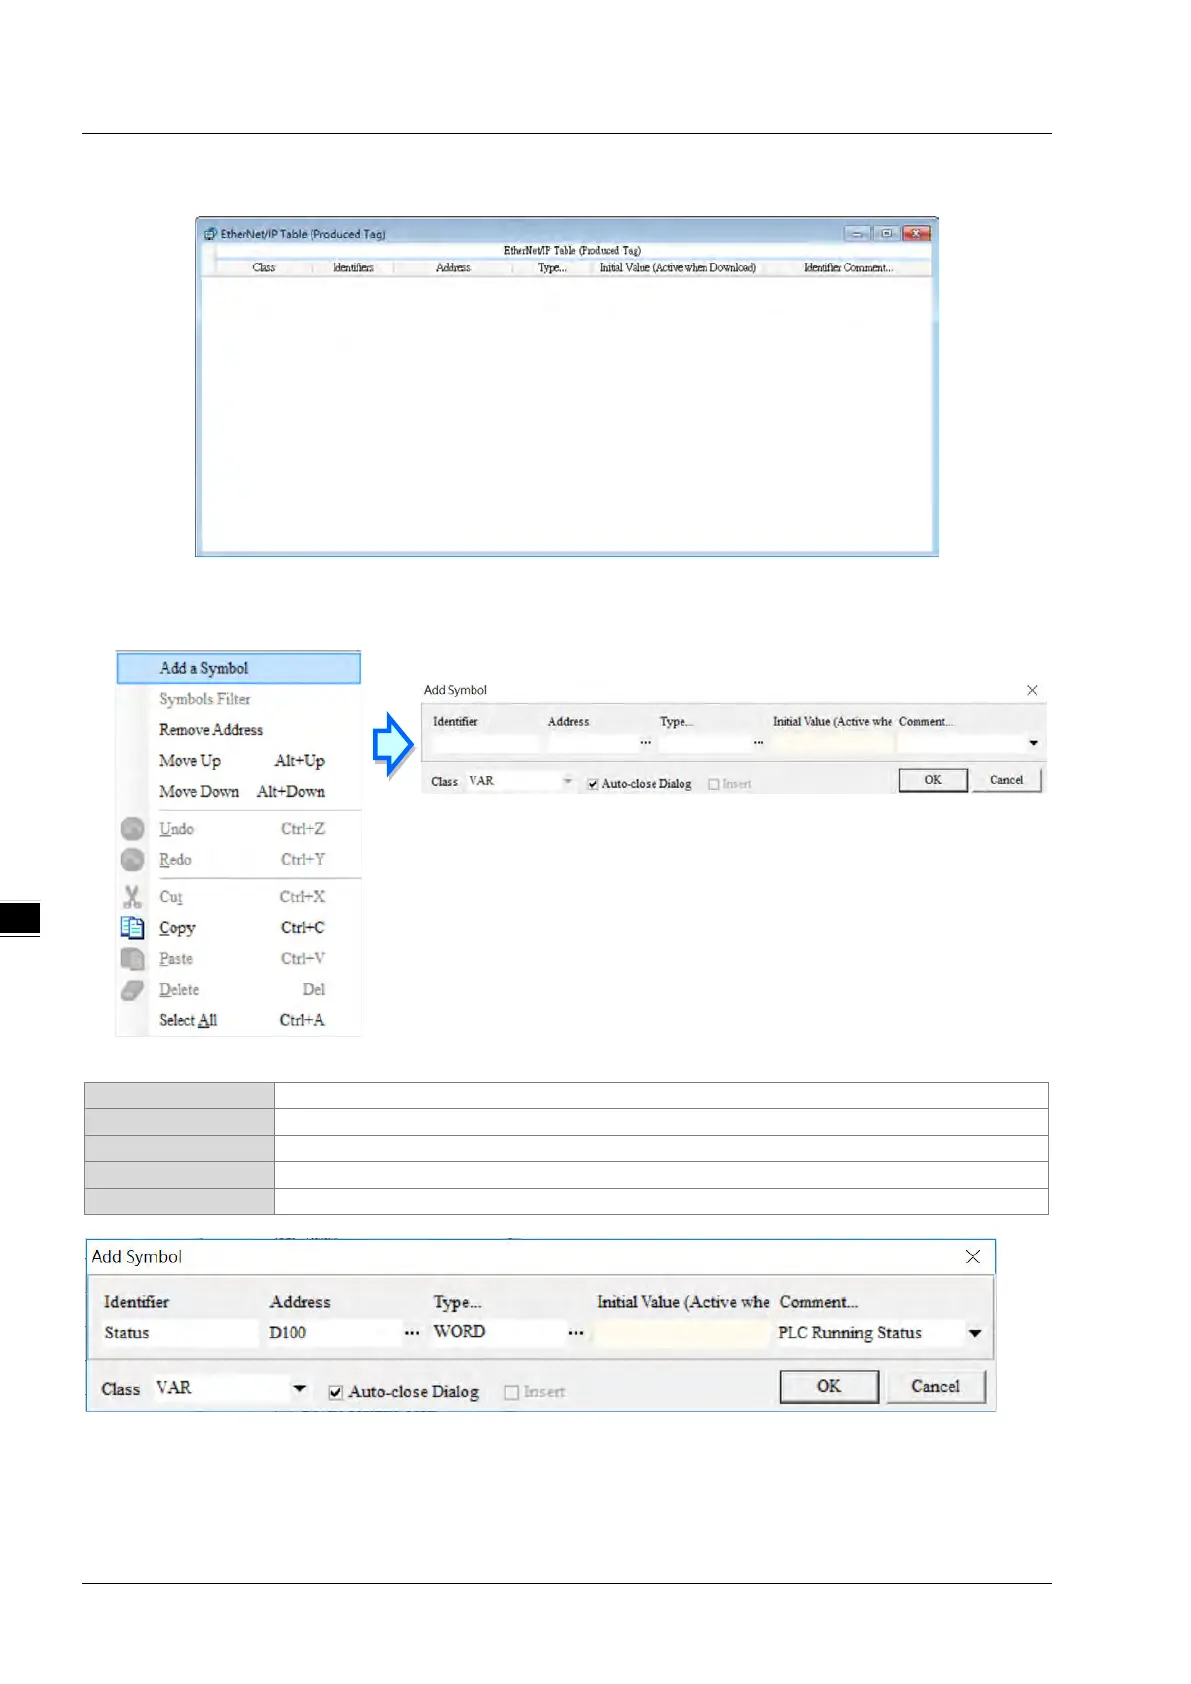
2. After double clicking the EtherNet/IP (Produced TAG) option, the EtherNet/IP Table (Produced TAG) will
show up for editing.
3. Right click on the EtherNet/IP Table (Produced TAG) to see the context menu and select the option “Add
a Symbol”. And then an Add Symbol window will appear.
4. Set up the Produced TAG: as the example shown below.
After the setups are complete, download the parameters to the PLC. Other controllers can receive the data of
a produced tag via the consumed tag. For the creation of a consumed TAG, refer to the manual from the
controller to be used for data transmison.
 Loading...