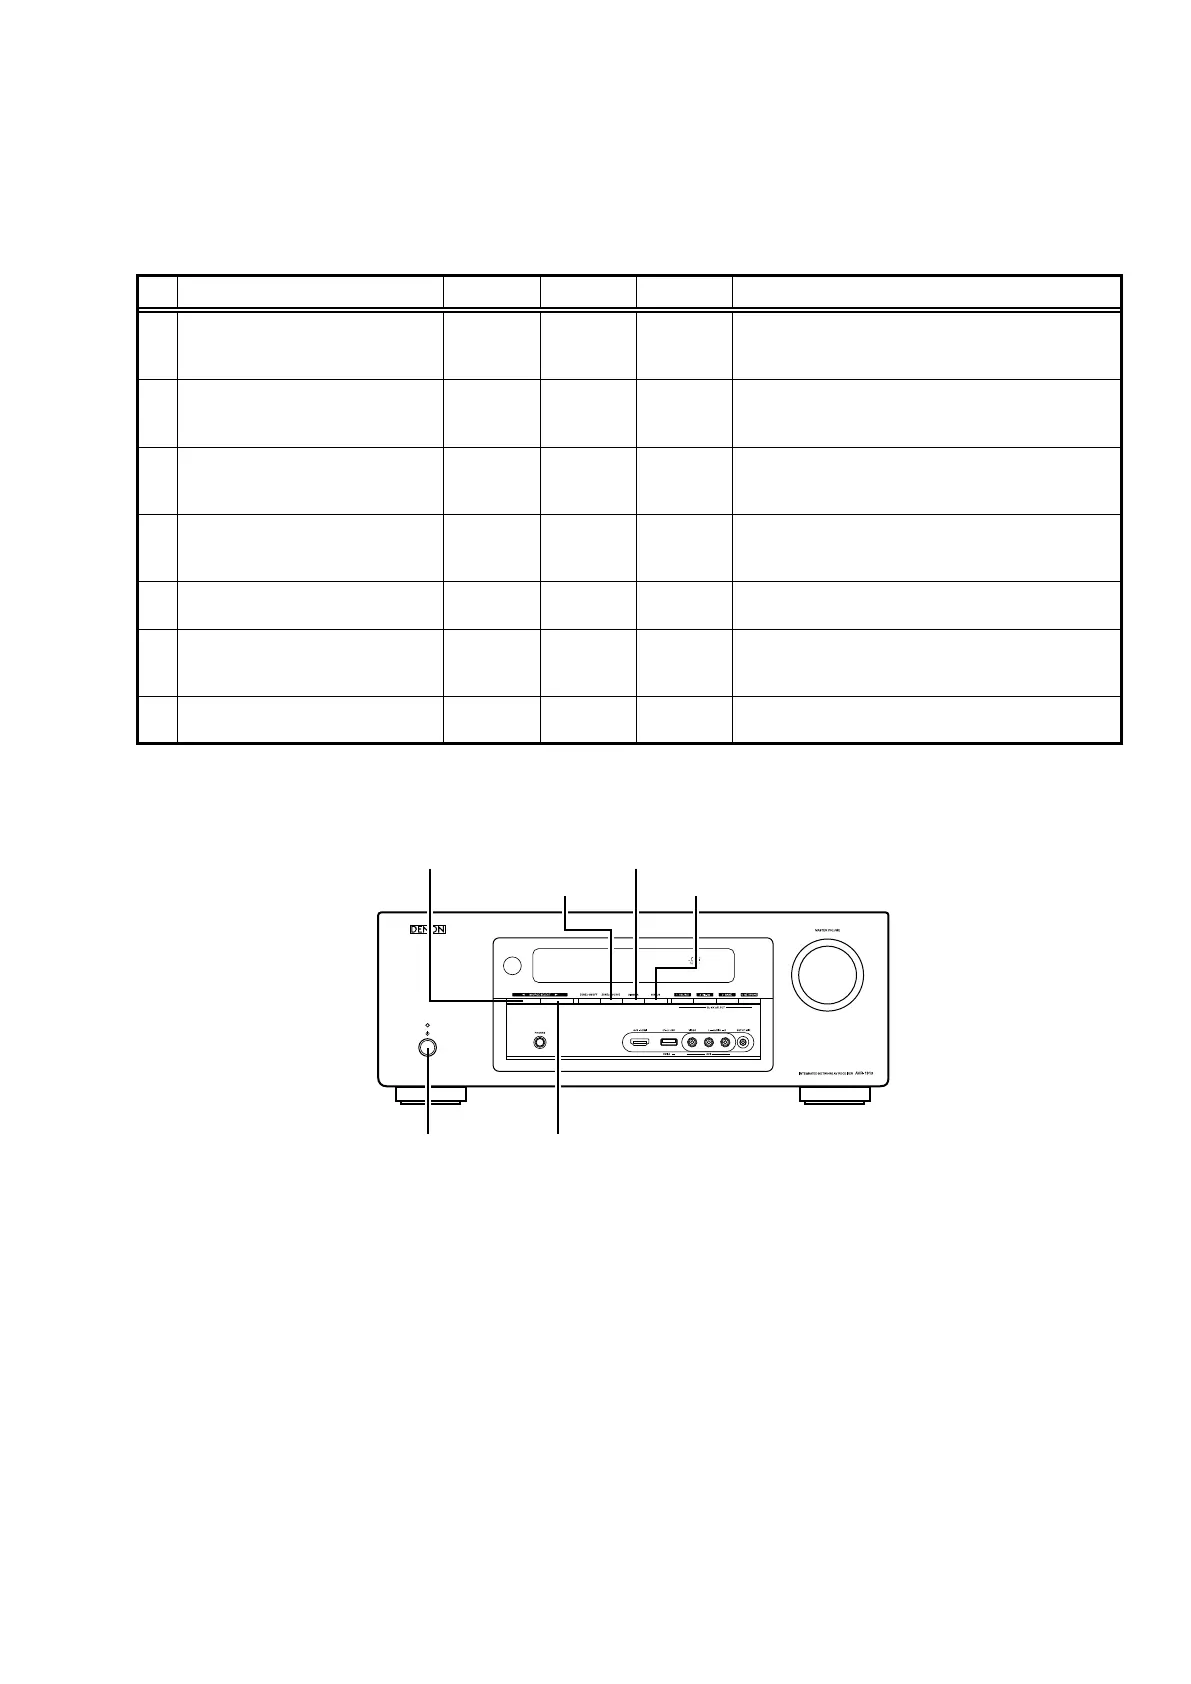
21
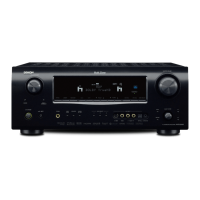
SPECIAL MODE
Special mode setting button (for 1913E3 model)
b
No.1 - 5 : Press the "Power operation (
X
)" button to turn on the power while pressing both the buttons A, B and the button C at
the same time.
b
No.6 : Turn on the power, then press and hold down the A and B buttons for over 3 seconds.
b
No.7 : Turn on the power, then press and hold down the A and B buttons for over 10 seconds.
No. Mode Button A Button B Button C Contents
1
Version display
(μcom/DSP Error Display)
STATUS DIMMER –
Firmware versions such as Main or DSP are displayed in
the FL Display. Errors are displayed when they occur. (Refer
to 23 page)
2
User Initialization mode
(Installer Setup settings are not
initialized.)
SOURCE
SELECT
1
SOURCE
SELECT
0
–
Backup data initialization is carried out.
(Installer Setup settings are not initialized.)
3
Factory Initialization mode
(Installer Setup settings are also
initialized.)
ZONE2
SOURCE
DIMMER –
Backup data initialization is carried out.
(Installer Setup settings are also initialized.)
4
PANEL/REMOTE LOCK Selection
mode
ZONE2
SOURCE
SOURCE
SELECT
1
–
Selects to reject operations through panel buttons and the
master volume knob on the main unit and operations via
the remote control.
5 Service Related Selection mode
ZONE2
SOURCE
DIMMER STATUS
Selects the “Diagnostic mode” or “Displaying the protection
history mode”.
6 Remote ID Setup mode STATUS DIMMER –
When using multiple DENON AV receivers in the same
room, make this setting so that only the desired AV receiver
operates. (Refer to 33 page)
7 NETWORK Initialization mode
ZONE2
SOURCE
DIMMER – Initializes NETWORK related settings.
STATUS
DIMMERSOURCE SELECT 0
ZONE2 SOURCE
X SOURCE SELECT 1
f
 Loading...