DVM-750 Installation Guide 860-0008-00 Rev C
Digital Ally, Inc |DVM-750 Installation Guide
Before Jump Starting the Vehicle, all power should be removed from the system.
Remove the (2) 7.5 Amp fuses from the side of the I/O Box BEFORE jump-starting
the vehicle. This will prevent potentially damaging voltage spikes from entering
the DVM-750 System. Reinsert the fuses after jump-starting the vehicle.
3. Press the MARK button to power the system on. Wait a couple minutes while the system
boots.
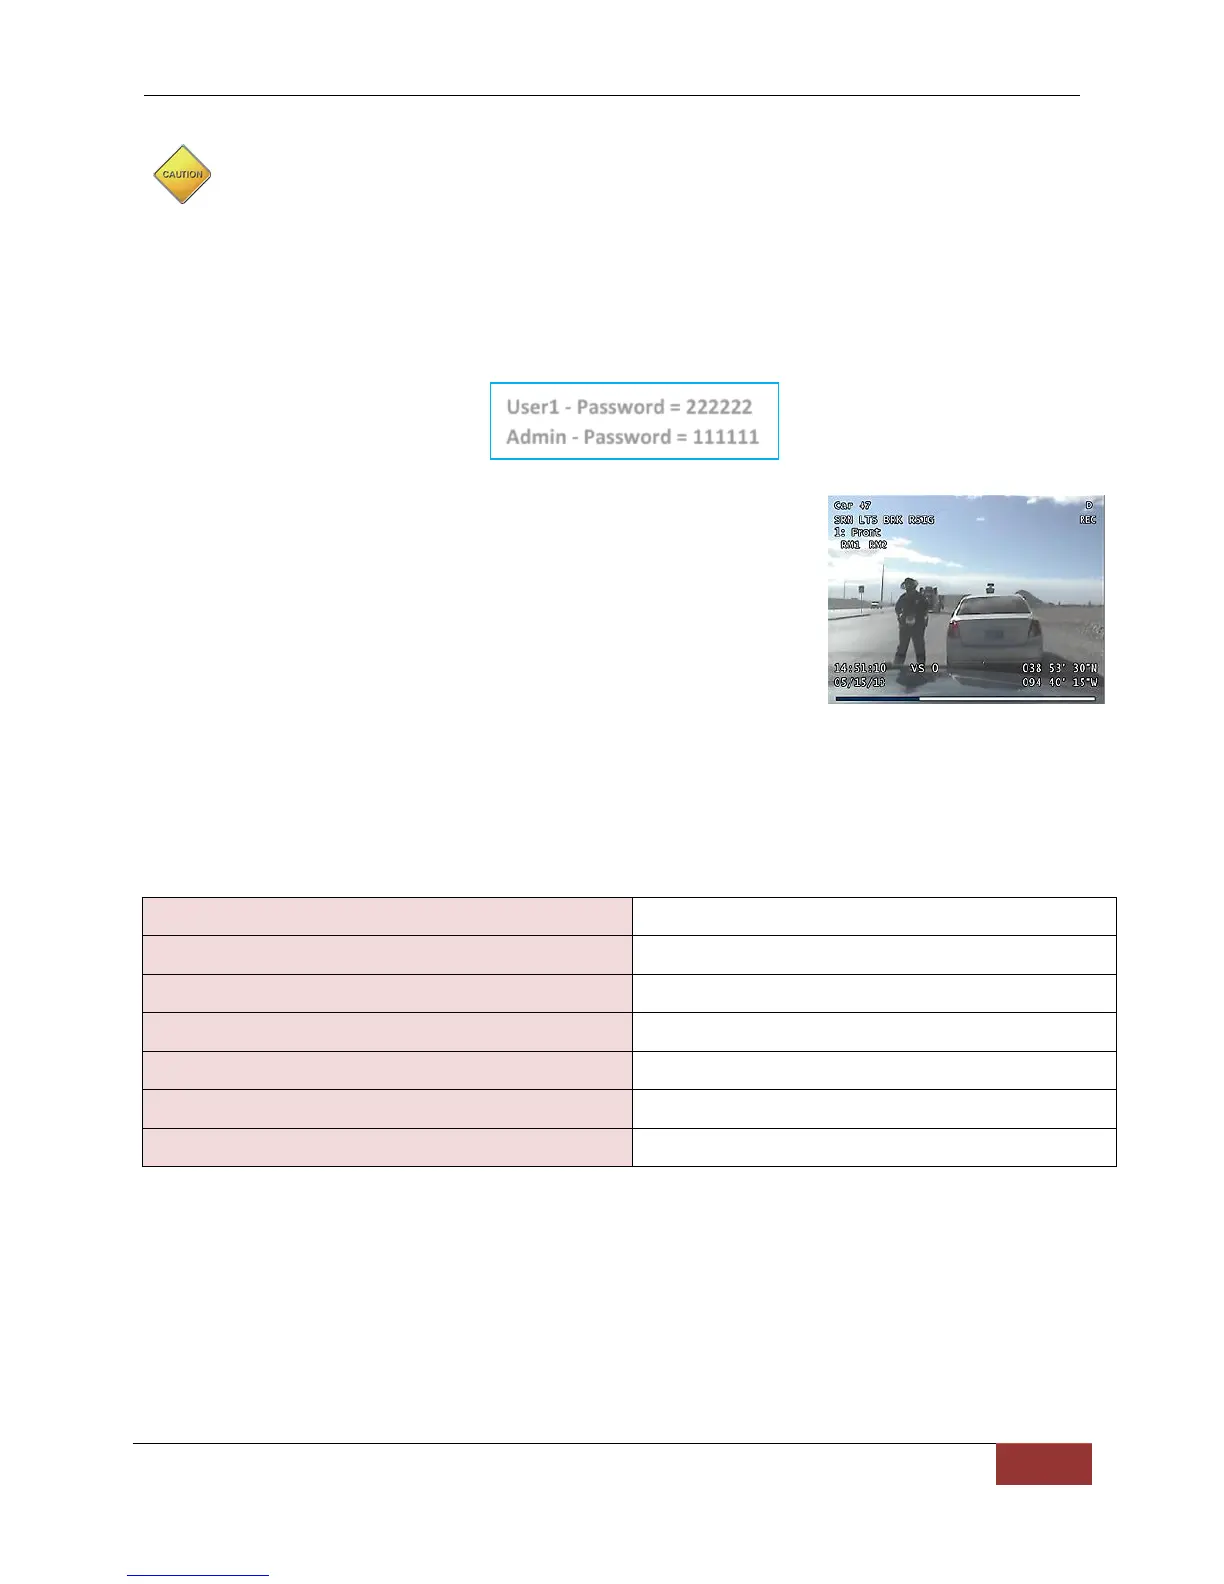
4. The DVM’s CF memory card comes with 2 default login settings already configured, and
they are as follows:
5. Press the REC Start button.
6. Check all connected input sensors (lights, siren, brakes,
etc.). The detected sensor will appear in the top left of the
LCD screen.
7. Press STOP to end the recording. Hold the MARK button
down to power off the system.
8. Check the vehicle’s ignition connection by verifying the DVM
charging circuit. Go to Menu>Settings>Battery Monitor.
Select Begin Battery Test, cycle the vehicle’s ignition and observe the status line. The
message should change depending on the ignition key position. If it does not change,
recheck the ignition input voltage going to the IO box.
Post Installation Checklist
Front Camera serial number
Vehicle license plate number
How to Reset the DVM-750 System
1. Remove power from the Interface (I/O) Box for 30-60 seconds by removing the (2) 7.5
Amp fuses from the side of the small, black I/O Box located in the vehicle (location will
vary). The I/O Box, DVM, and the Camera(s) will reset automatically.
2. Re-insert both 7.5 Amp fuses into the I/O Box and then power up the system by using
the MARK button, or by turning the vehicle’s ignition switch to the ON position (if the
DVM was ordered with the Ignition Power Up option).
User1 - Password = 222222
Admin - Password = 111111
 Loading...