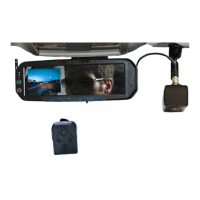
DVM-750 Installation Guide 860-0008-00 Rev C
Digital Ally, Inc |DVM-750 Installation Guide
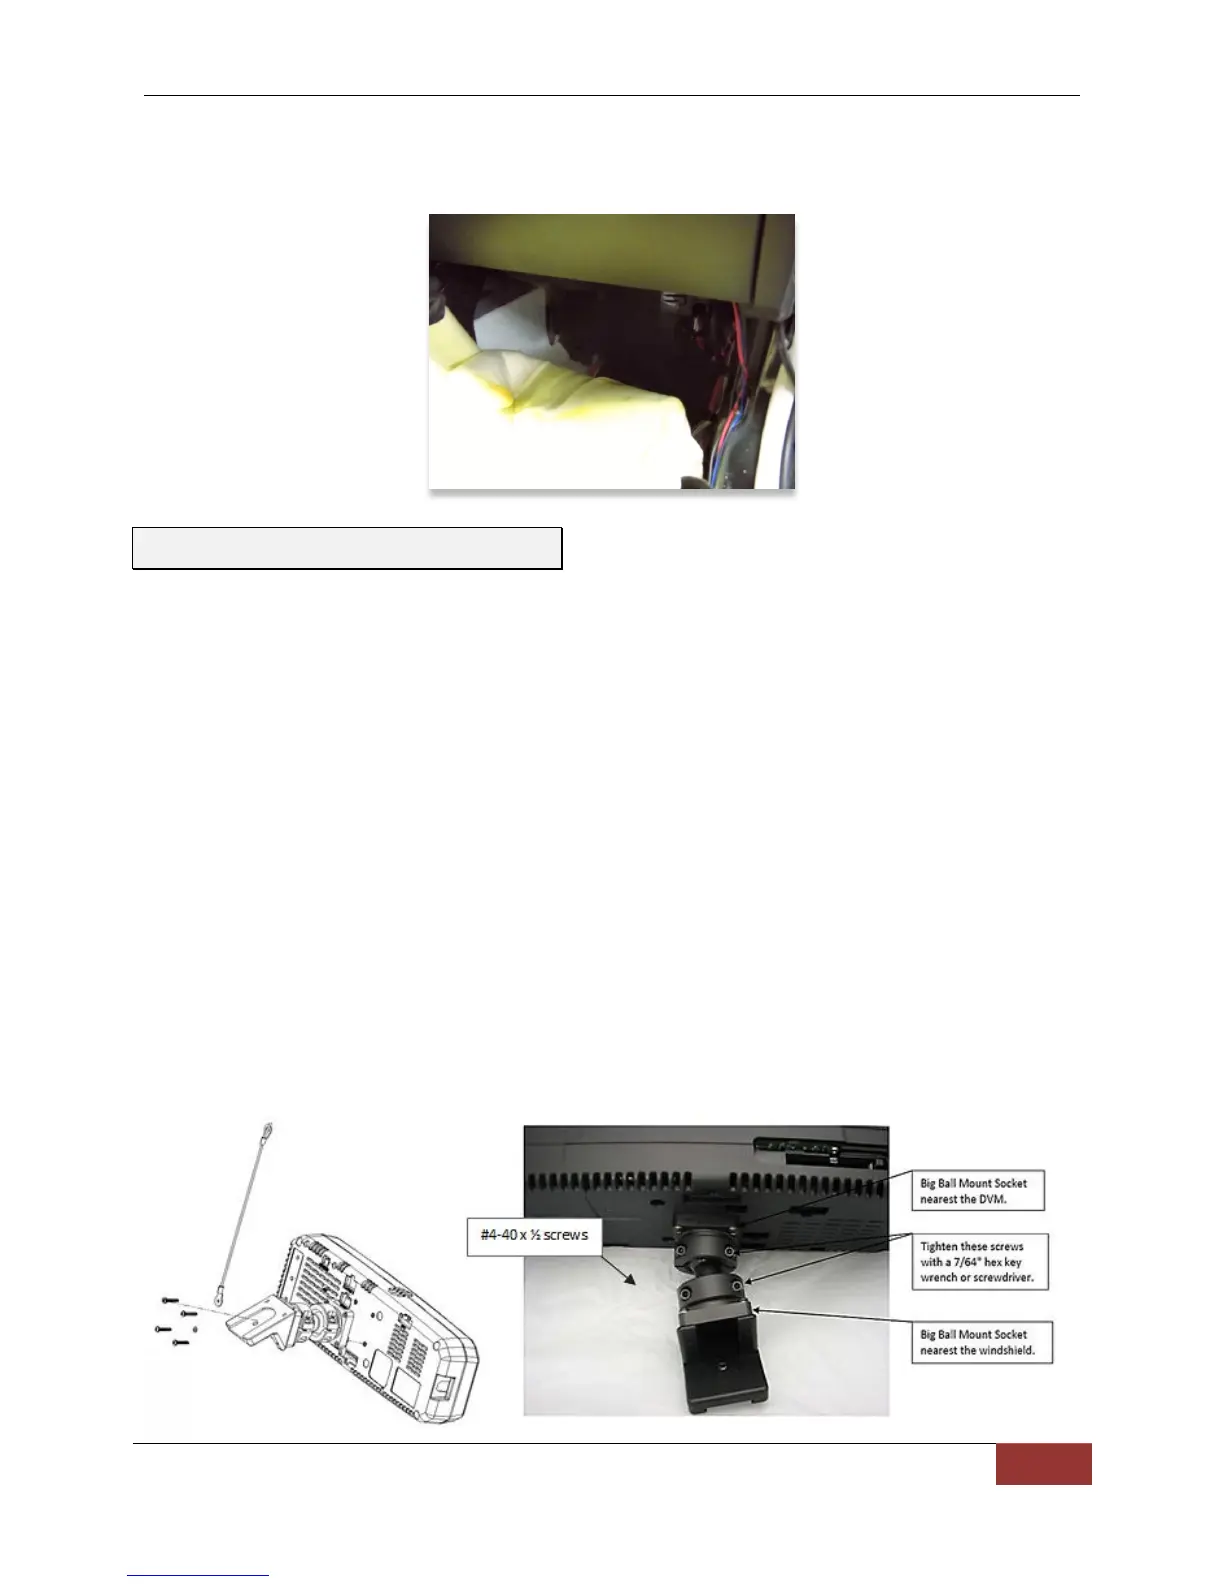
5. Remove the passenger side kick panel & pull back the carpet to expose the vehicle
chassis.
1. Attach the mirror mount directly to the back of the DVM with four #4-40 x ½” pan head
screws and four #4 split lock washers shown below. Attach the lanyard to one of the top
two screws and attach the other end to a structural rib underneath the headliner of the
vehicle.
2. To tighten the Big Ball DVM Mount, use a 7/64" hex key wrench or driver to tighten the
two screws on the socket that are loose. Start by tightening one screw 1/8" of a turn
maximum. Warning: Do not over tighten the hex locking screws in the middle of the Big
Ball mount or the DVM may break off the windshield when adjusted, possibly causing
damage to the windshield.
3. Check how tight the DVM mirror mount feels. If it is still loose, tighten the other screw
another 1/8" turn. Continue this process until the DVM has the correct feel. If the other
socket is also loose, perform this same procedure on the other socket. The socket
nearest the windshield should be tighter than the socket nearest the DVM, i.e. the socket
nearest the DVM should move before the socket nearest the windshield moves. Also
keep in mind that if you are making this adjustment when the ambient temperature is
high, the mount will become tighter as the temperature decreases.
Step 3: Attach the Big Ball Mount
 Loading...