08
168
In the event of a breakdown
Do not remove any foreign bodies (e.g.
nail, screw) which have penetrated into
the tyre.
F
Remove the valve cap from the tyre to be
repaired, and place it in a
clean area.
F
Check that the compressor switch is in
position "O".
F Fully uncoil the electric cable stowed under
the compressor.
F Connect the compressor's electric plug to
the vehicle's 12
V socket.
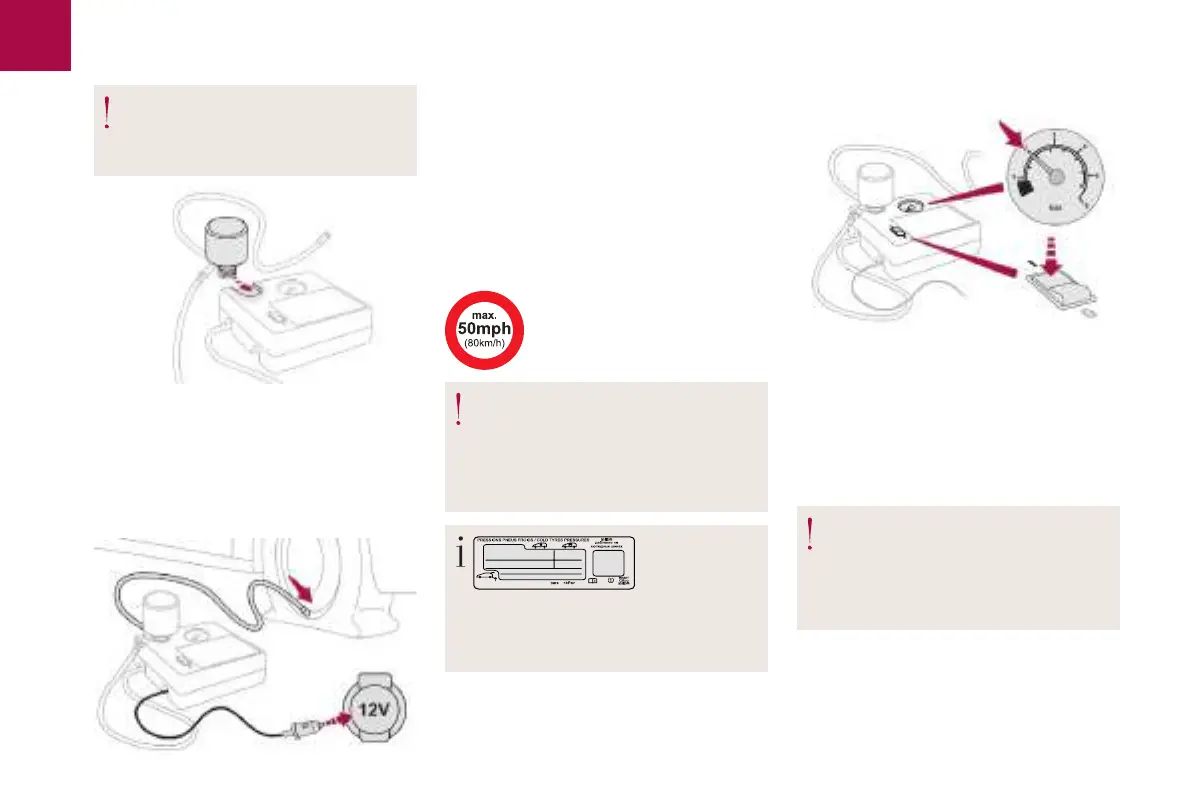
F Turn the bottle of sealant over and secure it
in the notch provided on the compressor.
F
Connect the hose from the bottle of sealant
to the valve of the tyre to be repaired and
tighten firmly.
F
Affix the speed limit sticker.
The speed limit sticker must be secured to
the interior of the vehicle in the area close
to the driver, to remind the driver that
a
wheel is in temporary use.
F
Switch on the ignition.
If after approximately 7
minutes the
pressure of 2
bars is not reached, this
indicates that the tyre is not repairable;
contact a dealer or a qualified workshop
for assistance.
F
Turn the switch to position "O".
F Disconnect the compressor's electric plug
from the vehicle's 12 V socket.
F Refit the cap on the valve.
F
Start the compressor by turning the switch
to position "I" until the pressure of the tyre
reaches 2 bars. The sealant product is
injected under pressure into the tyre; do not
disconnect the pipe from the valve during
this operation (risk of blowback).
The tyre inflation pressures are given on
this label.

 Loading...