Safety and operating instructions
© Construction Tools GmbH | 3390 5149 01 | 2020-09-22
Original Instructions
37
7.2 Depressurising the hydraulic
system
Even when you have switched off the carrier, a consider-
able residual pressure can still be present in the hy-
draulic system.
A residual pressure can still be present in the hydraulic
attachment even after you have disconnected the quick-
release couplings or closed the shut-off valves.
The hydraulic attachment can only be depressurized us-
ing the hydraulic system of the carrier, by allowing hy-
draulic oil to drain to the tank via the return connection.
Depending on the type of hydraulic attachment, the inter-
nal leaks, the oil temperature, the type of hydraulic oil
and the design of the hydraulic installation of the carrier,
the time required to relieve the pressure can vary.
Observe the following steps in order to depressurise the
hydraulic attachment:
1.
Ensure that the hydraulic oil in the hydraulic attach-
ment and in the carrier has a temperature of at least
0°C (32°F). If necessary, pre-heat it to at least 0°C
(32°F).
2.
The hydraulic attachment must be connected to the
hydraulic system of the carrier device, i.e. the hy-
draulic hoses must be connected up and the respec-
tive shut-off valves in the supply pipe and in the con-
nection to the tank must be opened.
3.
Place the hydraulic attachment on timber support
blocks laying on the ground.
4.
Depressurise the hydraulic system according to the
manufacturer's safety and operating instructions for
the carrier.
5.
You must wait at least another 60 minutes until the
pressure has been relieved through leakages.
6.
When you have made sure that no more pressure is
present in the hydraulic system, you must disconnect
the hydraulic connection to the carrier. Close the
shut-off valves or disconnect the quick-release cou-
plings, so that no hydraulic oil can flow back from the
carrier.
7.3 Cleaning
n
Before starting your work shift always clean the dis-
play with a damp, soft cloth.
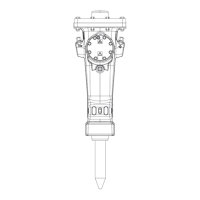
7.4 Check wear ring of the
magnet plate
n
Before starting your work shift, always check that the
wear of the wear ring is within the tolerance.
n
Consult the Epiroc Customer Center / Dealer in your
area if the wear limit "a" of 10mm is reached.
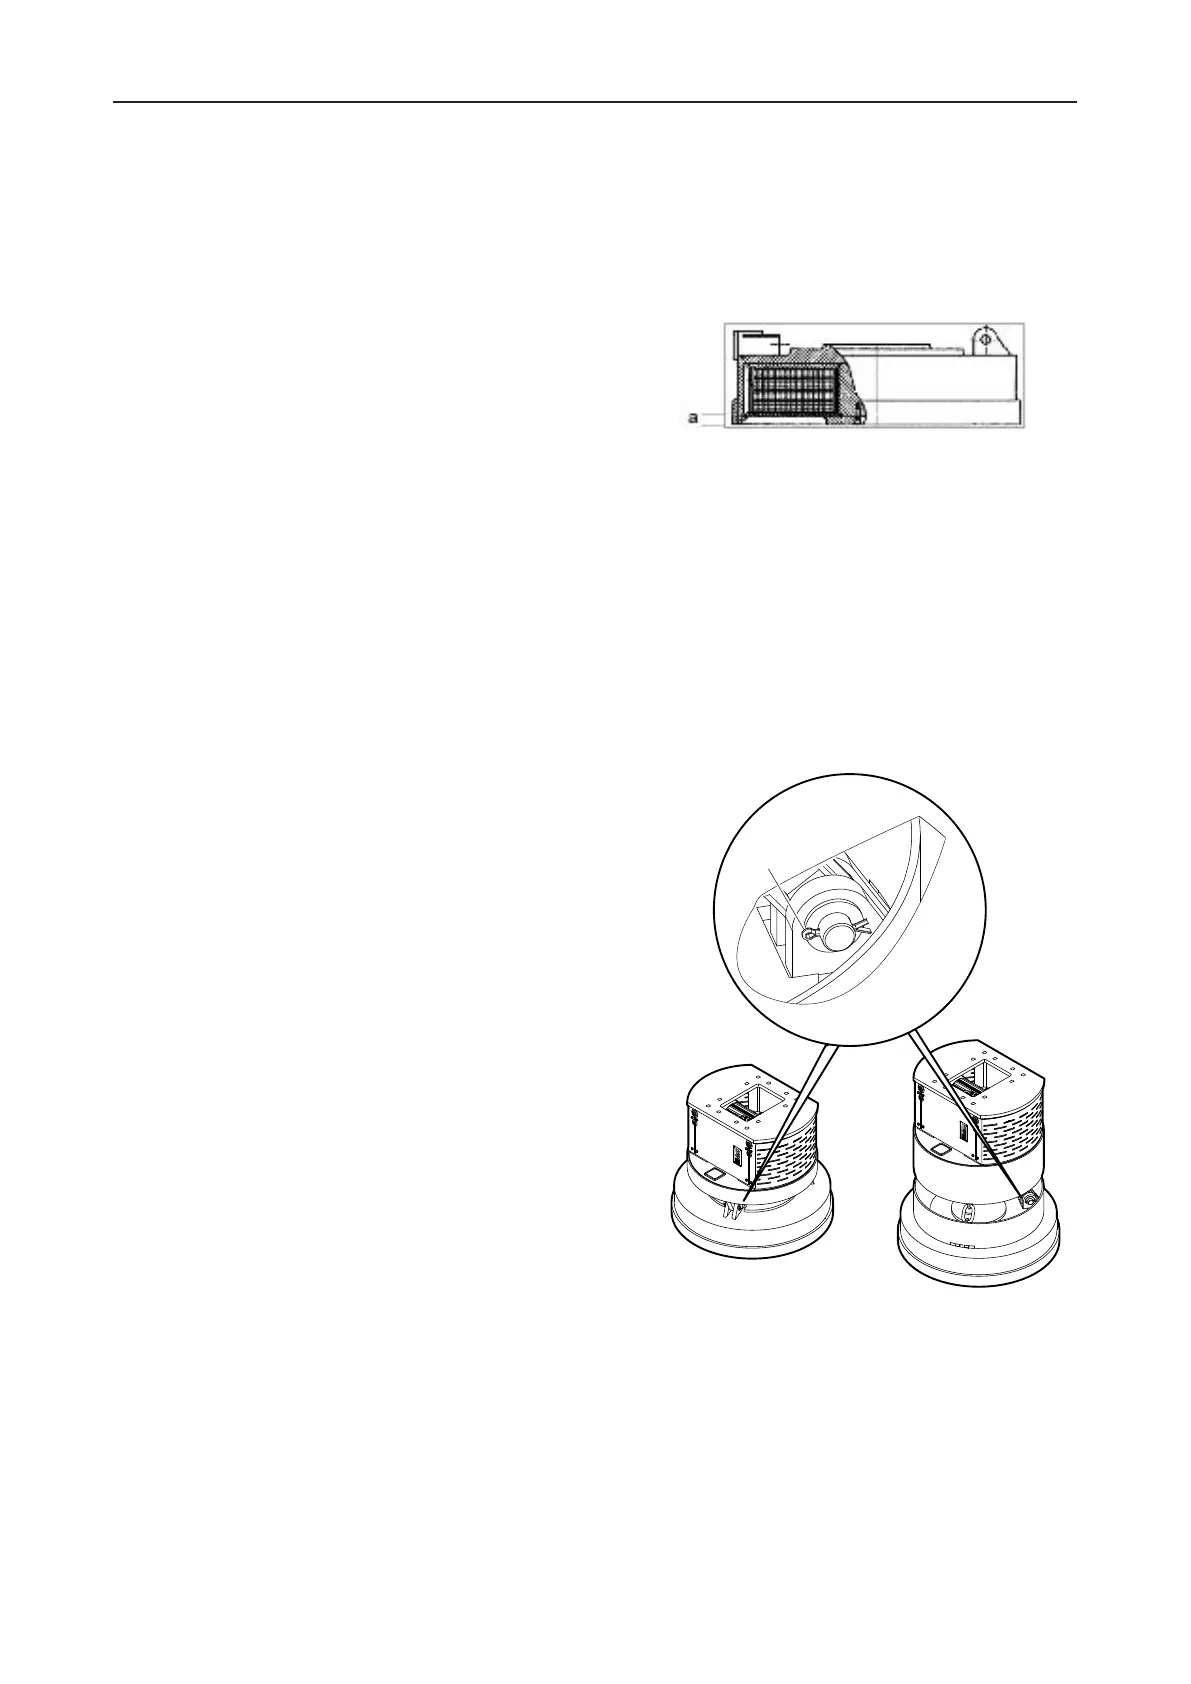
7.5 Check the fixing of the
magnet plate
n
Before starting your work shift, always check the fix-
ing of the magnet plate.
n
All bolts have to be fixed with a split pin(A).
%
50
60
70
80
90
100
%
50
60
70
80
90
100
A
n
Immediately replace missing split pins.
7.6 Check chain (VersionM)
n
Before starting your work shift, always check that the
chains are not elongated and are therefore worn.
 Loading...