E
Use a sprayer to spray water on the center of the
platen.
If you do not dampen the surface of the platen
with water, you cannot correctly set the
Adjustment Film Sheet.
F
Starting from the front of the platen, slide the
Adjustment Film Sheet along the surface of the
platen so it aligns with the marks as you place it.
Be sure to align the film with the markings. If it is
placed in a different position, the platen may be
soiled with ink.
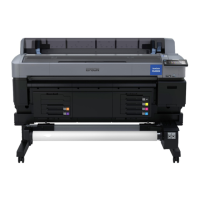
G
Be sure that the film adheres correctly.
❏ If there is air between the film and the platen, as
shown in the illustration, return to step 6 and
reset it.
❏ If there is any water on the surface of the film,
use a soft cloth that is not likely to generate lint
to wipe it off.
H
When the screen changes to Print Head Nozzle
Check, press Start.
The nozzle check pattern is printed.
I
Check the nozzle check pattern.
If there are no clogged nozzles
Select
.
If there are clogged nozzles
Select
, and then do Head Cleaning until the
clogged nozzles are cleared.
When the screen changes to Print Head
Alignment, all the head replacement work is
complete.
Next, do the adjustment work.
U “Adjustment Work” on page 23
About Used Print Heads
Pack the used Print Head according to the following
procedure, and then contact your dealer or Epson
Support.
How to Pack
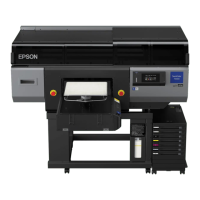
A
Apply commercially available adhesive tape to
the contacts of the connectors on the used Print
Head.
Be sure to apply the tape so that any ink left in the
nozzles cannot leak out during transport and get
into the contacts of the connectors.
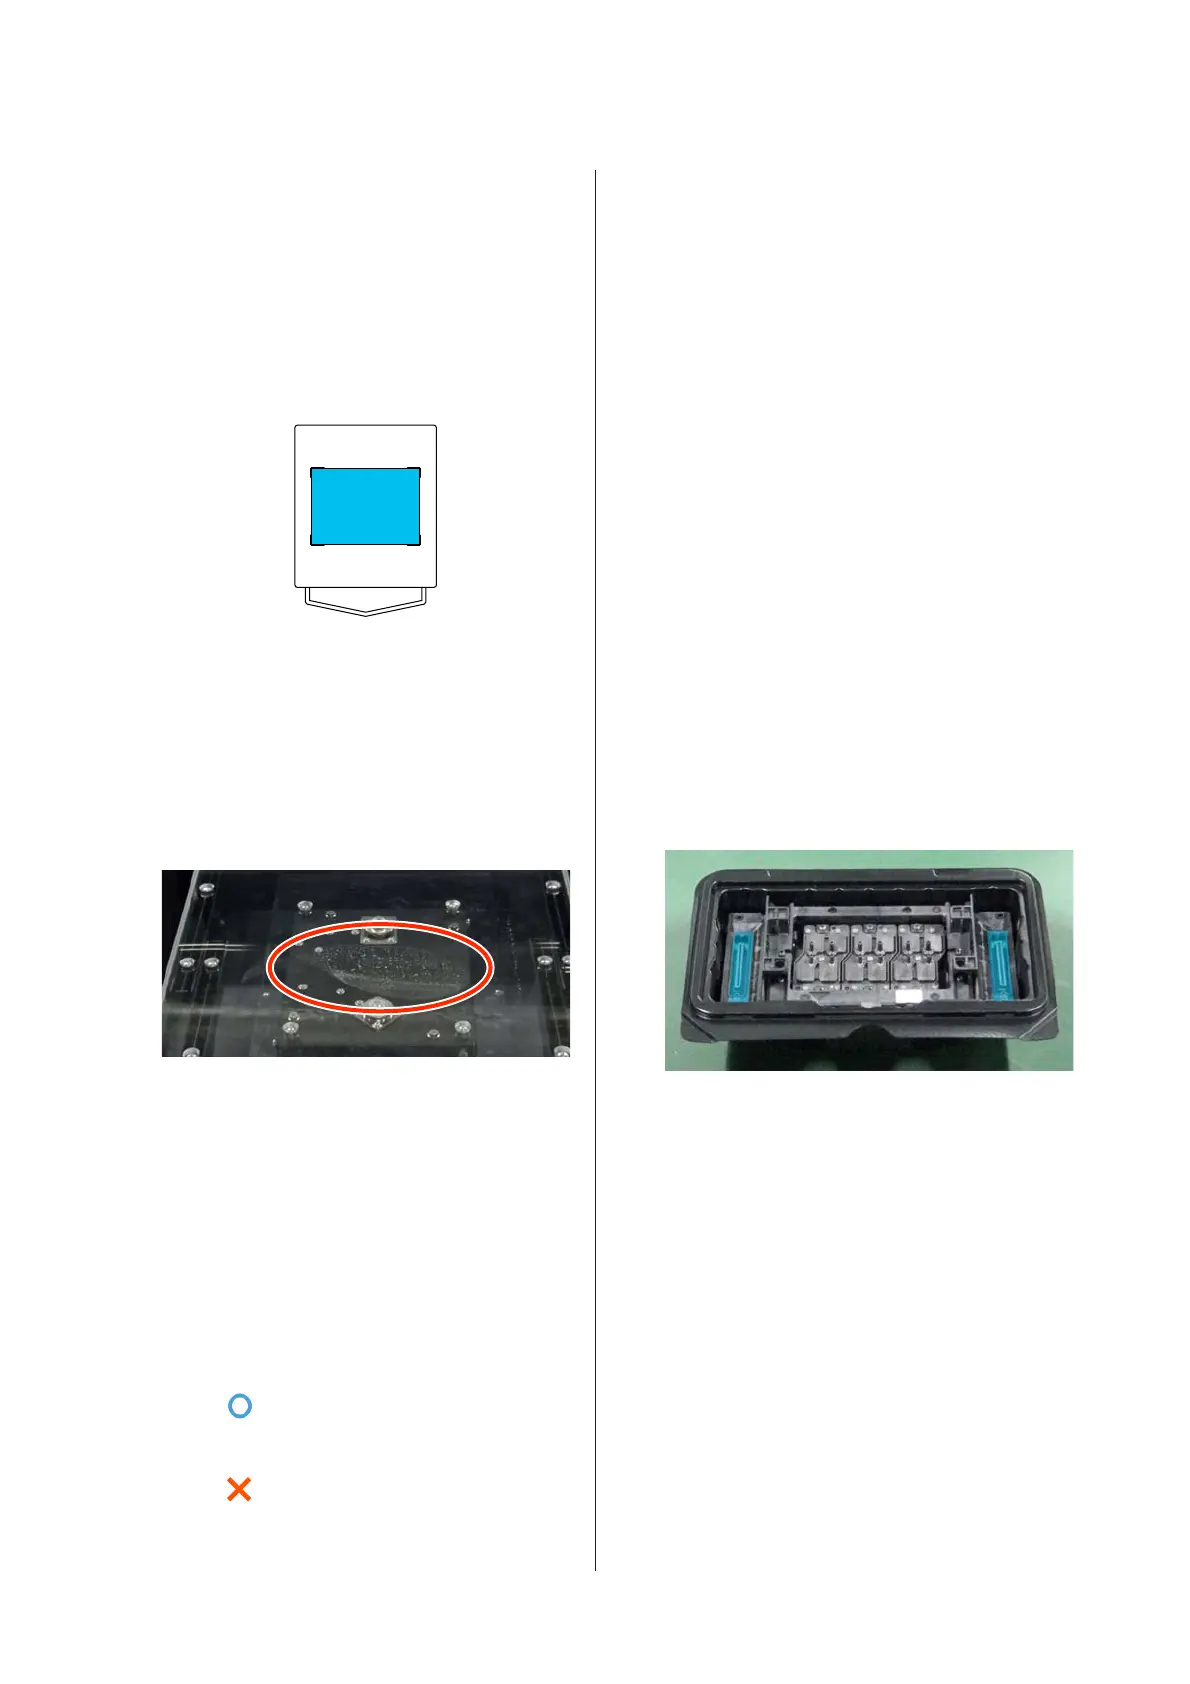
B
Put the Print Head into the protective case and
close the lid.
C
Put the protective case in the plastic bag that
came with the replacement Print Head, and then
put it all in the outer carton and seal it with
adhesive tape.
Pack it securely so that the Print Head does not
come out of the box during transport.
SC-F3000 Series How to Replace the Print Head
Replacement Procedure
22
 Loading...