Work Flow
When a Print Head Needs to Be Replaced
A Print Head needs to be replaced in the following situations. The work is different for both situations.
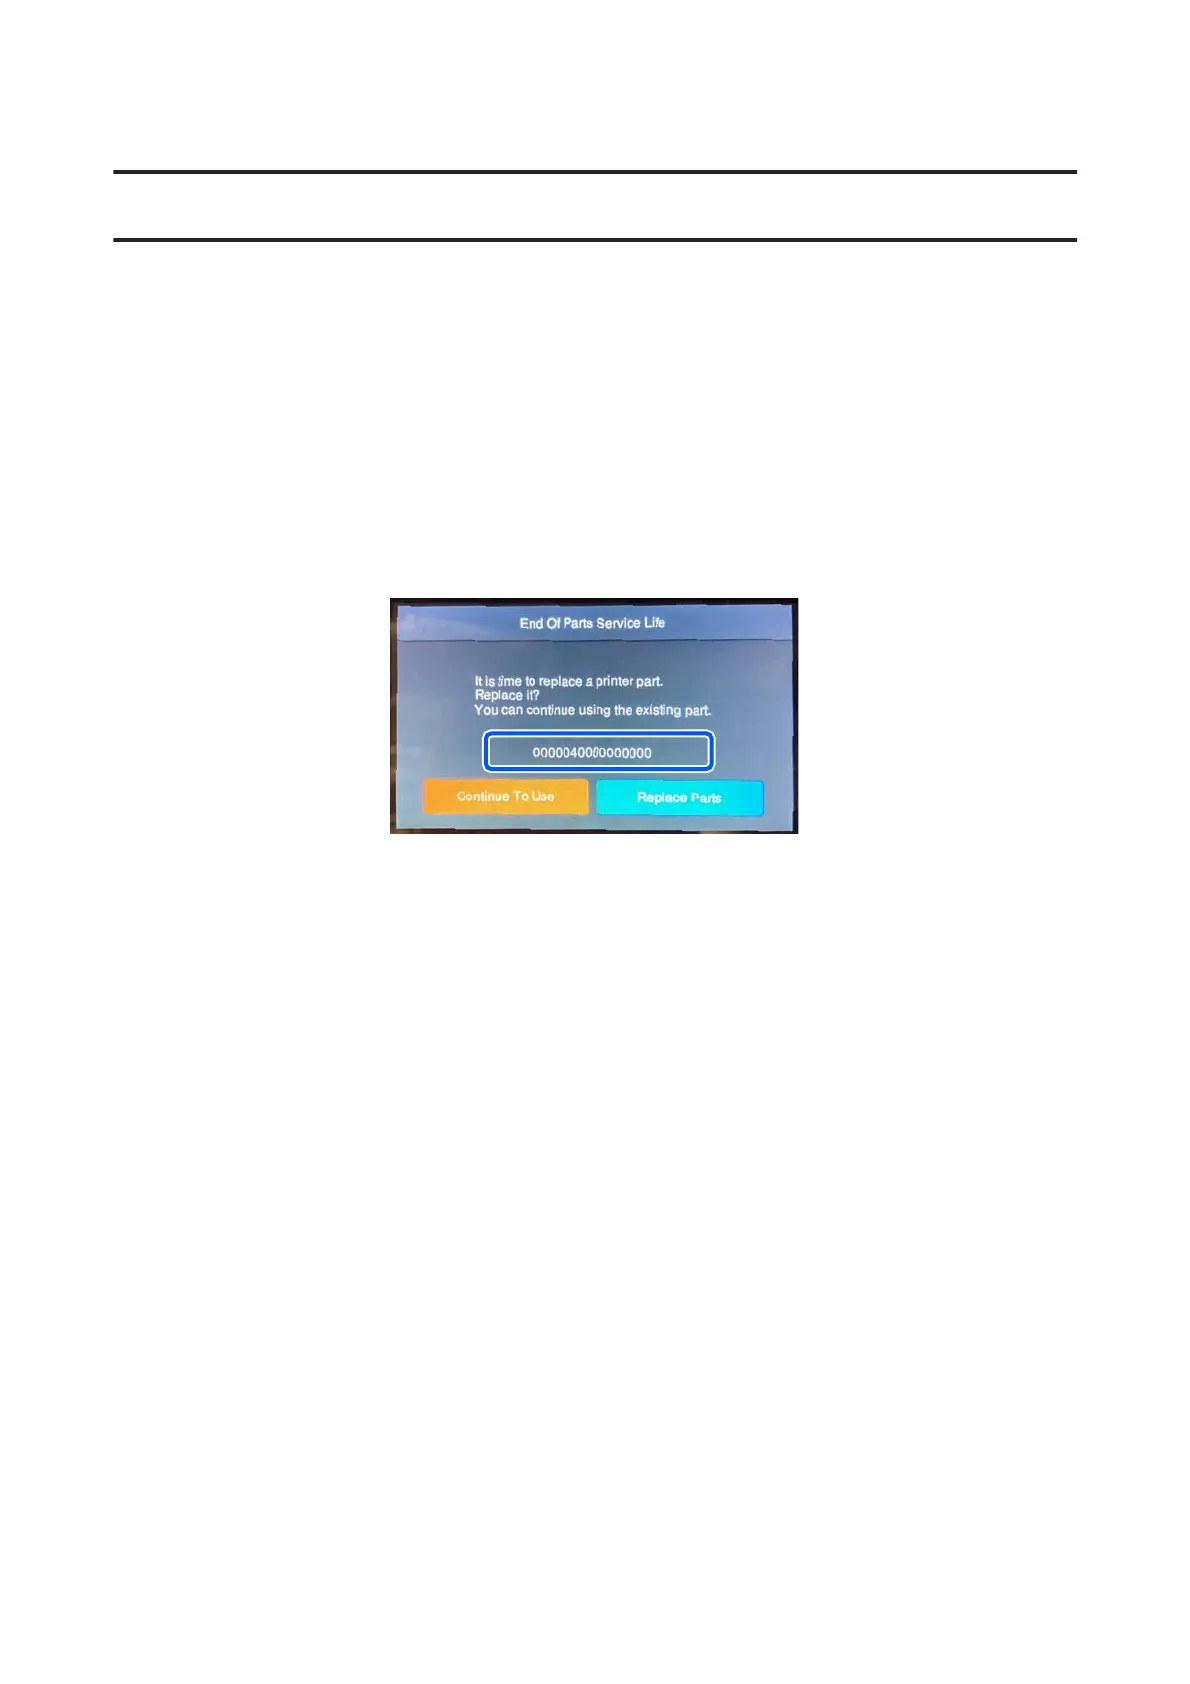
When the part has reached the end of its service life:
A Print Head has reached the end of its service life if any of the following 16 digit numbers appears in the enclosure
shown on screen.
“0000020000000000”/“0000040000000000”/“0000060000000000”
Make a note of the number, then press Replace Parts to turn off the printer. Next, start the printer in User Self Repair
Mode, and then replace the Print Head with the replacement one.
If a number other than those above is displayed, contact your dealer or Epson Support and tell them the 16 digit code.
When print results are not correct:
If the print results are not improved after doing the following measures, start the printer in User Self Repair Mode and
do a Diagnosis.
❏ Execute Head Cleaning - Cleaning(Heavy)
If the clogs are not cleared after doing this once, then execute Cleaning(Heavy) again one more time.
❏ Clean around the Print Heads and the edges of the metal
❏ Clean the Suction Cap
❏ Replace the Anti-Drying Caps
For the procedures to clean and replace the various parts, see the User's Guide (Online Manual).
Only replace a Print Head with a replacement one if the Diagnosis determines that a Print Head needs to be replaced.
SC-F3000 Series How to Replace the Print Head
Work Flow
7
 Loading...