*4 The printer driver supports the following
maximum paper lengths.
Windows: 18 m (708.66 inch)
Mac: 18 m (708.66 inch)
When printing on paper longer than this, you need
commercially available banner printing software.
In this situation, select Roll Paper (Banner) from
Source in the printer driver.
A to D in the illustration indicates the margins at the
top, bottom, left, and right.
For borderless printing, the following values are set to 0
mm.
❏ Left and right borderless printing: B, D
❏ Borderless printing on all sides: A, B, C, D
Margins in other situations depend on the options
selected for Top Margin/Bottom Margin in the menus.
Settings for Top Margin/Bottom Margin U “Paper
Setting” on page 101
indicates factory default settings.
Setting values for Top
Margin/Bottom Margin
Margin Values
Standard
A,C=15 mm
*
B,D=3 mm
*
When Standard is selected, the value for A is 20 mm
for the following paper.
Premium Glossy Photo Paper (250)/Premium
Semigloss Photo Paper (250)/Premium Luster
Photo Paper (260)/Premium Semimatte Photo
Paper (260)
Also, when using UltraSmooth Fine Art paper/
baryta, the value for A is 45 mm.
When you want to change the margins, make
changes in Top Margin and Bottom Margin from
Paper Setting.
You can select from 3 mm, 15 mm, 20 mm, and 45
mm for Top Margin to change the length of A.
You can select from 3 mm and 15 mm for Bottom
Margin to change the length of C.
c
Important:
❏ Printing is distorted when the trailing edge of
the roll paper comes off the core. Make sure the
trailing edge does not come inside the printing
area.
❏ The print size does not change even when the
margins are changed.
Note:
When printing using Black Enhance Overcoat, a
maximum margin of approximately 34 mm is added.
When printing using Black Enhance Overcoat, select
Minimize Top Margin to adjust the margins.
See the following for more details.
U “Printing with Darker Tones of Black (Black
Enhance Overcoat)” on page 64
When printing multiple pages without using auto cut,
the margins between pages such as the first and second
page use the value set in the Margin Between Pages
menu.
U “General Settings” on page 106
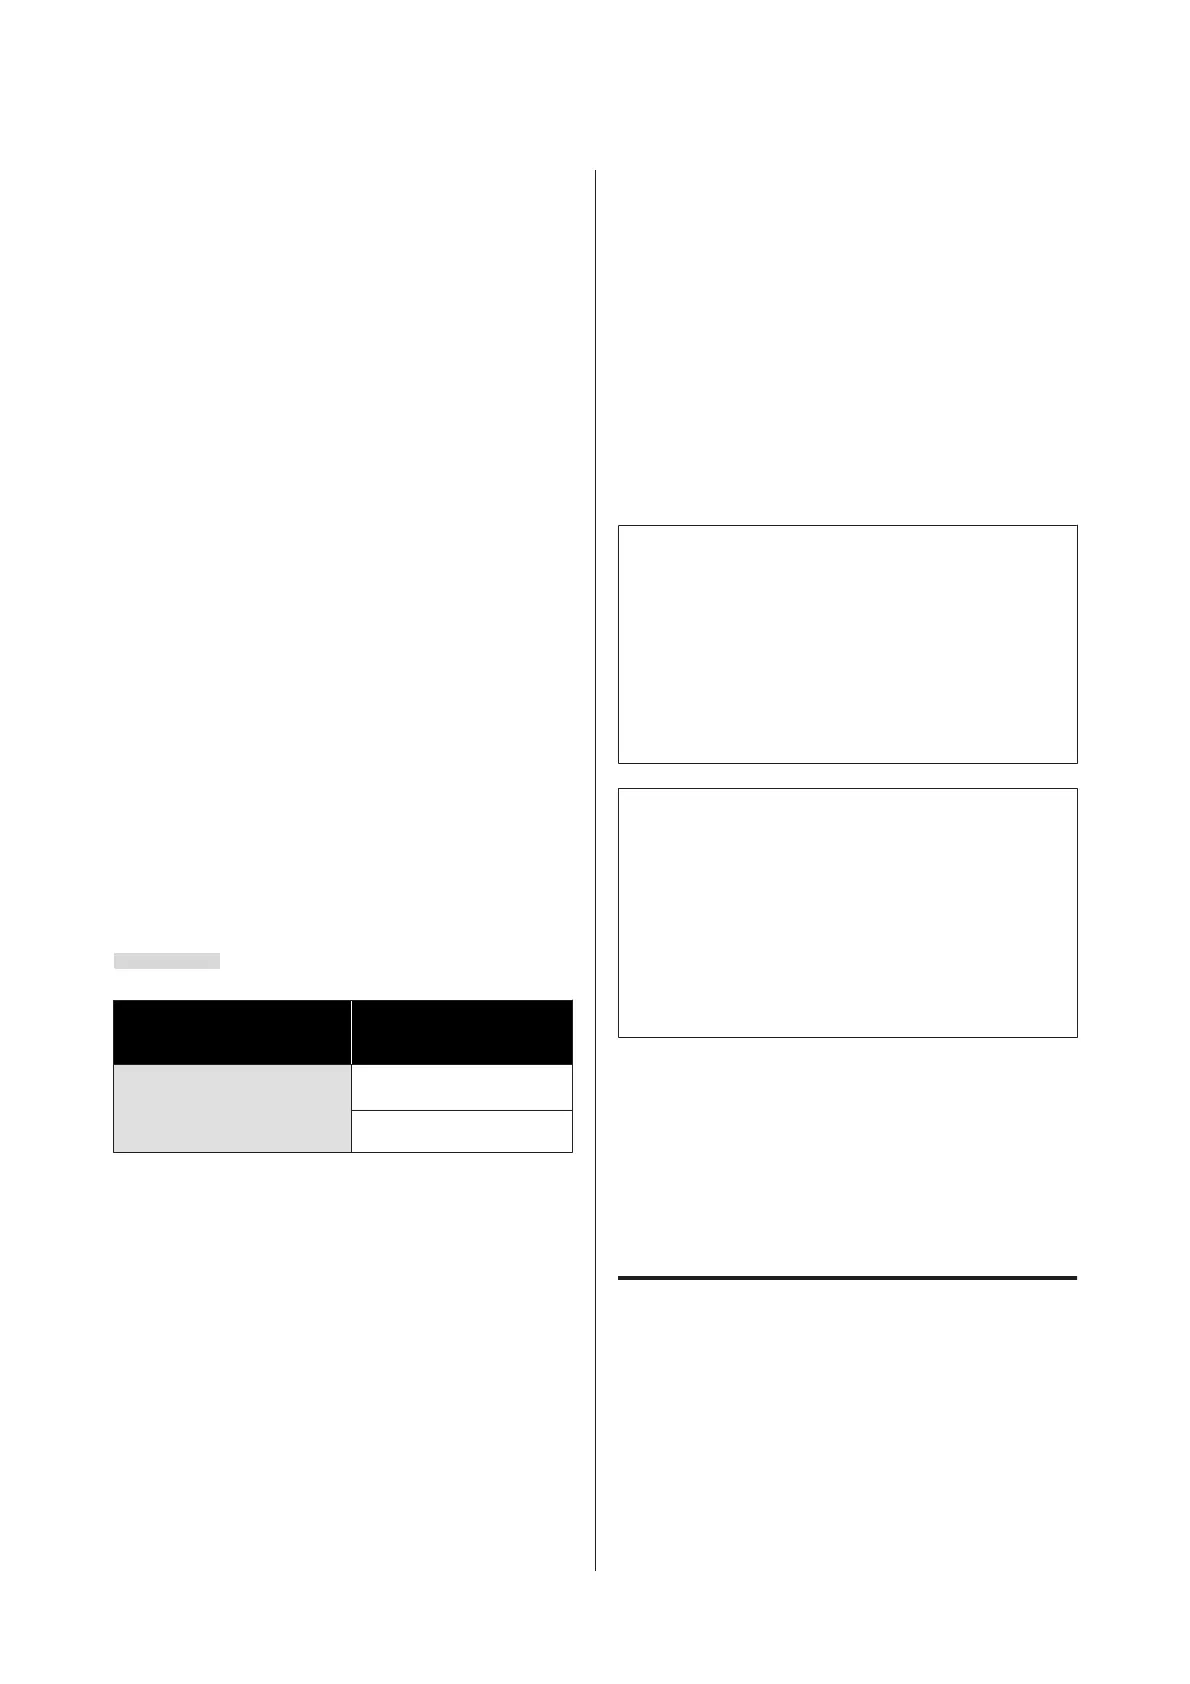
Cut Sheets Printable Area
The gray area in the illustration below shows the
printable area. The arrow in the illustration indicates the
direction of the ejected paper.
SC-P9500 Series/SC-P7500 Series User's Guide
Basic Operations
48
 Loading...