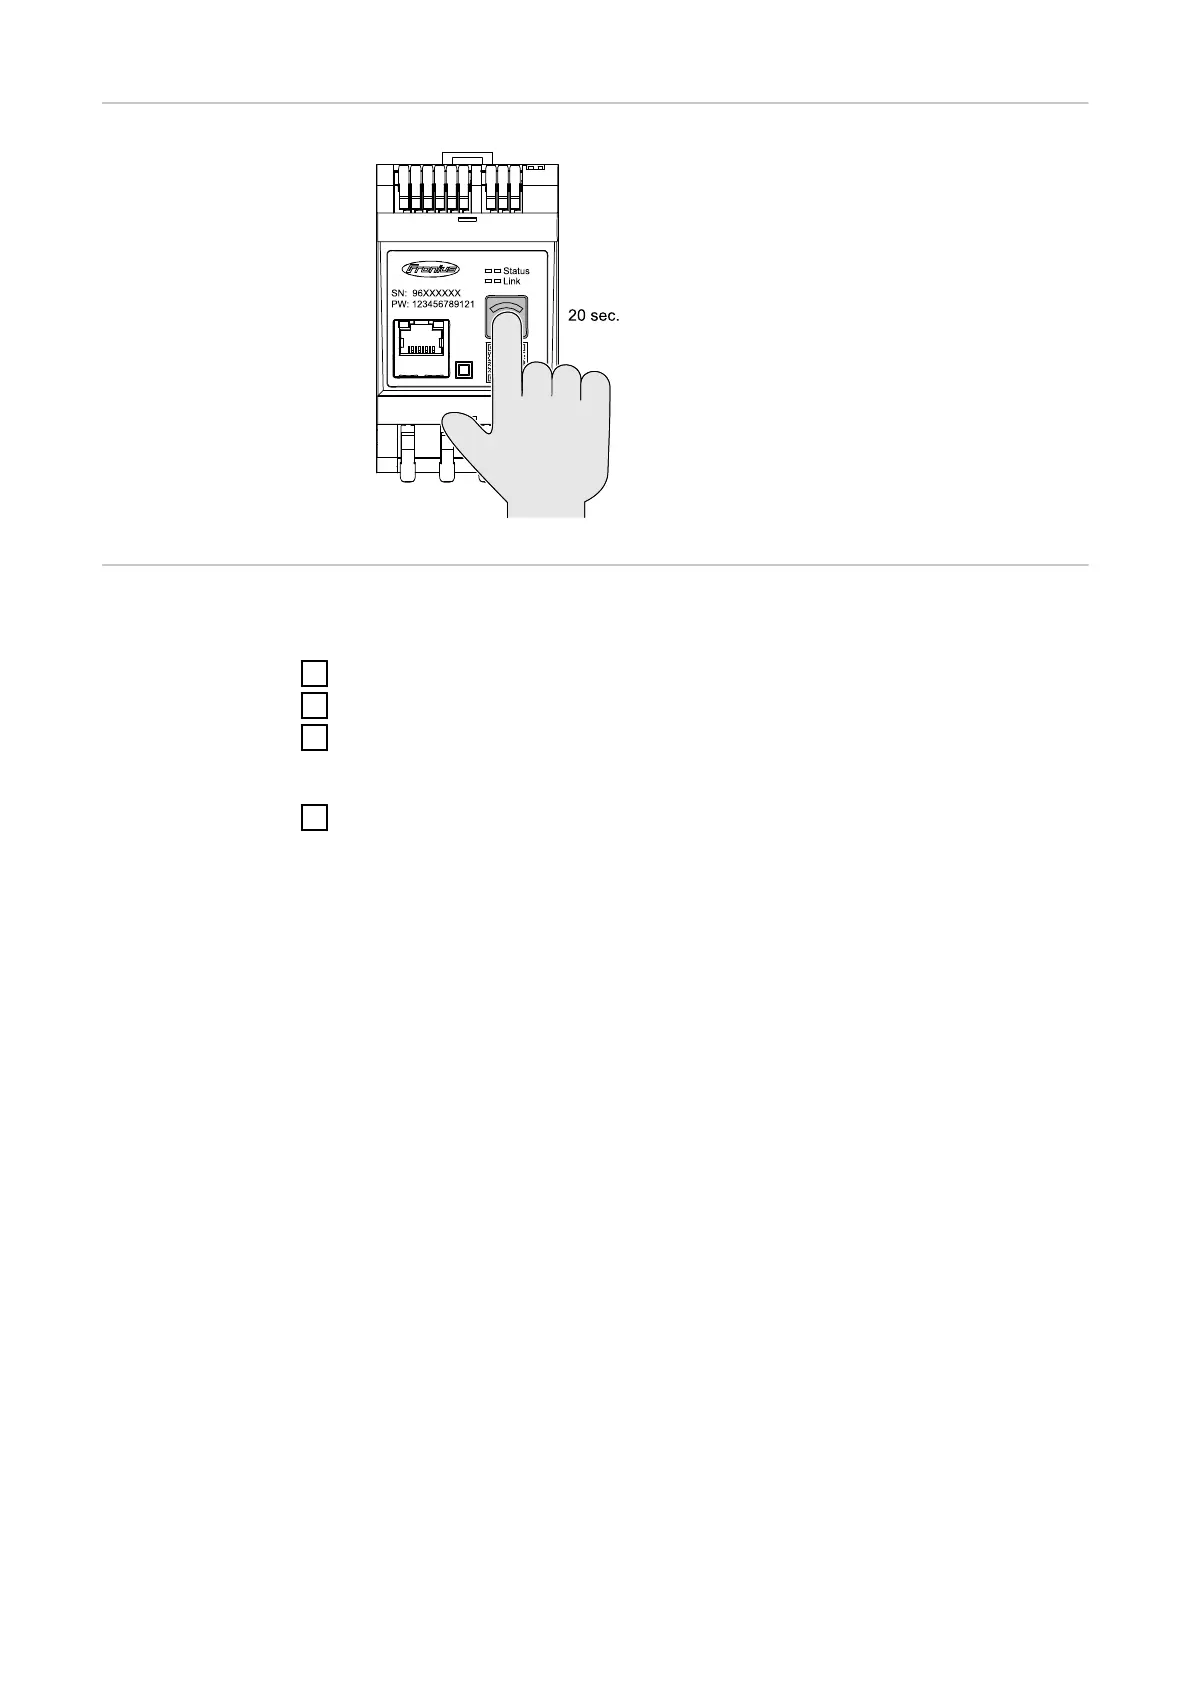
Restoring the
factory settings
Press and hold the WLAN access point
and reset button for 20 seconds to re-
set the Fronius Smart Meter IP to
factory settings.
-
All LEDs on the Fronius Smart
Meter IP go out and the device re-
starts (can take max. 10 minutes).
-
All measured values are set to 0
and the configuration is reset.
-
If the factory settings are re-
stored, the device must be recon-
figured (see Commissioning the
Fronius Smart Meter IP).
Changing the in-
put current of
the current
transformers
The input current of the current transformers can be changed after commission-
ing:
1
Open the menu Advanced settings > Meter values.
2
Click the Current transformer button.
3
Enter the input current of the connected current transformers in amperes
and click Next.
The input current value is stated in the current transformer user information.
4
Confirm the change of the value by clicking on Save.
49
 Loading...