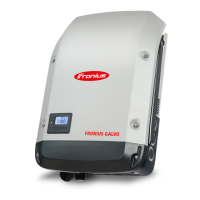
Fronius
Datamanager at
night or when in-
sufficient DC
voltage is avail-
able
The night mode parameter in the display settings in the Setup menu is preset to
OFF ex-factory.
As a result, the Fronius Datamanager is not available at night or if insufficient DC
voltage is available.
To activate the Fronius Datamanager, switch the inverter on the AC side off and
back on again and press any function key on the inverter’s display within 90
seconds.
Also refer to the “Menu items in the Setup menu”, “Display settings” (night
mode) chapter.
Safety
CAUTION!
DATCOM components and/or the PC/laptop may be seriously damaged if the
Ethernet or Fronius Solar Net cables are connected incorrectly to the Fronius
Datamanager 2.0
▶
The Ethernet cable should only be inserted into the LAN connection socket
(colored blue).
▶
The Fronius Solar Net cable should only be inserted into the Fronius Solar
Net IN connection socket (colored red).
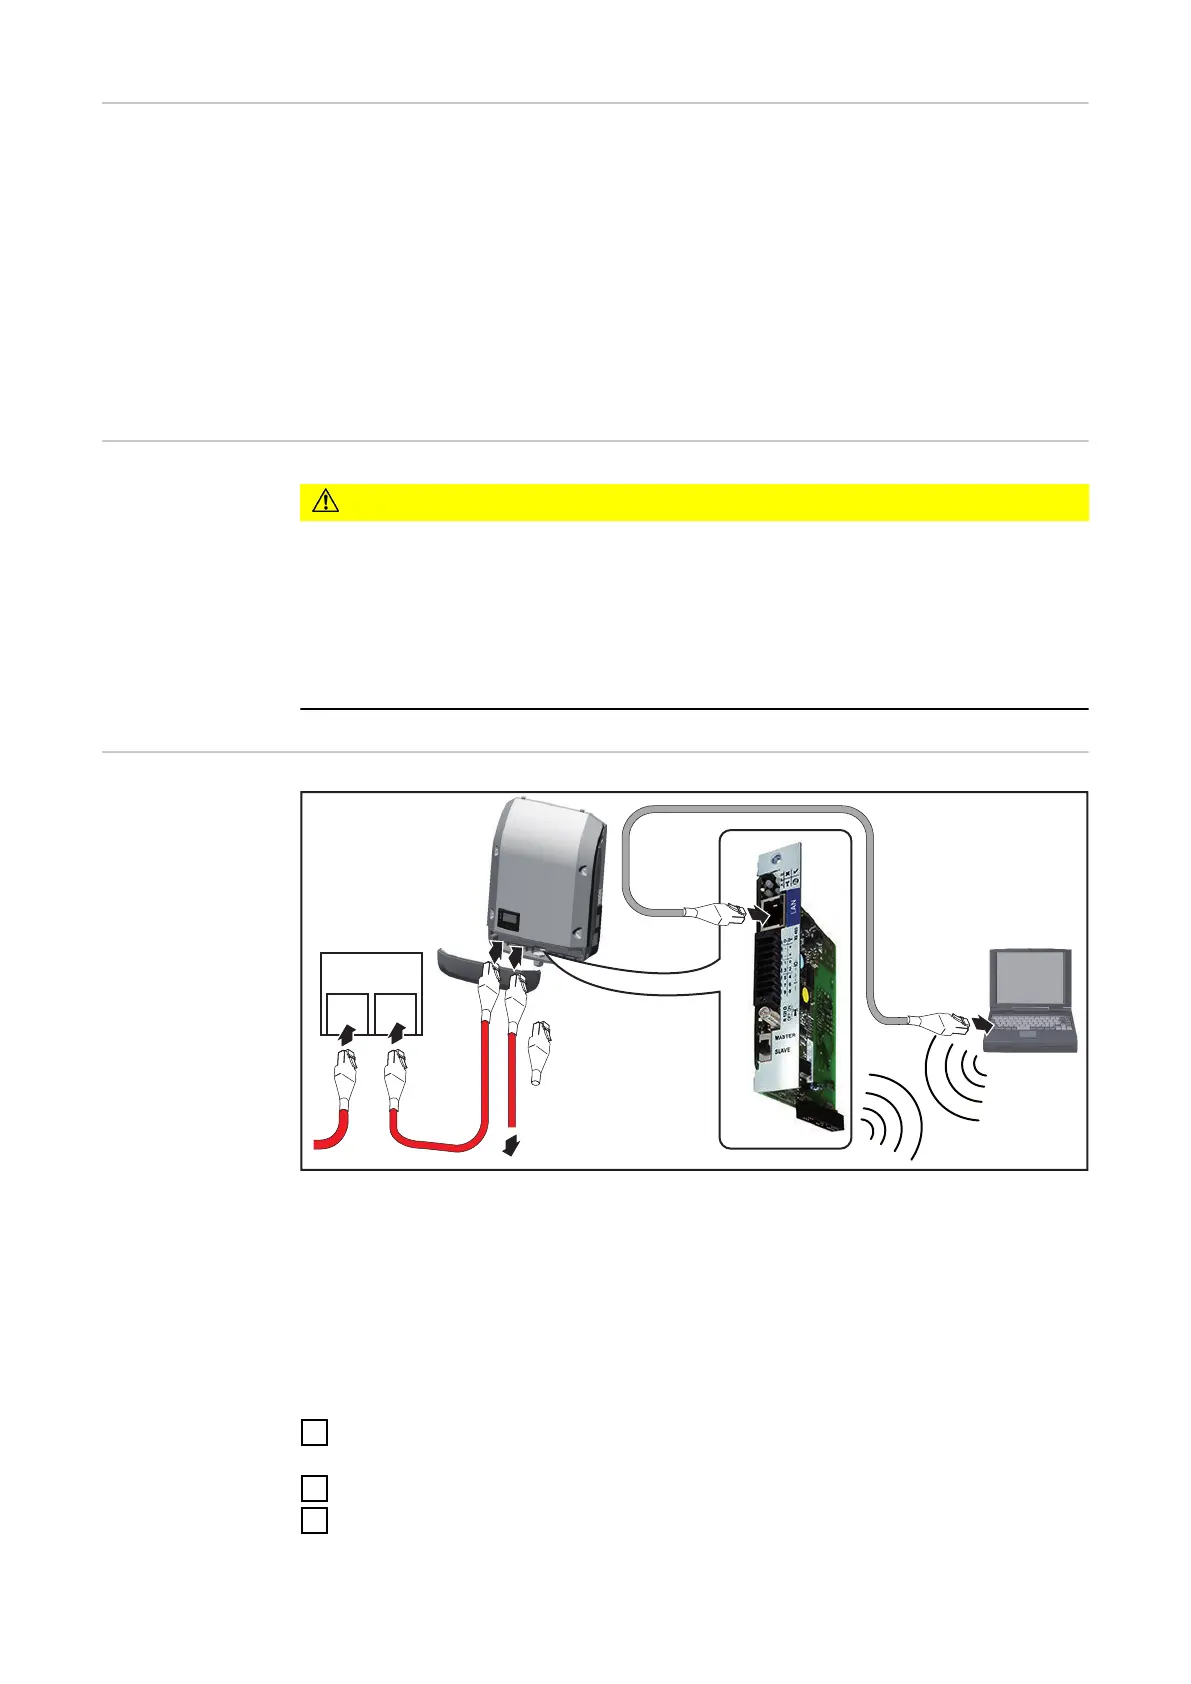
Installing In-
verters with
Fronius
Datamanager 2.0
in Fronius Solar
Net
DATCOM
IN OUT
5
6
LAN
*
WLAN
IN
OUT
IN
4
7
3
**
2x (IN + OUT)
1
2
***
* Fronius Solar Net termination plug, if only one inverter with Fronius
Datamanager 2.0 is linked to a PC
** Fronius Solar Net cable, if an inverter with installed Fronius Datamanager
2.0 is linked to a PC and other DATCOM components
*** A LAN cable is not included in the scope of supply
Connection between Fronius Datamanager 2.0 and PC via LAN or WLAN
1
Insert and lay the Ethernet cable in the inverter like a data communication
cable in accordance with the Operating Instructions for the inverter
2
Insert the Ethernet cable into the LAN connection socket
3
Insert the Ethernet cable into the PC/laptop or into a suitable network con-
nection socket
20
 Loading...