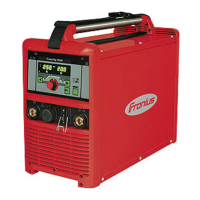
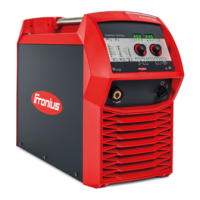
(7) 2-step mode ... TIG welding with HF ignition
2-step mode symbol
(8) LED indicator for starting current I
S
... lights up when the starting current I
S
is
active
(9) LED indicator for main current I
H
... lights up when the main current I
H
is active
(10) DownSlope adjuster ... continuously adjustable current downslope speed from
the main current to the final current I
E
. When the adjuster is actuated, the set
value is displayed for 3 seconds.
(11) LED indicator final current I
E
... lights up when the end current I
E
is active
(12) LED indicator TIG pulse welding ... flashes when the TIG pulse remote control
TR50mc is connected.
(13) HOLD indicator ... at the end of welding, the current actual values for the weld-
ing current and welding voltage are saved each time - the "hold" indicator illumin-
ates.
The "hold" indicator relates to the last main current I
H
reached.
The "hold" indicator goes out when:
- Welding restarts
- The main current I
H
is adjusted
- The operating mode is changed
- The welding process is changed
- Turn power source off and on again
Important! If the main current phase was never reached, a foot remote control
was used or TIG pulse welding was performed below 20 Hz, no hold values are
output.
(14) Main current controller I
H
... continuously adjustable in the range 3 - 260 / 300
A.
The LED display for main current IH lights up when the MMA welding mode is
selected.
Before the start of welding, the welding current display shows the set value for I
H
.
After the start of welding, the digital display shows the current actual value of the
welding current.
(15) Final current controller I
E
... percentage adjustment of the main flow to the final
flow.
Adjustment is only possible in 4-step mode. Lowering takes place via the torch
trigger.
(16) Balance controller (MagicWave only) ... Function only available in the AC
range.
Change of the positive and negative half-wave.
-5: highest melting capacity, lowest cleaning effect.
+5: highest cleaning power, lowest melting power.
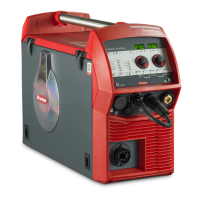
(17) Tungsten electrode diameter adjuster (MagicWave only) ... Setting range 0 - 4
mm (0 - 0.16 in.)
AC mode:
- automatic cap-shaping (see chapter on TIG welding)
- adjustment of the ignition current to the respective tungsten electrode dia-
meter
DC mode:
23
EN-US
 Loading...