3 Copy
122
Copy
3
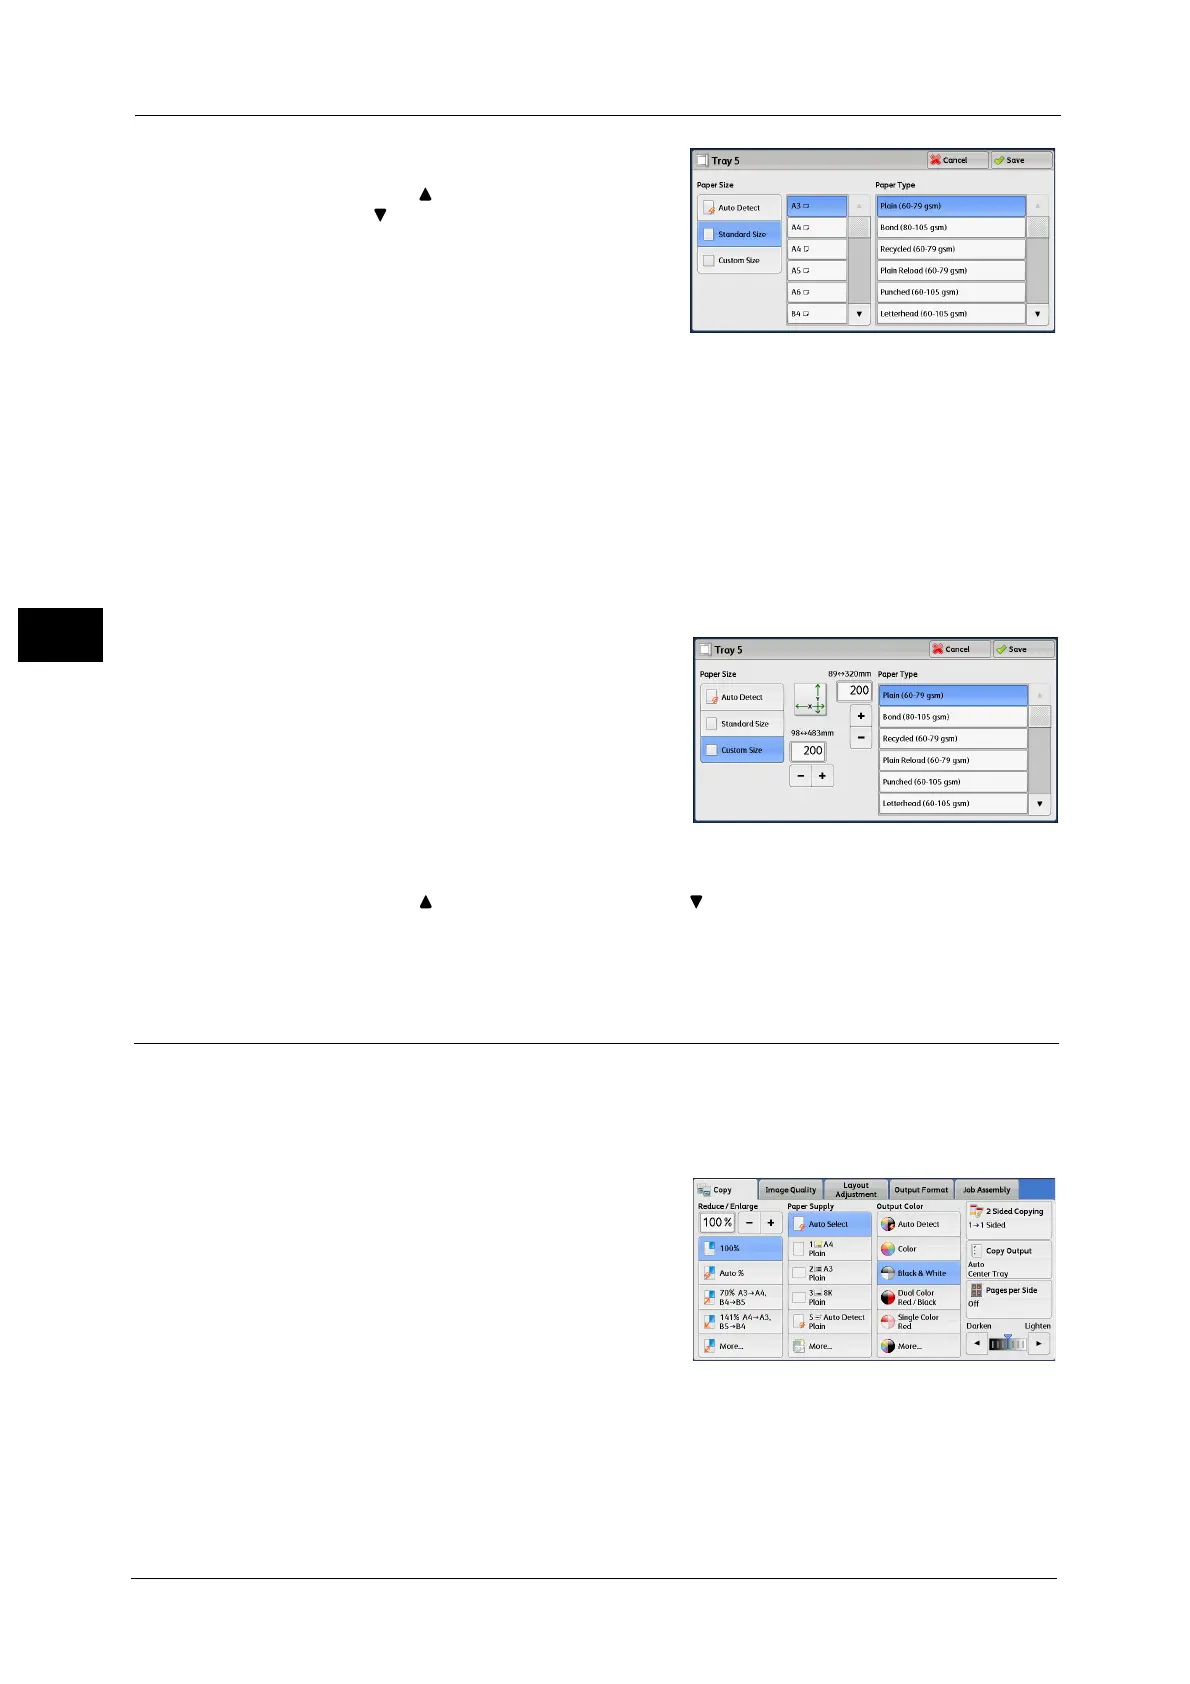
1 Select a paper size and a paper type.
Note • Select [ ] to return to the previous screen or
[ ] to move to the next screen.
• Scroll the list by drag or flick operation to
switch the screen to be displayed. For
information on how to drag or flick, refer to
"Touch Screen" (P.97).
When [Custom Size] is Selected
Enter the width and length of the original document on the fields displayed after selecting
[Custom Size].
Specify the X (width) in the range from 98 to 483 mm, and the Y (length) in the range from
89 to 320 mm in 1 mm increments.
Important • If the X (width) of non-standard size paper is less than 140 mm, documents may not be copied
properly.
• When copying on both sides of non-standard size paper, specify the size in the range from 140 to
483 mm for the X (width) direction and from 128 to 320 mm for the Y (length) direction.
1 Enter a paper size using [+] and [-] or the
numeric keypad.
2 Select a paper type.
Note • Select [ ] to return to the previous screen or [ ] to move to the next screen.
• Scroll the list by drag or flick operation to switch the screen to be displayed. For information on how
to drag or flick, refer to "Touch Screen" (P.97).
Output Color (Selecting the Color for Copying)
This feature allows you to select copy colors.
Note • If the use of certain colors is not allowed, the available colors will be restricted. For more information,
refer to "5 Tools" > "Accounting" > "Create/View User Accounts" > "Service Access" in the
Administrator Guide.
1 Select a color mode.
Auto Detect
The machine automatically determines the
colors of the original document and makes
copies in full color if the original document is
colored, and in single color (black) if the
document is black-and-white.
Note • If a color document is in one of the following
conditions, the machine may copy the document in black and white.
- The colored area is too small.
-The colors are too light.
In that case, change a level from the five levels which is used for the machine to recognize color.
 Loading...

