65
Home > Print > Print from Your Computer (Mac) > Print on Both Sides of the Paper (Mac)
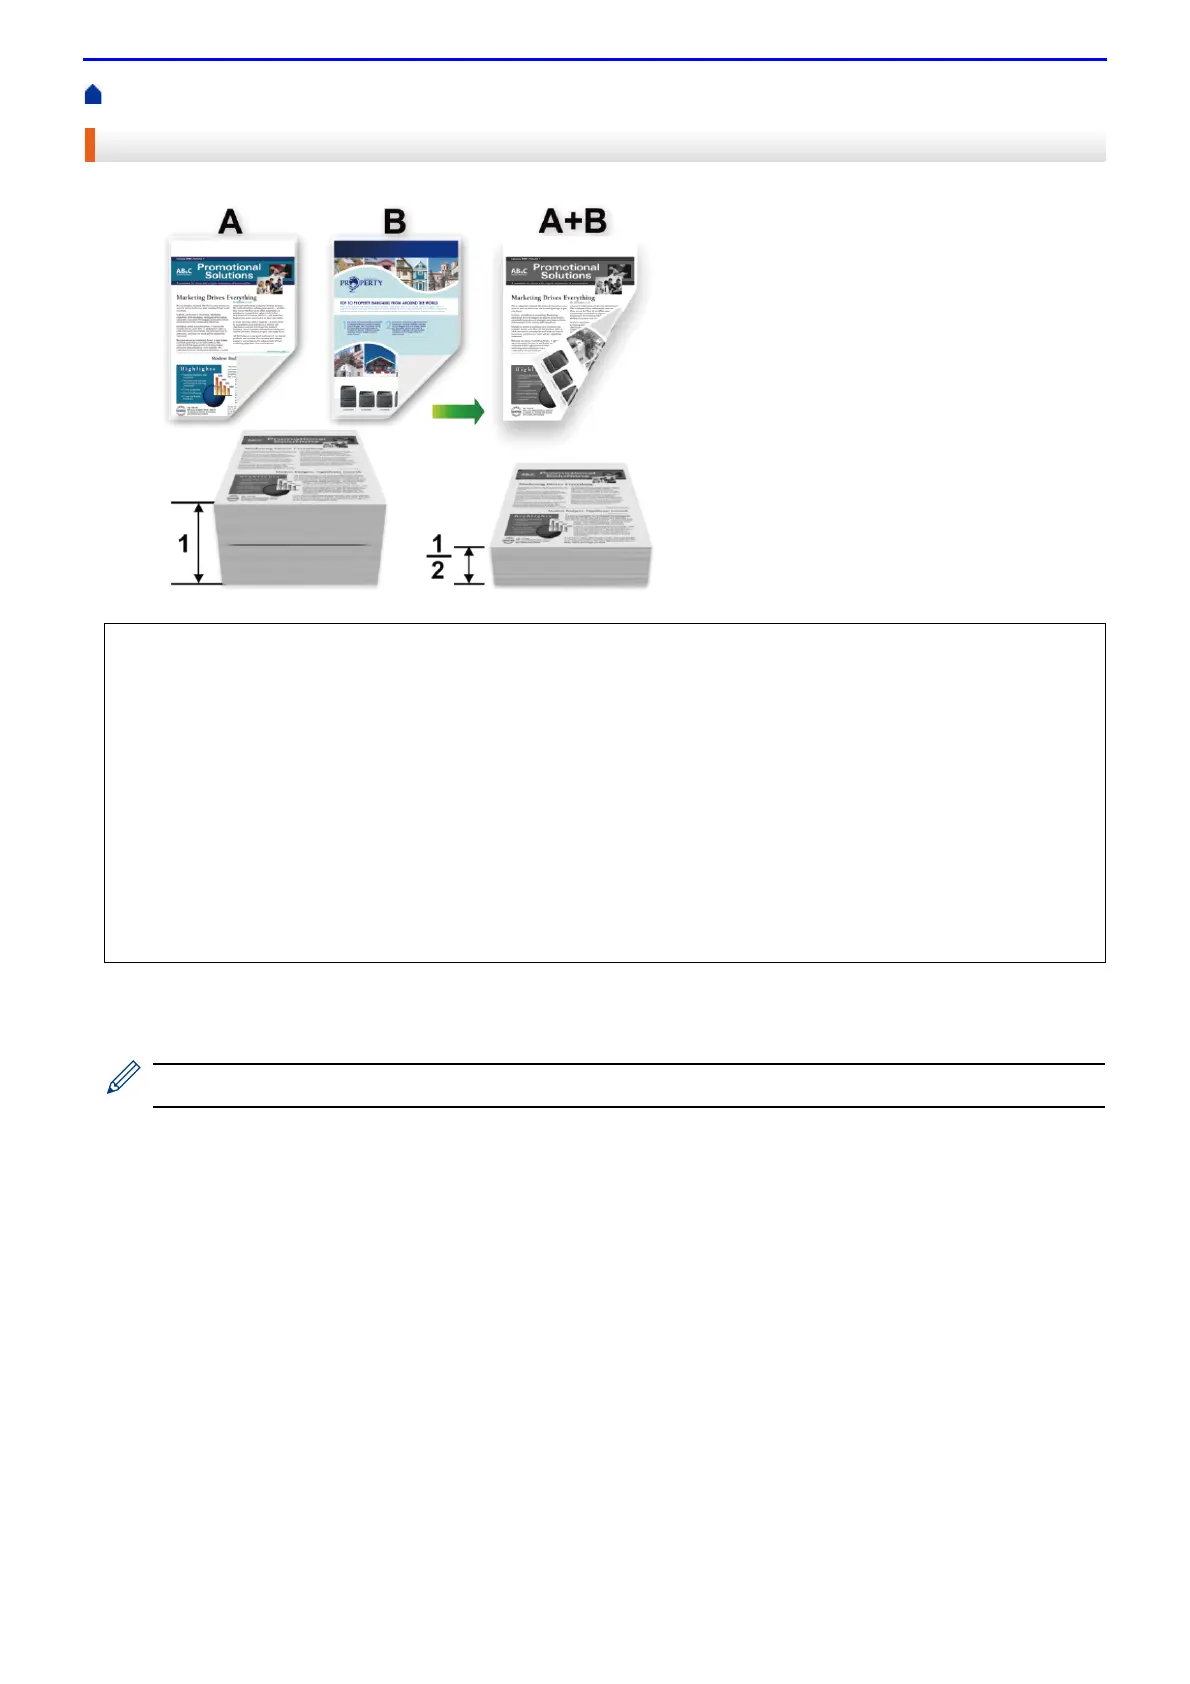
Print on Both Sides of the Paper (Mac)
1.
From an application, such as TextEdit, click the File menu, and then select Print.
2.
Select FUJI XEROX DocuPrint XXXXX (where XXXX is your model name).
For more page setup options, click the Show Details button.
3.
Select the Orientation option that matches the way you want the document to print.
4.
For automatic 2-sided printing, do the following:
a.
Click the application pop-up menu, and then select Layout.
The Layout setting options appear.
b.
In the Two-Sided section, select the Short-Edge binding or Long-Edge binding option.
c.
Change other printer settings, if needed.
d.
Click Print.
5.
For manual 2-sided printing, do the following:
a.
Click the application pop-up menu, and then select Paper Handling.
The Paper Handling options appear.
b.
In the Pages to Print pop-up menu, select Even Only.
c.
Change other print settings, if needed.
• (For models without the lever on the 2-sided tray) Select A4 sized paper when using the automatic 2-sided
printing function.
• (For models with the lever on the 2-sided tray) Select A4, Letter, Legal, Mexico Legal, India Legal or Folio
sized paper when using the automatic 2-sided printing function.
• Make sure the 2-sided tray is set to the paper size. If it is not, the paper may not be fed correctly, resulting in
a skewed or a paper jam.
• Make sure the back cover is closed.
• If paper is curled, straighten it and put it back in the paper tray.
• Use regular paper or thin paper. DO NOT use bond paper.
• If the paper is too thin, it may wrinkle.
• When you use the manual 2-sided printing function, it is possible there may be paper jams or poor print
quality.
 Loading...


