1. INITIAL SETTING AND ADJUSTMENT
1-102
1.17 Synchronization With Ship’s Clock
The time (UTC) received from the GPS is shown. If the ZDA sentence is input from the
ship’s clock, the time synchronized with the ship’s clock can be shown.
Do as follows to activate the synchronization with the ship’s clock.
Note: The local time setting is not available when the synchronization with ship’s clock
is active.
1. In the chart mode, press Ctrl, Shift and t keys simultaneously on the control unit
or keyboard. The password input dialog box appears.
2. Enter the password and click the [OK] button.
Note: The service mode remains enabled until you press Ctrl, Shift and t keys
simultaneously or reboot the unit.
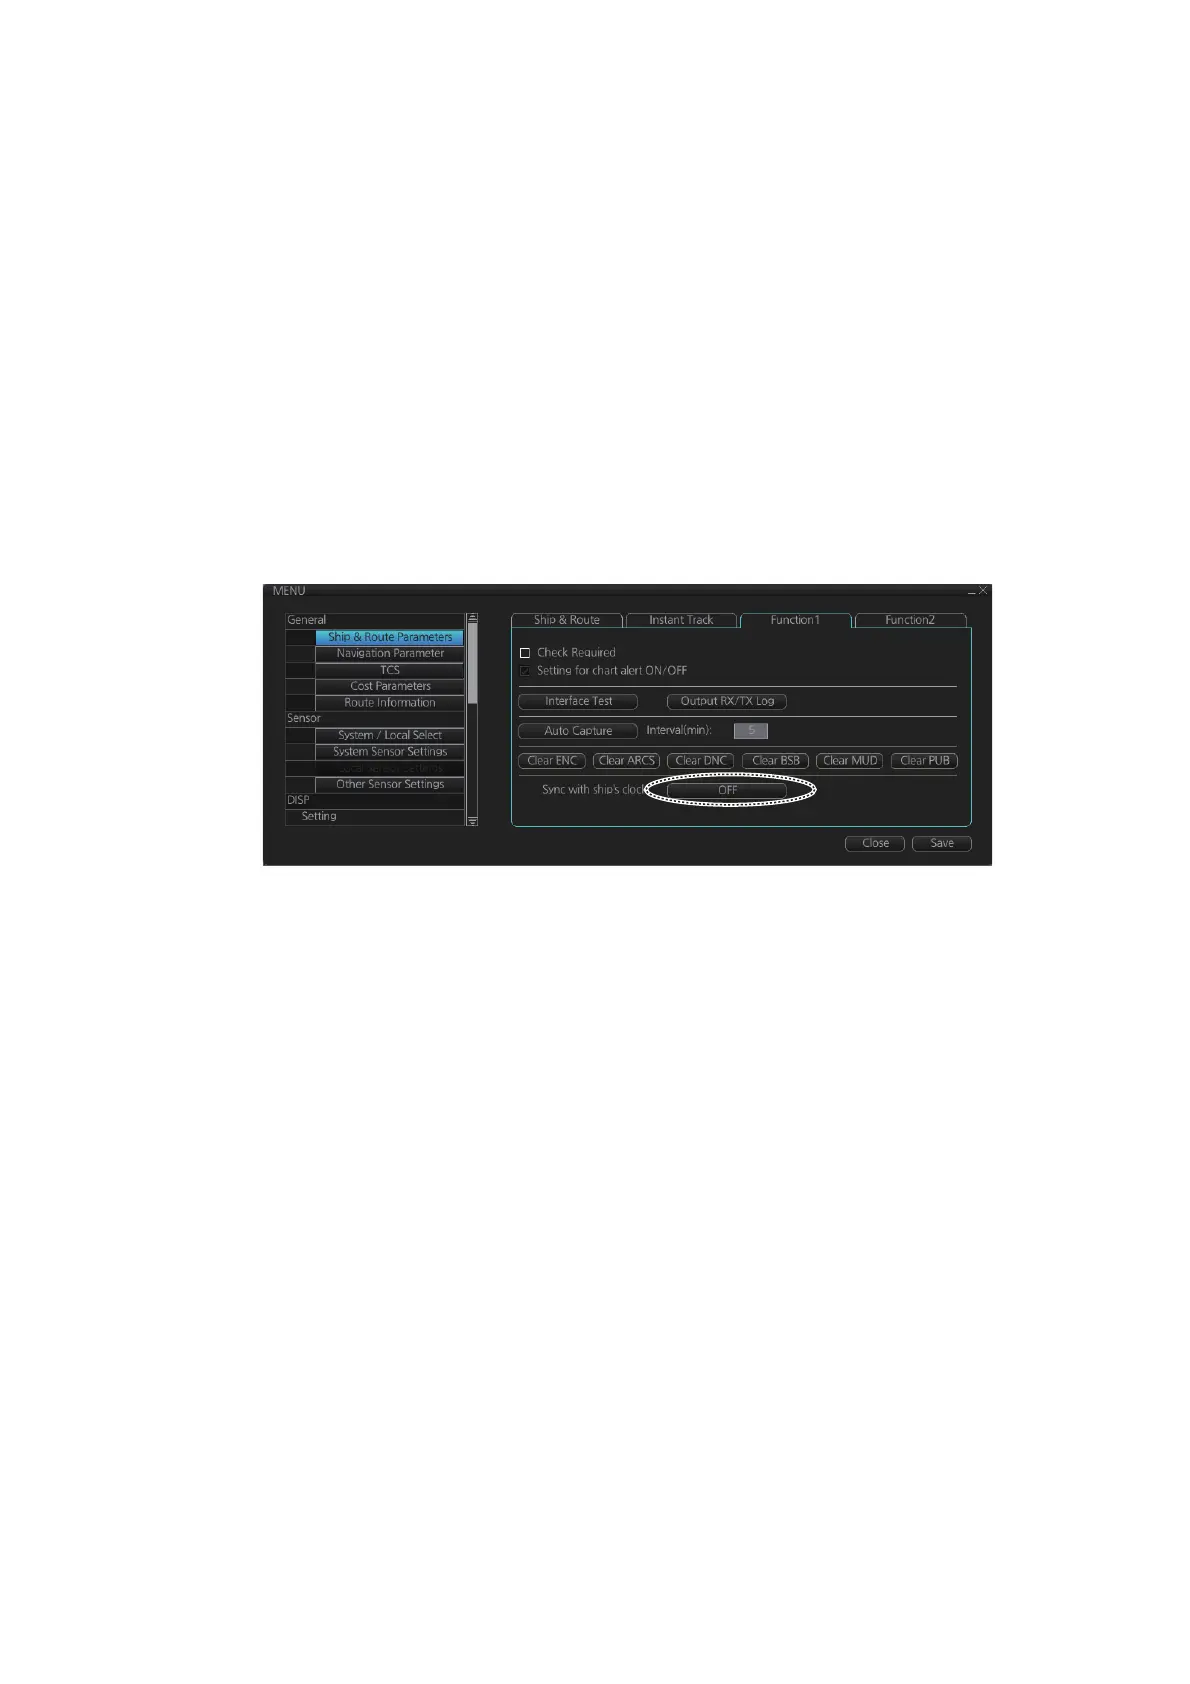
3. Click [MENU] to open the menu.
4. Click [Ship & Route Parameters], then click the [Function1] tab.
5. Click the [OFF] button of [Sync with ship’s clock] to set "ON".
6. Click the [Save] button to save the configuration.
1.18 How to Change the Color of Data in the Sensor
Information Box According to Integrity
The following procedure shows how to change the color of the data in the sensor in-
formation box with the results of the Integrity Check. For the Integrity Check, see the
Operator’s Manual for the Chart Radar.
1. In the chart mode, press Ctrl, Shift and t keys simultaneously on the control unit
or keyboard. The password input dialog box appears.
2. Enter the password and click the [OK] button.
Note: The service mode remains enabled until you press Ctrl, Shift and t keys
simultaneously or reboot the unit.
3. Click [MENU] to open the menu.