1. INITIAL SETTING AND ADJUSTMENT
1-11
3. Select the primary display mode from the [Primary] pull-down list.
The primary display mode is displayed when you start the ECDIS. Also, the work-
ing indicator at the upper right changes according to the setting, and the spinner
can be clicked to return to the primary display mode.
Note: [AMS] is not available for Chart Radar systems.
4. Click [Save] on the info bar. Several confirmation messages appear. Click [OK] to
reboot the system. To discard all changes, click [Discard Changes].
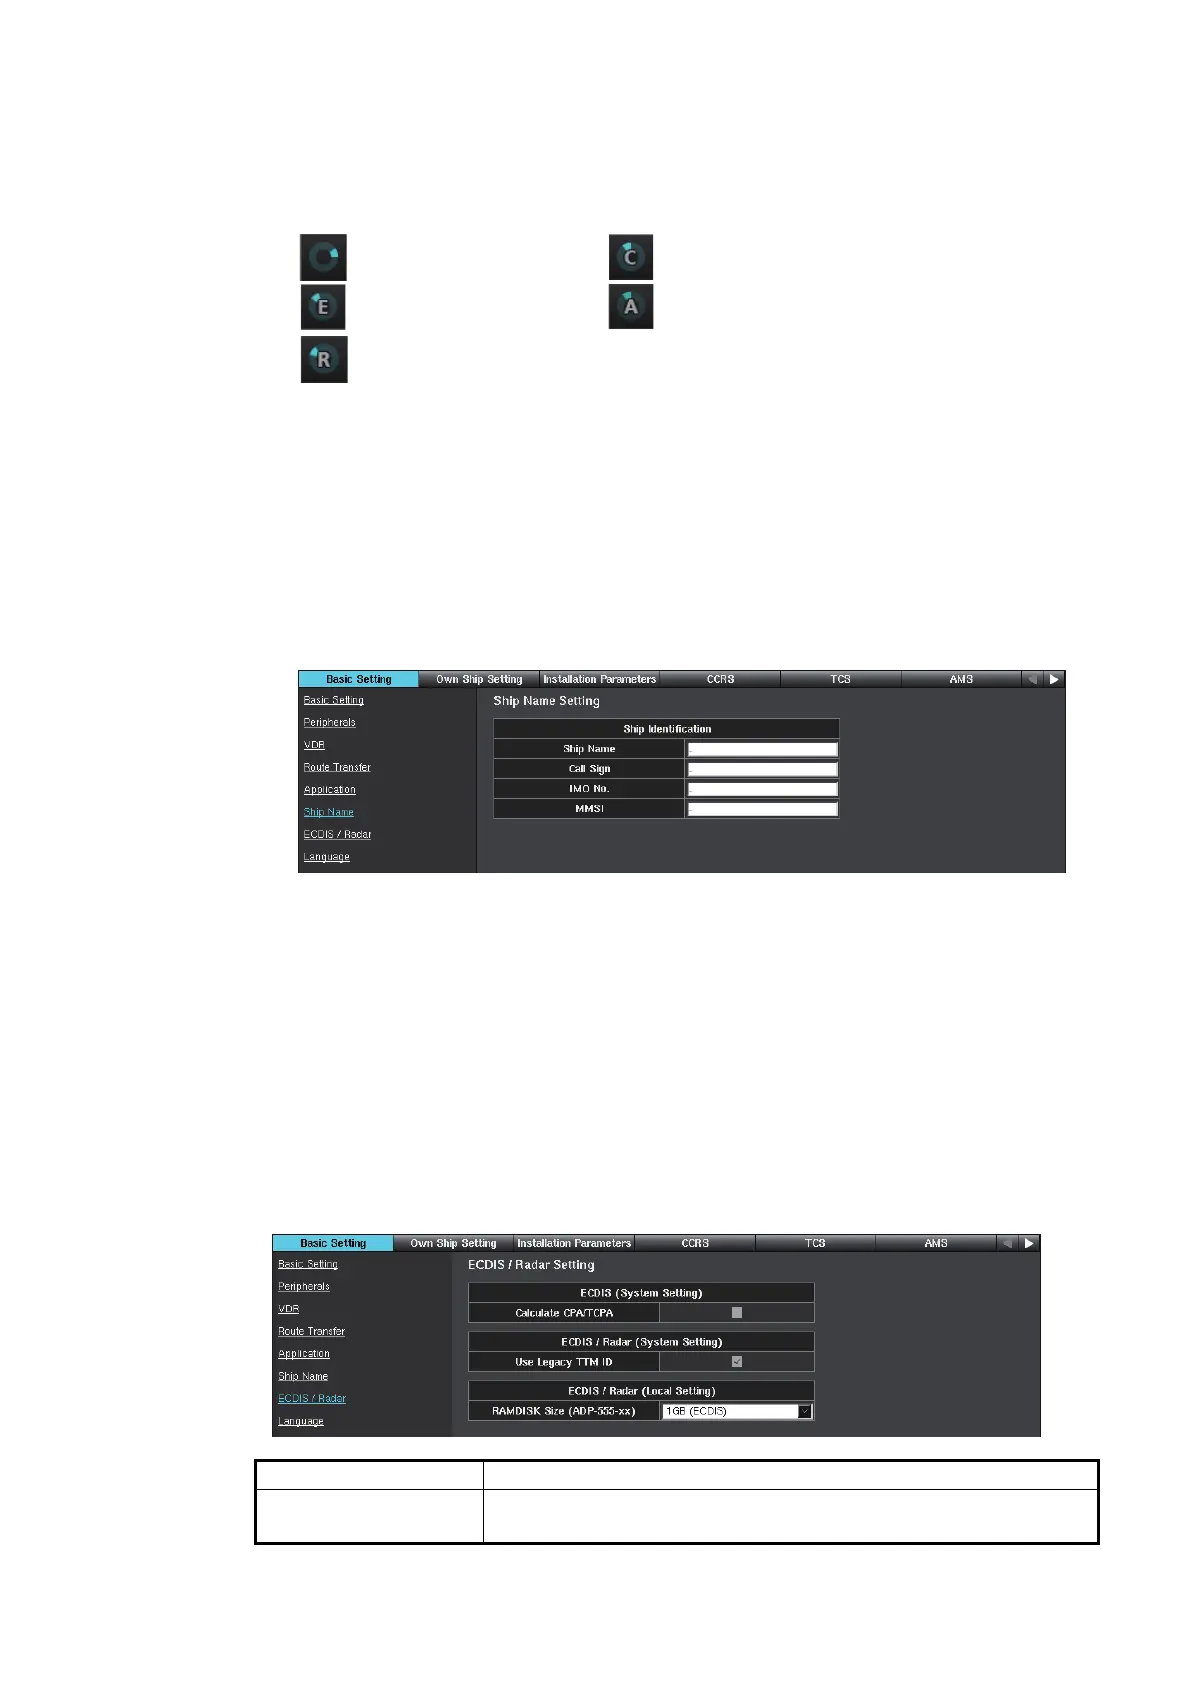
1.2.6 [Ship Name] window
1. Access the [Common Installation Setting] menu and click [Basic Setting] on the
tab bar.
2. Click [Ship Name] on the menu bar.
3. Enter your ship information. The data entered here is included in any printing.
Note: ECDIS and Chart Radar can display own ship’s data input from AIS, on the
[Own Ship] page in the [Nav Status] menu. The data entered here is not reflected
to the AIS data.
4. Click [Save] on the info bar. Several confirmation messages appear. Click [OK] to
reboot the system. To discard all changes, click [Discard Changes].
1.2.7 [ECDIS/Radar] window
[Ship Name]: Own ship’s name. [Call Sign]: Own ship’s call sign
[IMO No.]: Own ship’s IMO no. [MMSI]: Own ship’s ID
Menu item Description
[Calculate CPA/TCPA] Keep the default setting. Confirm that the checkbox has no check
mark. If there is a check mark, remove it.
: No setting.
: [ECDIS] is selected.
: [RADAR] is selected.
: [CONNING] is selected.
: [AMS] is selected.

 Loading...