GE LOGIQ V5/LOGIQ V3
D
IRECTION 5496012-100, REVISION 3 BASIC SERVICE MANUAL
7 - 6 Section 7-2 - Gathering Trouble Data
7-3-3Capturing a Screen (cont’d)
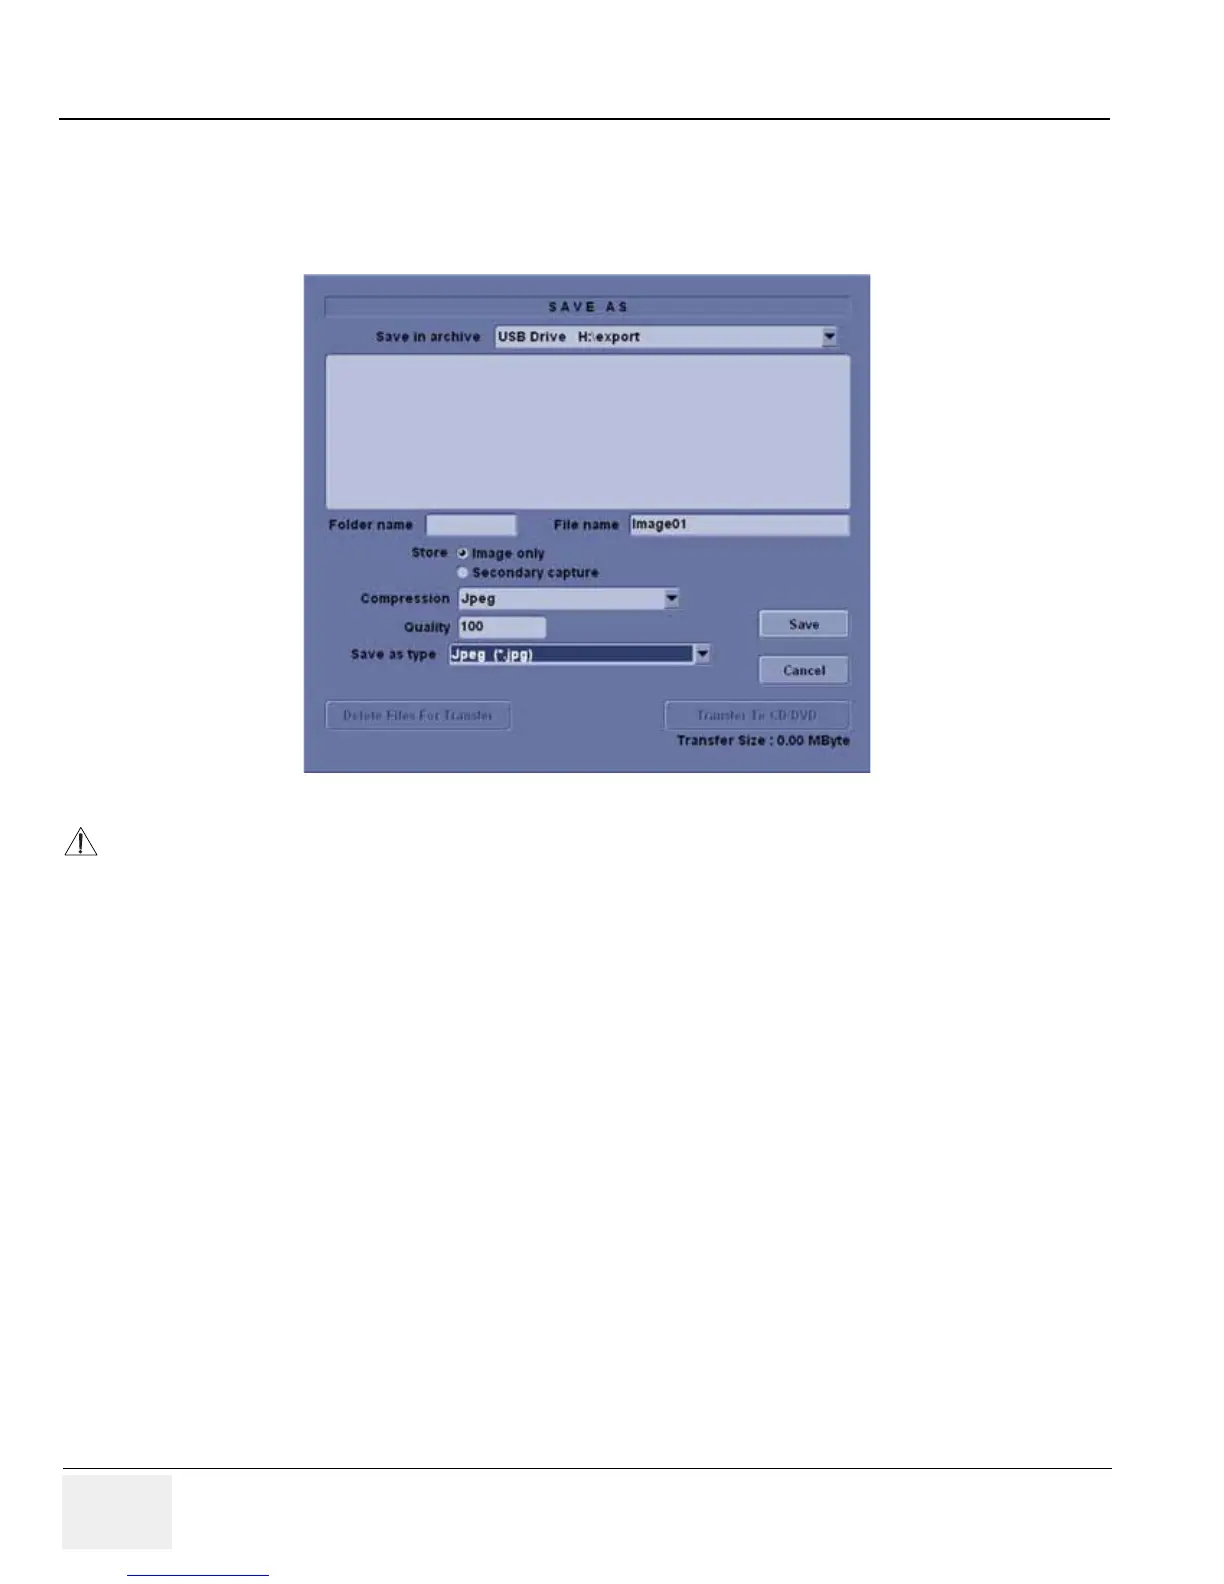
6.) A Save dialog box will be opened. Choose d:\export folder as the archive location to save the
image on the hard disk or CD.
7-3-4 Reset the Store Key to Customer’s Functionality
If the customer had programmed the Store Key to a function other than screen capture, restore that
functionality recorded in 7-3-2 "Setting the Store Key to Screen Capture" on page 7-4.
Refer to Figure 7-2.
1.) Click Utility on the keyboard.
2.) Select Connectivity from the Utilities Menu.
3.) Select the Buttons tab on the Connectivity screen.
4.) In the Physical Print Button field, select Store.
5.) In the Destinations list, select the service(s) recorded in step 5, Section 7-3-1.
6.) In the Physical Print Buttons section, select the parameters related to the service recorded in
step 6, Section 7-3-1.
Figure 7-4 Save Dialog Box
After capture the snapshot of the screen to the “clipboard” and save it to the hard disk or other
media, it is not full screen image on the hard disk or media.

 Loading...


