ENGLISH
82
Wired network settings
There are two ways of making the wired net-
work settings.
A Automatic connection,
All data regarding connection settings (»IP
Address«, »Netmask«, »Gateway« and
»DNS«) are obtained from modem auto-
matically.
B Manual connection,
all data regarding connection settings (»IP
Address«, »Netmask«, »Gateway« and
»DNS«) must be configured manually.
Automatic connection
Most of the home networks are Dynamic. If
you have a dynamic network, you must use a
DSL modem that supports DHCP. Modems and
IP sharers that support DHCP obtain the »IP
Address«, »Netmask«, »Gateway« and »DNS«
values required for internet access automatical-
ly, and thus you are not required to enter those
values manually.
1 Open the menu with »MENU«.
2 Select menu item »Settings« with »
V
«, »
Λ
«,
»
<
« or »
>
« and press »OK« to confirm.
3 Select the menu item »Network« with »
>
« or
»
<
« and press »
V
« to confirm.
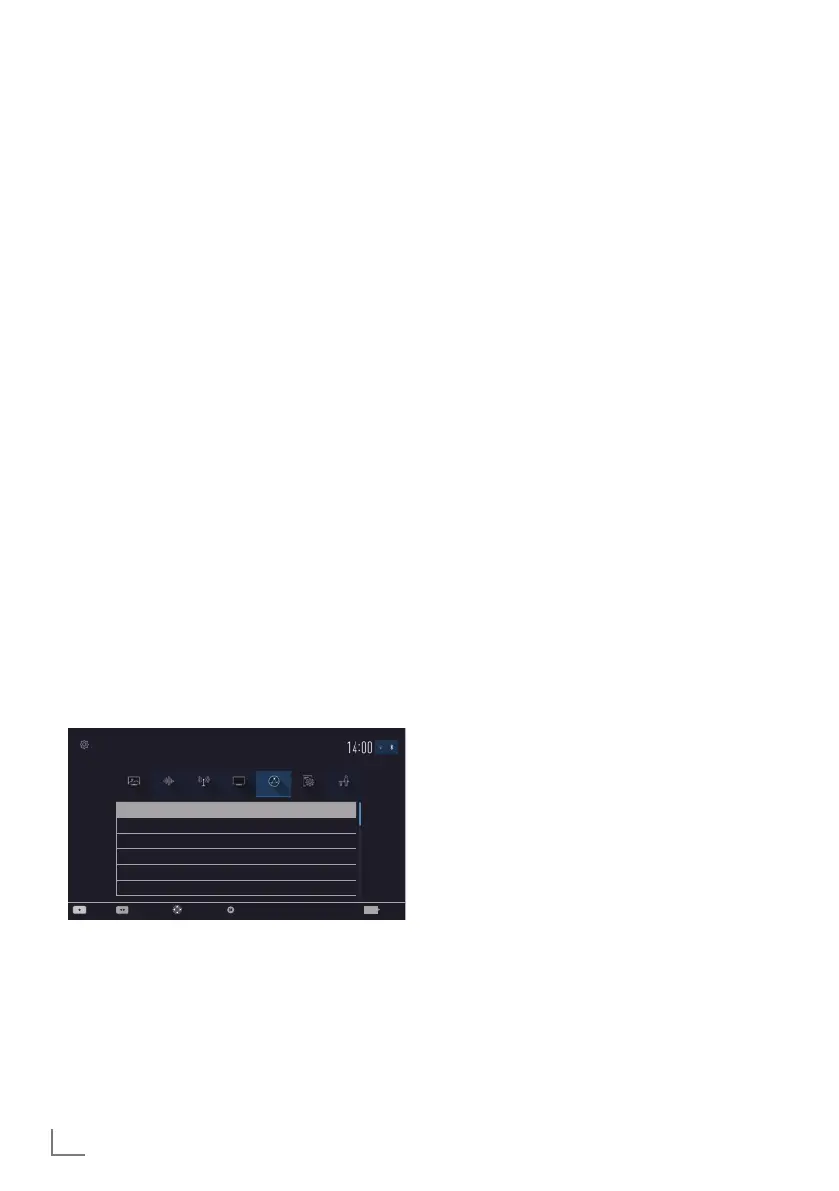
– »Network« menu is active.
Picture
Tuesday
xx xxx xxxx
Source TimerSound NetworkTV Parental
Settings > Network
Change AreaConnect Test Connection Select Zurück
BACK
Change Connection Type Wired
Network Configuration AUTO
Wake-on-LAN Off
Advanced
4 Select the line »Change Connection Type«
»
V
« or »
Λ
« and press »OK« to confirm.
5 Select the option »Wired« with »
V
« or »
Λ
«
and press »OK« to confirm.
NETWORK SETUP
-------------------------------------------------------------------------------------------
6 Select the line »Network Configuration«
with »
V
« or »
Λ
« and use »
<
« or »
>
« to
select »AUTO«.
7 With »
« (red) select »Connect« to establish
modem connection.
– »Connecting ... Please wait« message
will be displayed, and if the connection
is established »Connection To Gateway:
Success« message will be displayed.
8 Press »
« (green) to check the performed
settings and also if the local network and
internet connection has been established.
– »Testing ... Please wait« message will
be displayed, and if the connection is
established »Connection To Gateway:
Success«, »Internet Connection: Success«
message will be displayed.
9 Press »EXIT« to end the settings.
Note:
7
If you do not have a dynamic network,
follow the instructions in manual connection
section.
 Loading...