Rail Network Video Recorder User Manual
52
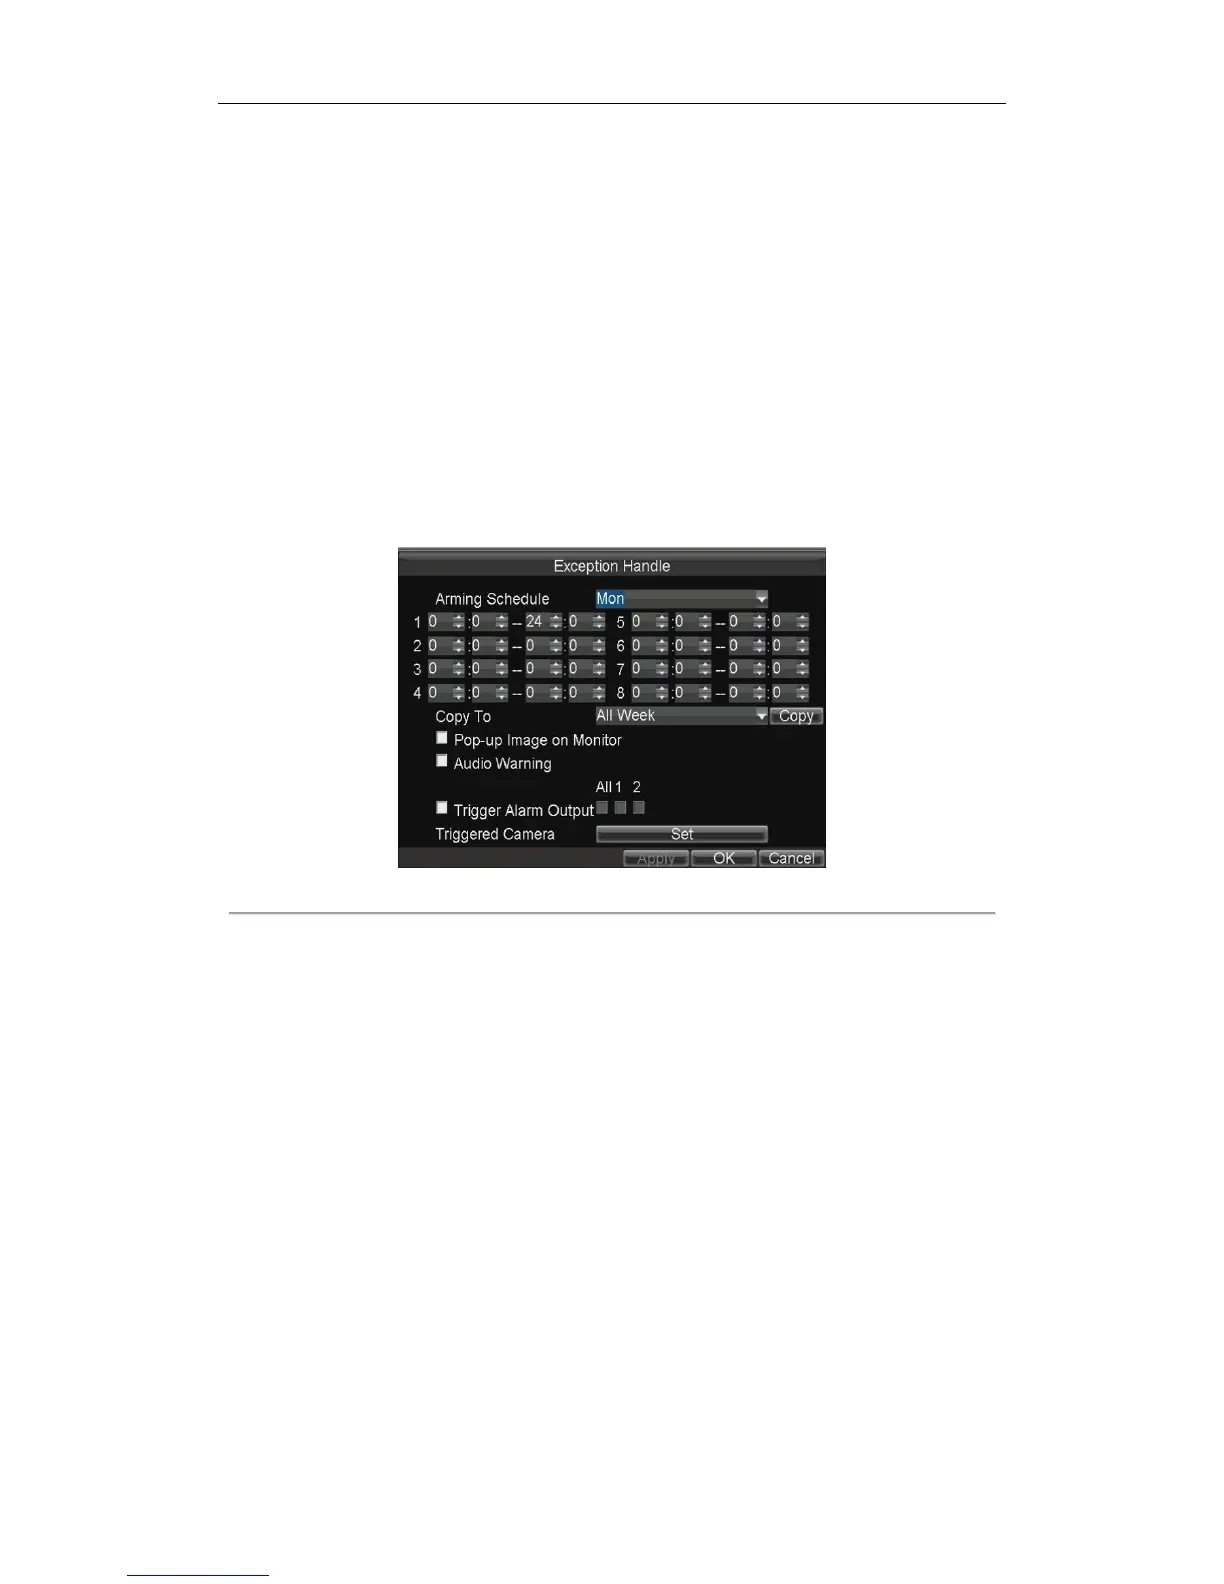
5. Click the Handle button of motion detection to set the arming schedule and alarm linkage actions.
1) Select the day from the drop-down list, and set the arming schedule for the alarm linkage actions.
2) Optionally, you can copy the current settings to other days in the week.
3) Check the checkboxes to enable the corresponding linkage actions.
Pop-up Image on Monitor
When an alarm is triggered, the local monitor displays the video image from the alarming channel
configured for full screen monitoring.
Audio Warning:
Trigger an audible beep when an alarm is detected.
Trigger Alarm Output:
Trigger an alarm output when an alarm is detected. For details of alarm output settings, see 7.5.3
Alarm Output Settings.
4) Click the Set button of Triggered Camera to select the channel to be triggered.
5) Click Apply to save the new settings and click OK to exit.
Figure 7. 10 Linkage Actions of Motion Detection
6. Click Apply to save the new settings and click OK to exit.
7.2.6 Configuring Video Loss
Purpose:
When the device cannot receive video signal from the front-end devices, the video loss alarm will be triggered.
Linkage actions including audible warning, alarm output, etc., can be set to handle it.
Steps:
1. Enter the Advanced Camera Settings interface.
Main Menu > Other Settings > Camera Settings
2. Click the Set button of More Settings.
3. Check the checkbox of Video Loss Detection to enable the video loss detection settings.
4. Click the Handle button of Video Loss Detection, and you can set the arming schedule and alarm linkage
actions for video loss alarm. For detailed steps, see step 5 of 7.2.4 Configuring Video Tampering Alarm.
5. Click Apply to save the new settings and click OK to exit.
 Loading...